
by Matt Knight
Thursday June 18, 2020 • 9 min read
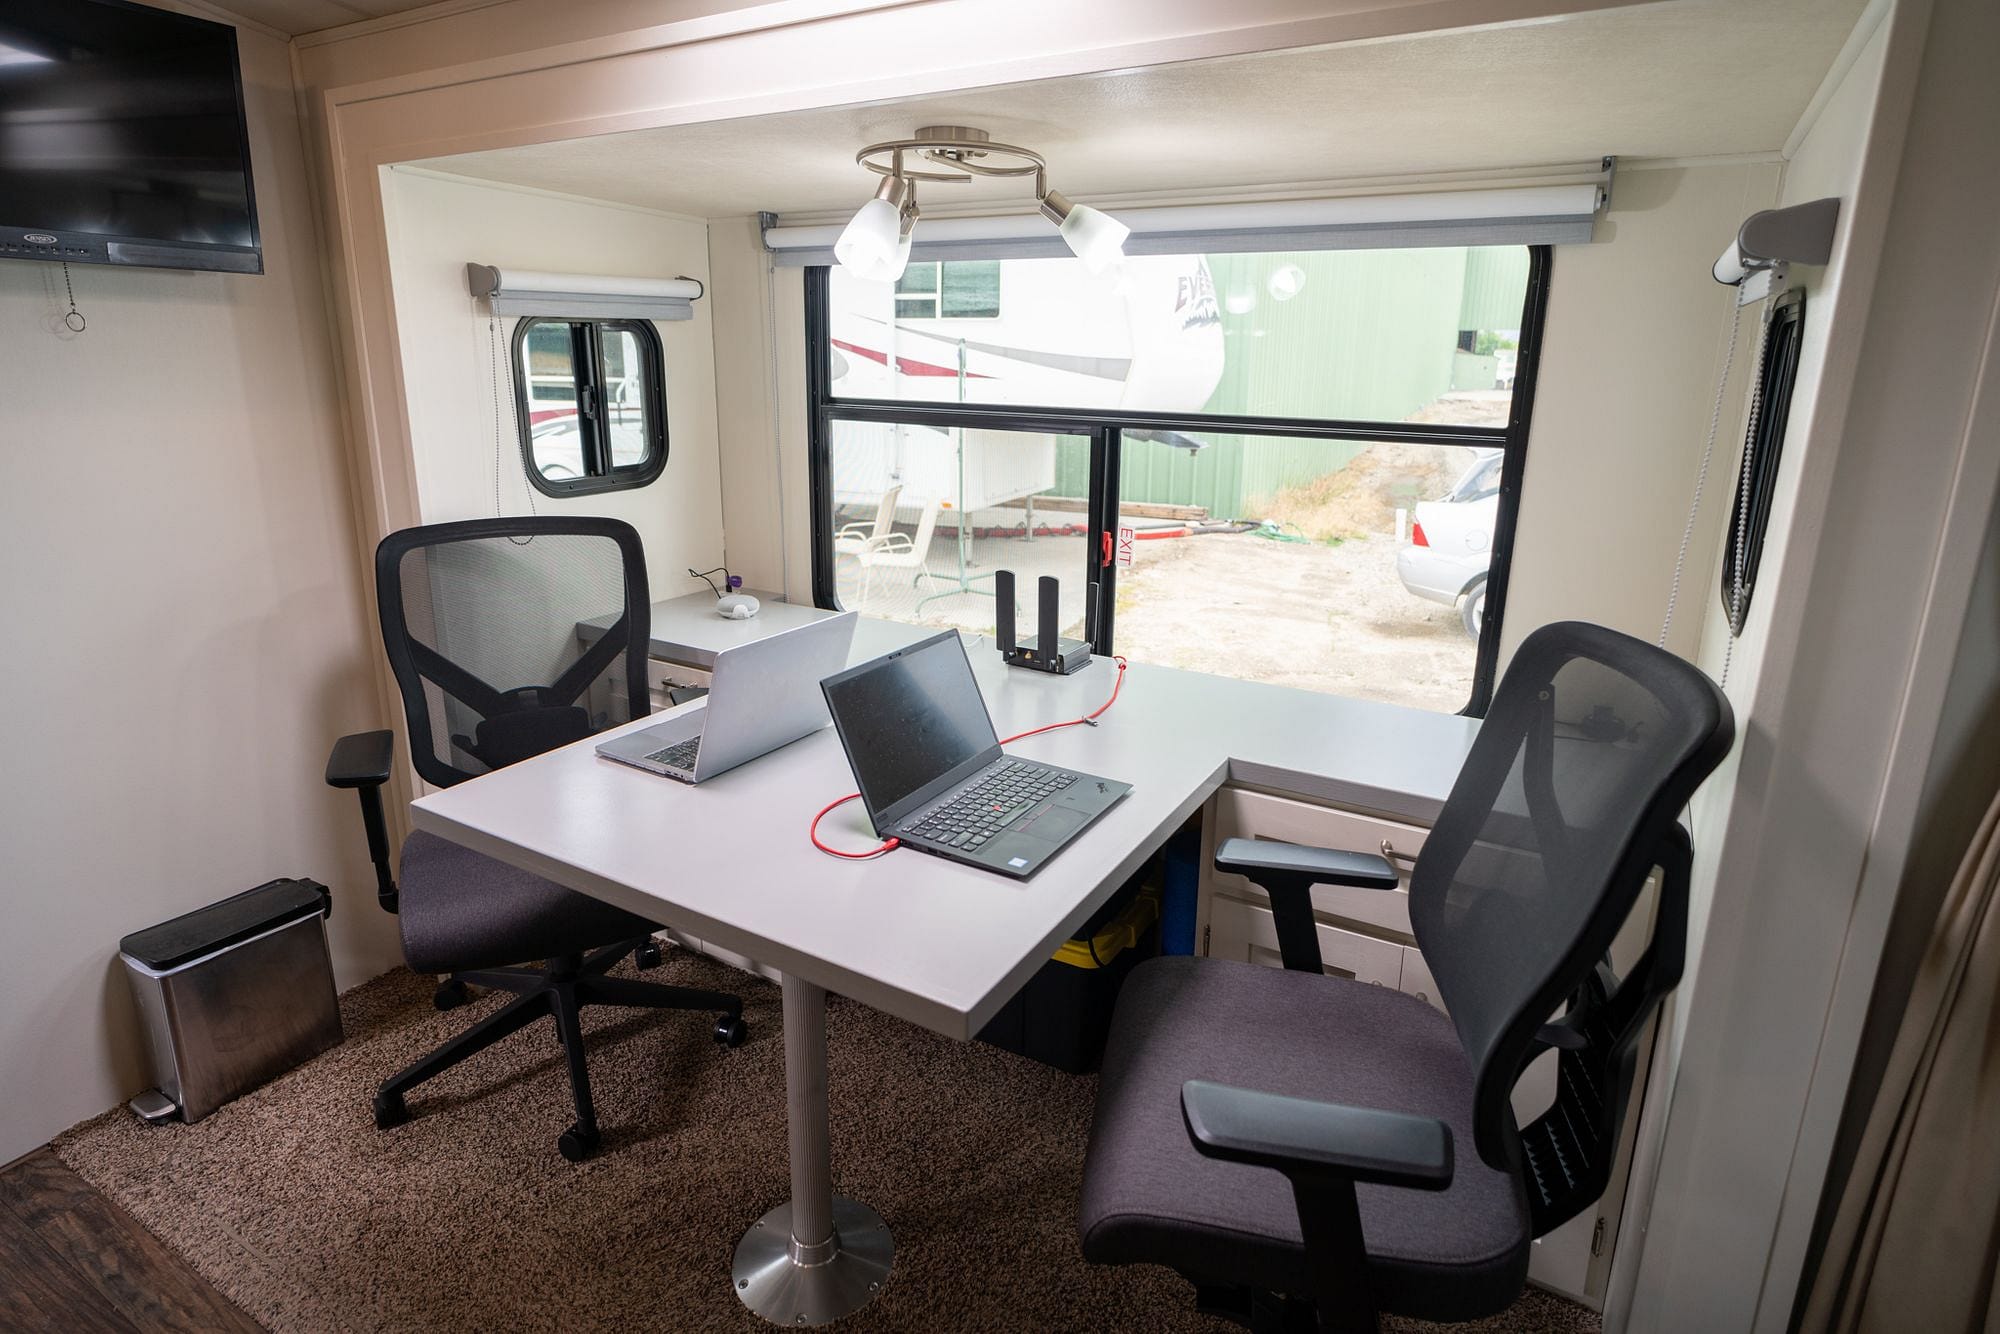
The moment of truth has arrived - will our new custom-built desk fit in the RV slide?
We'll be publishing a full write-up of the workspace build in the near future, but for now, here's what we've been up to this week!
Before & after
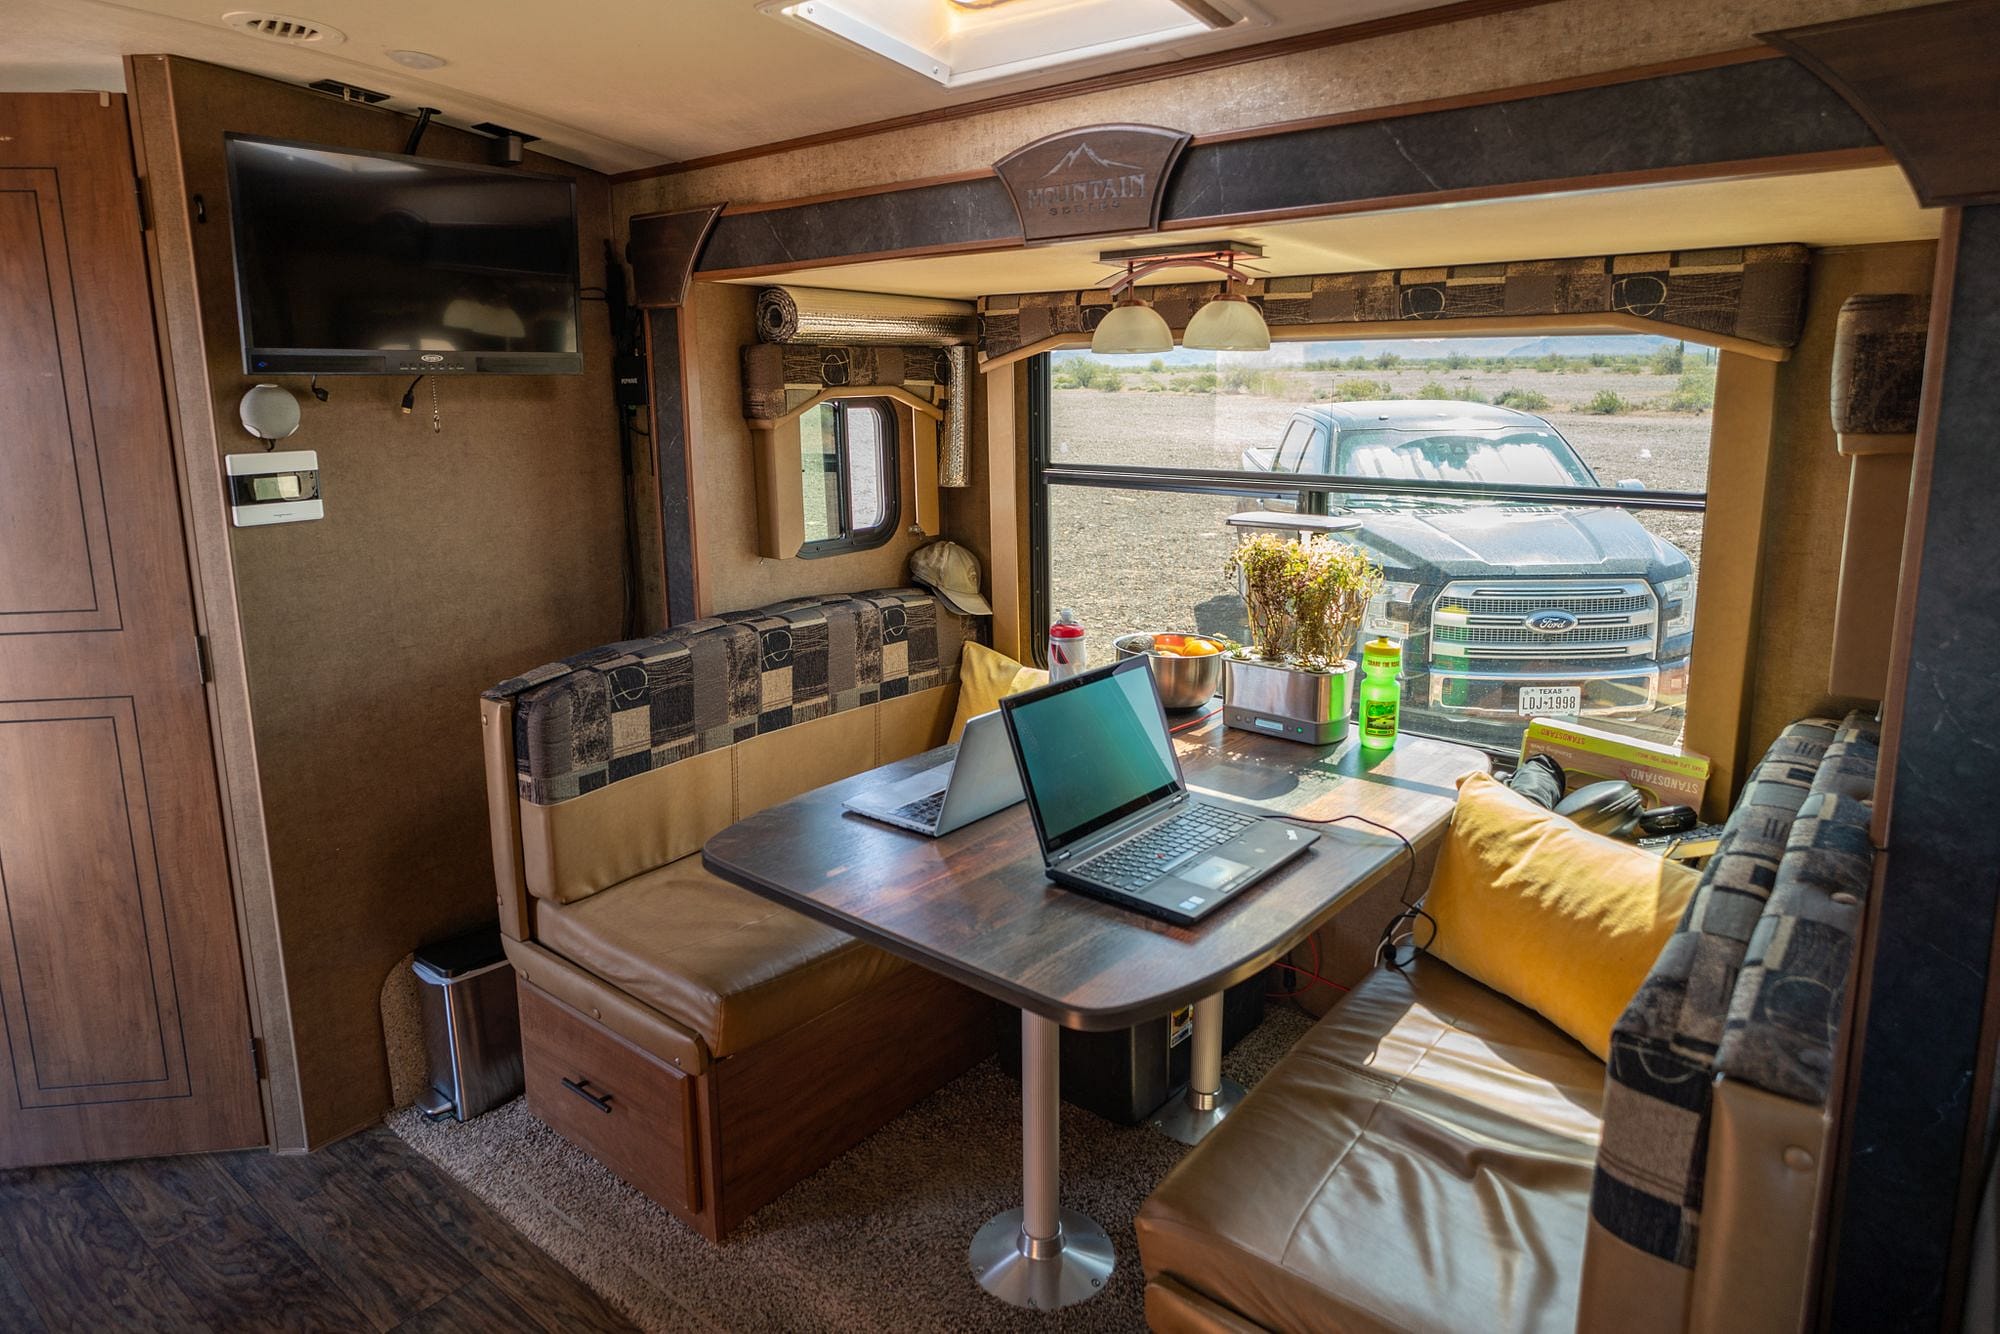
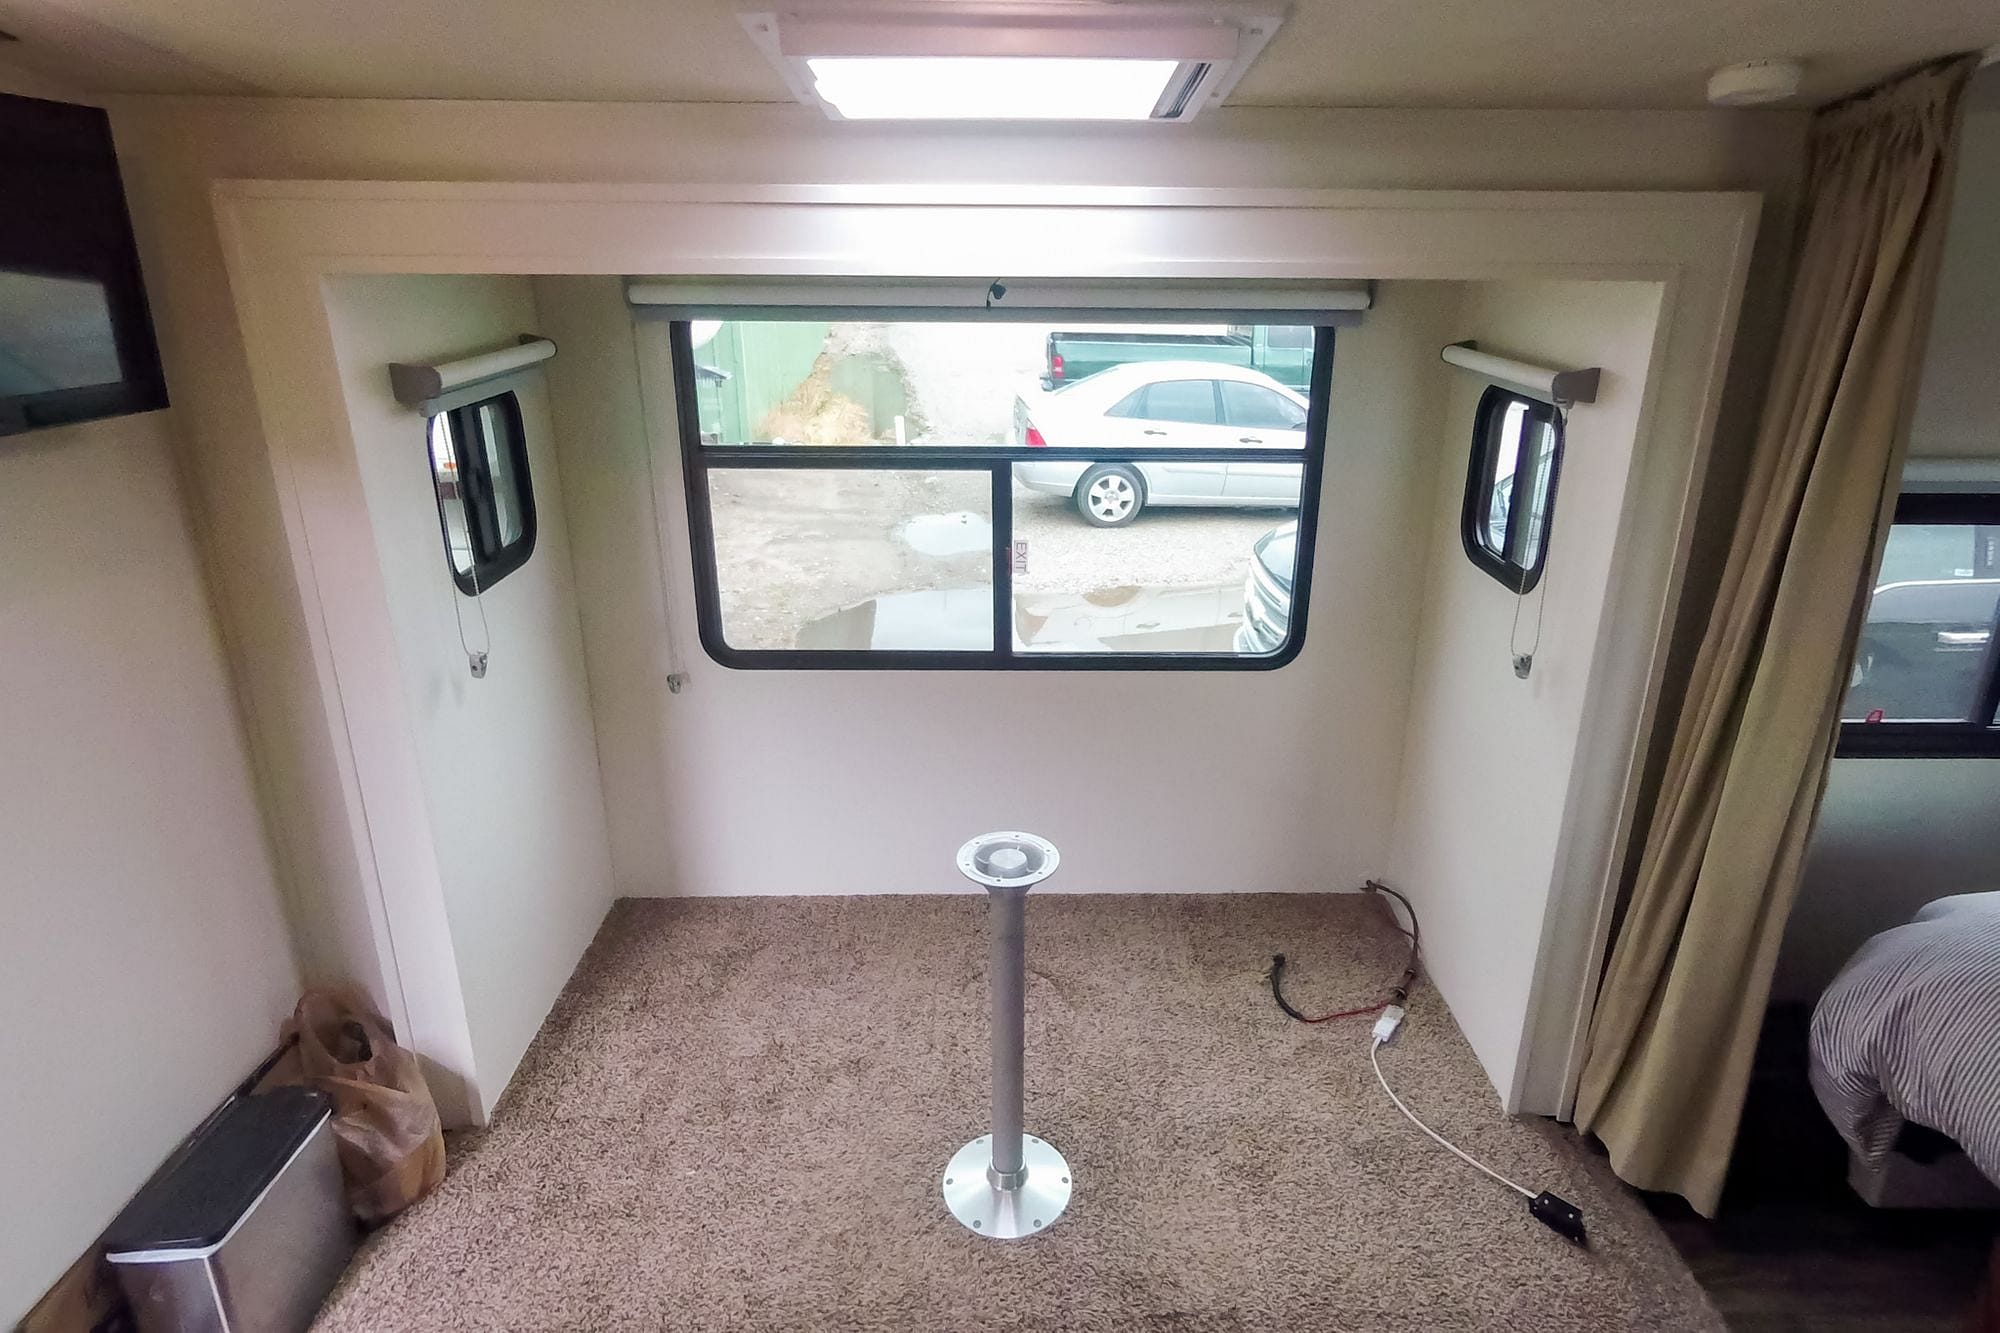
Here's what our slide used to look like - not bad, but not great either, and very definitely a trailer!
And now, it looks like this!
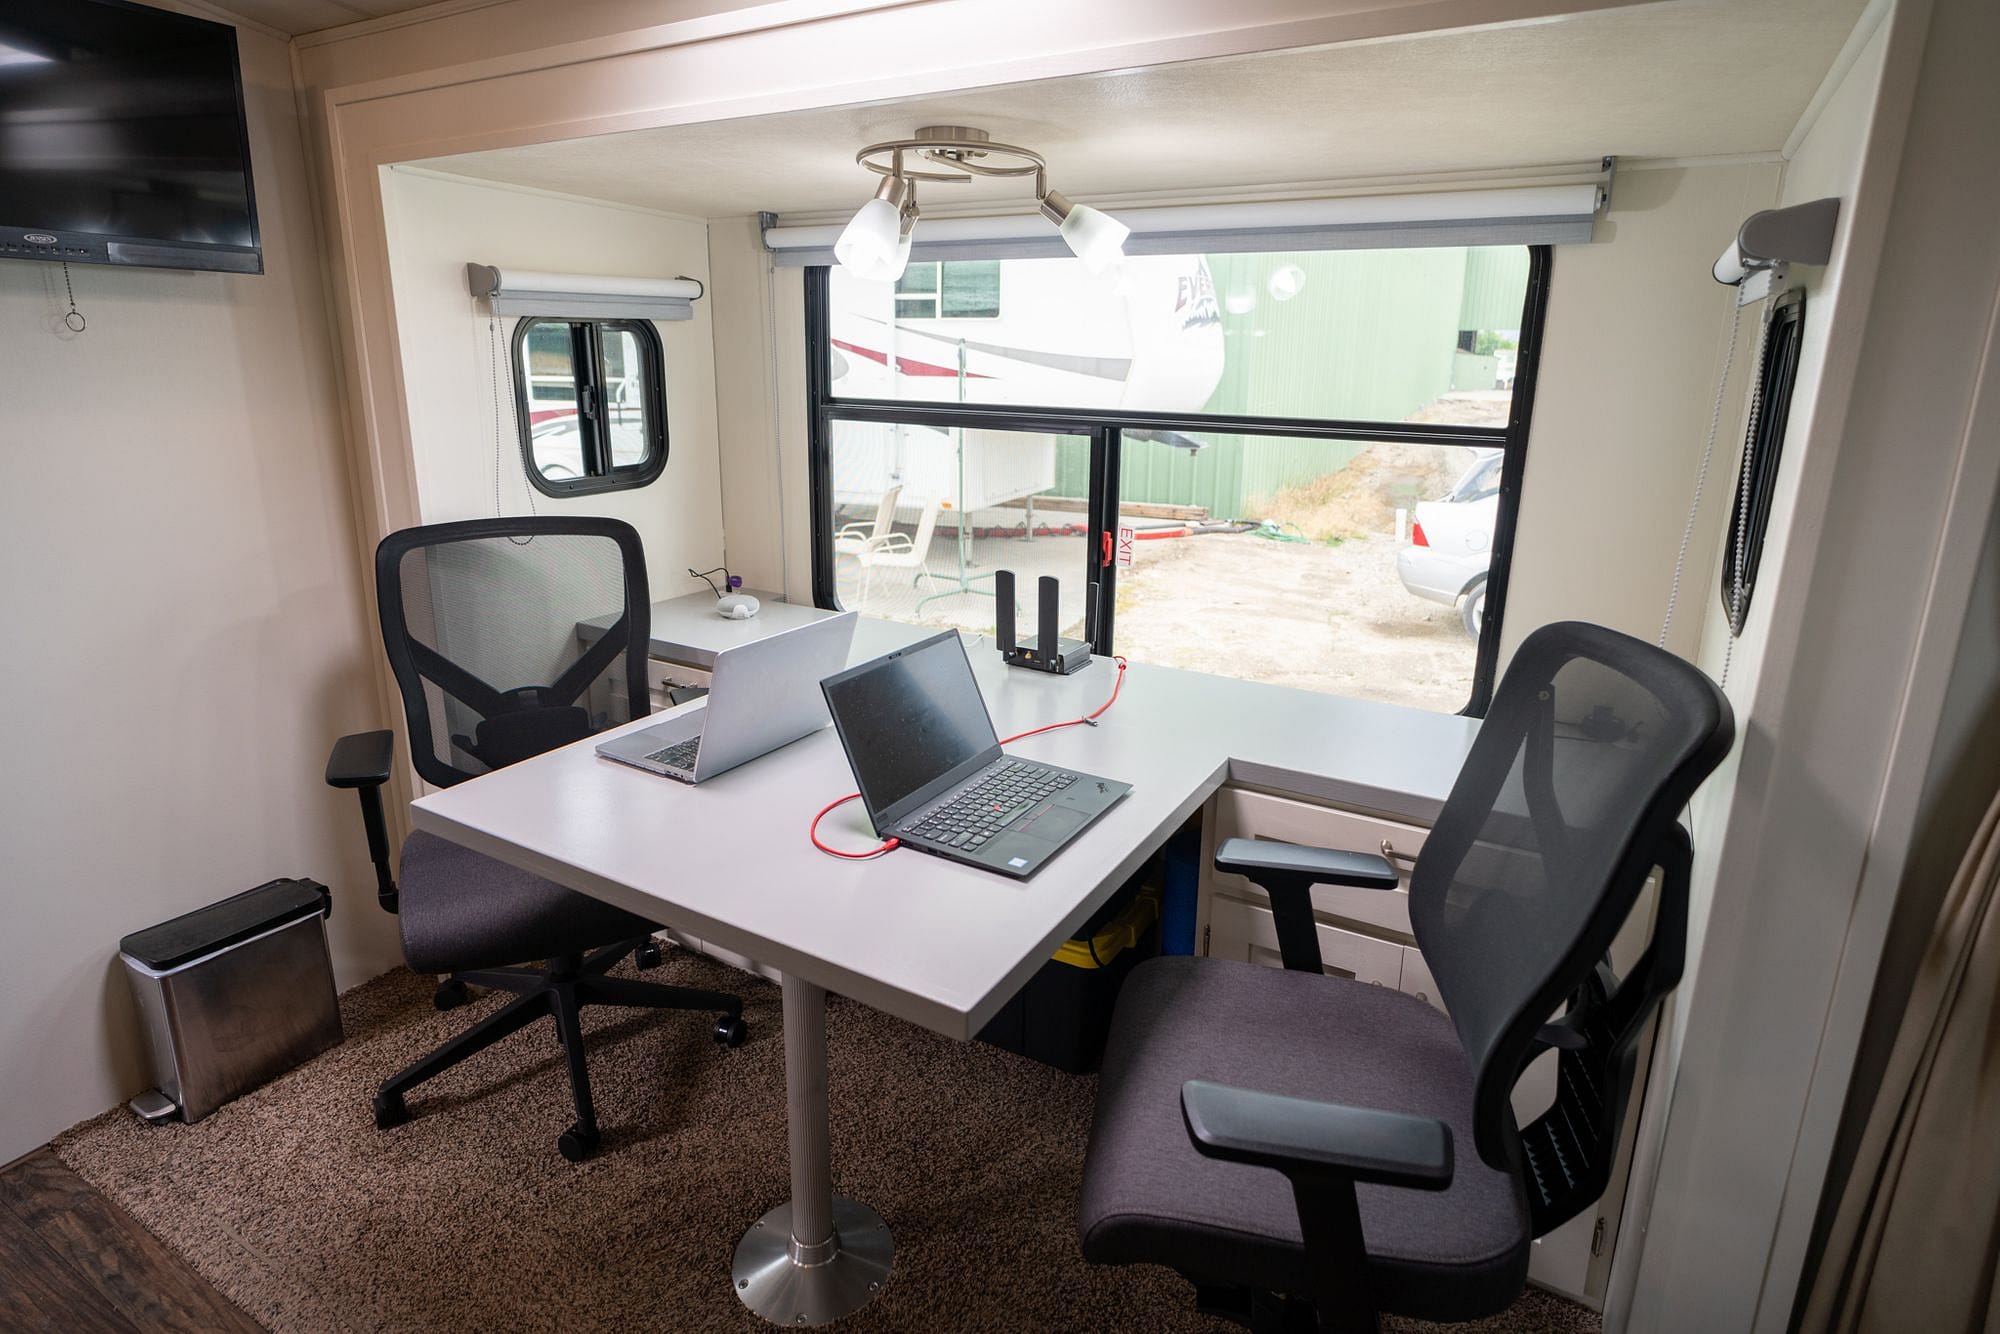
A bit different, huh?
Why did we build a new workspace?
It's taken us a couple of weeks to build this desk - is it really worth all this effort? Let's back up a little and revisit why we're building this desk.
We've been living and working full-time in our RV since we hit the road in July 2018 - almost 2 years ago now. While we have extensively modified the electrical system in the RV, we hadn't made any changes to the furniture or decor - cosmetic or functional.
Coming from office jobs where we had become accustomed to ergonomically designed chairs and desks, the dinette bench seats left a lot to be desired! We loved the size and space of the dinette, but not so much the comfort.
So as we remodeled the rest of the RV to brighten it up and make it feel more homey, we decided to take the opportunity to remove the existing dinette table and bench seats, and install an ergonomically designed workspace.
The existing dinette converted into a bed, but that's a feature we've only used once - when Diana's brother, Jānis, came to stay with us. By designing a permanent desk, we can build something more functional - and guests can still sleep on an inflatable mattress on the floor - or outside in a tent! Likewise, we could previously have seated four people around the table - something we didn't mind losing.
Our goal with the new workspace was to design and build something that was right for us. We're not planning on selling the RV any time soon, but we are planning on continuing to live in it for a while! We wanted a workspace that would fit our needs - adequate storage, space for ergonomic office chairs, and good power options.
Some assembly required
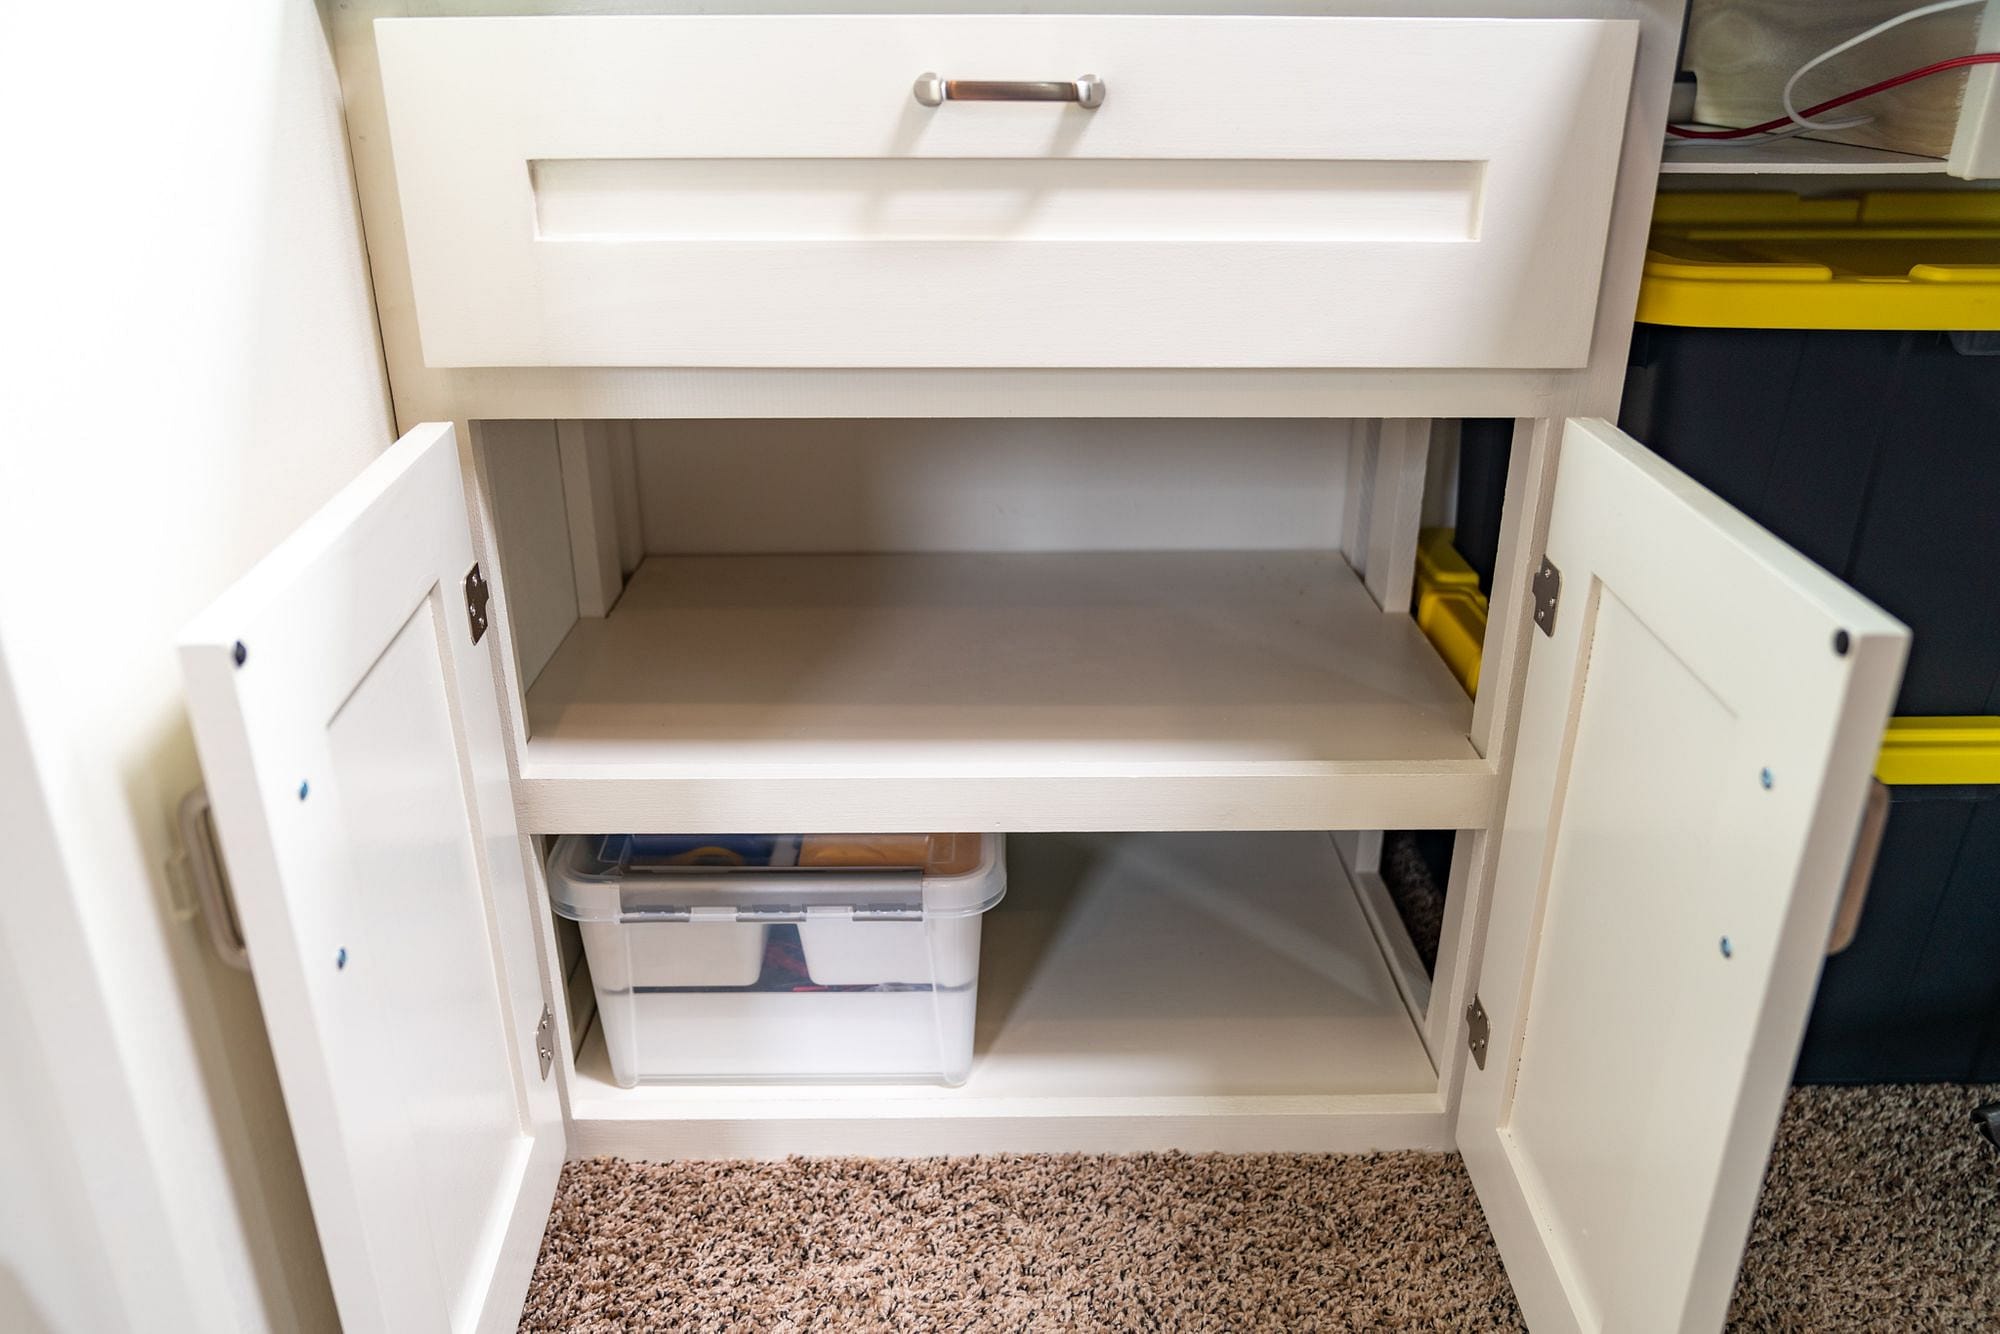
I built the workspace in pieces - two cabinets carcasses, face frames, cable trough, power panel and desk top. The drawers, drawer fronts and doors were also separate. I wanted to wait until the desk was fitted before cutting the trim pieces, which is why they're still not all fitted - cutting, priming and painting takes a few days.
We started assembling by lining up the face frames on the cabinets and attaching them. For the most part, everything was perfectly square, but one of the cabinets was just a fraction off - a couple of clamps squared it up.
Then I positioned the doors and attached the hinges to the face frames - removing the doors again and giving them to Diana for painting.
Lastly, I mounted the drawers on 12-inch drawer slides - a small adjustment was needed to the mounts on each side, but soon enough they were in and sliding smoothly.
Installing the desk
Last Saturday was installation day. We cleared the area in the slide, and brought in the parts one by one.
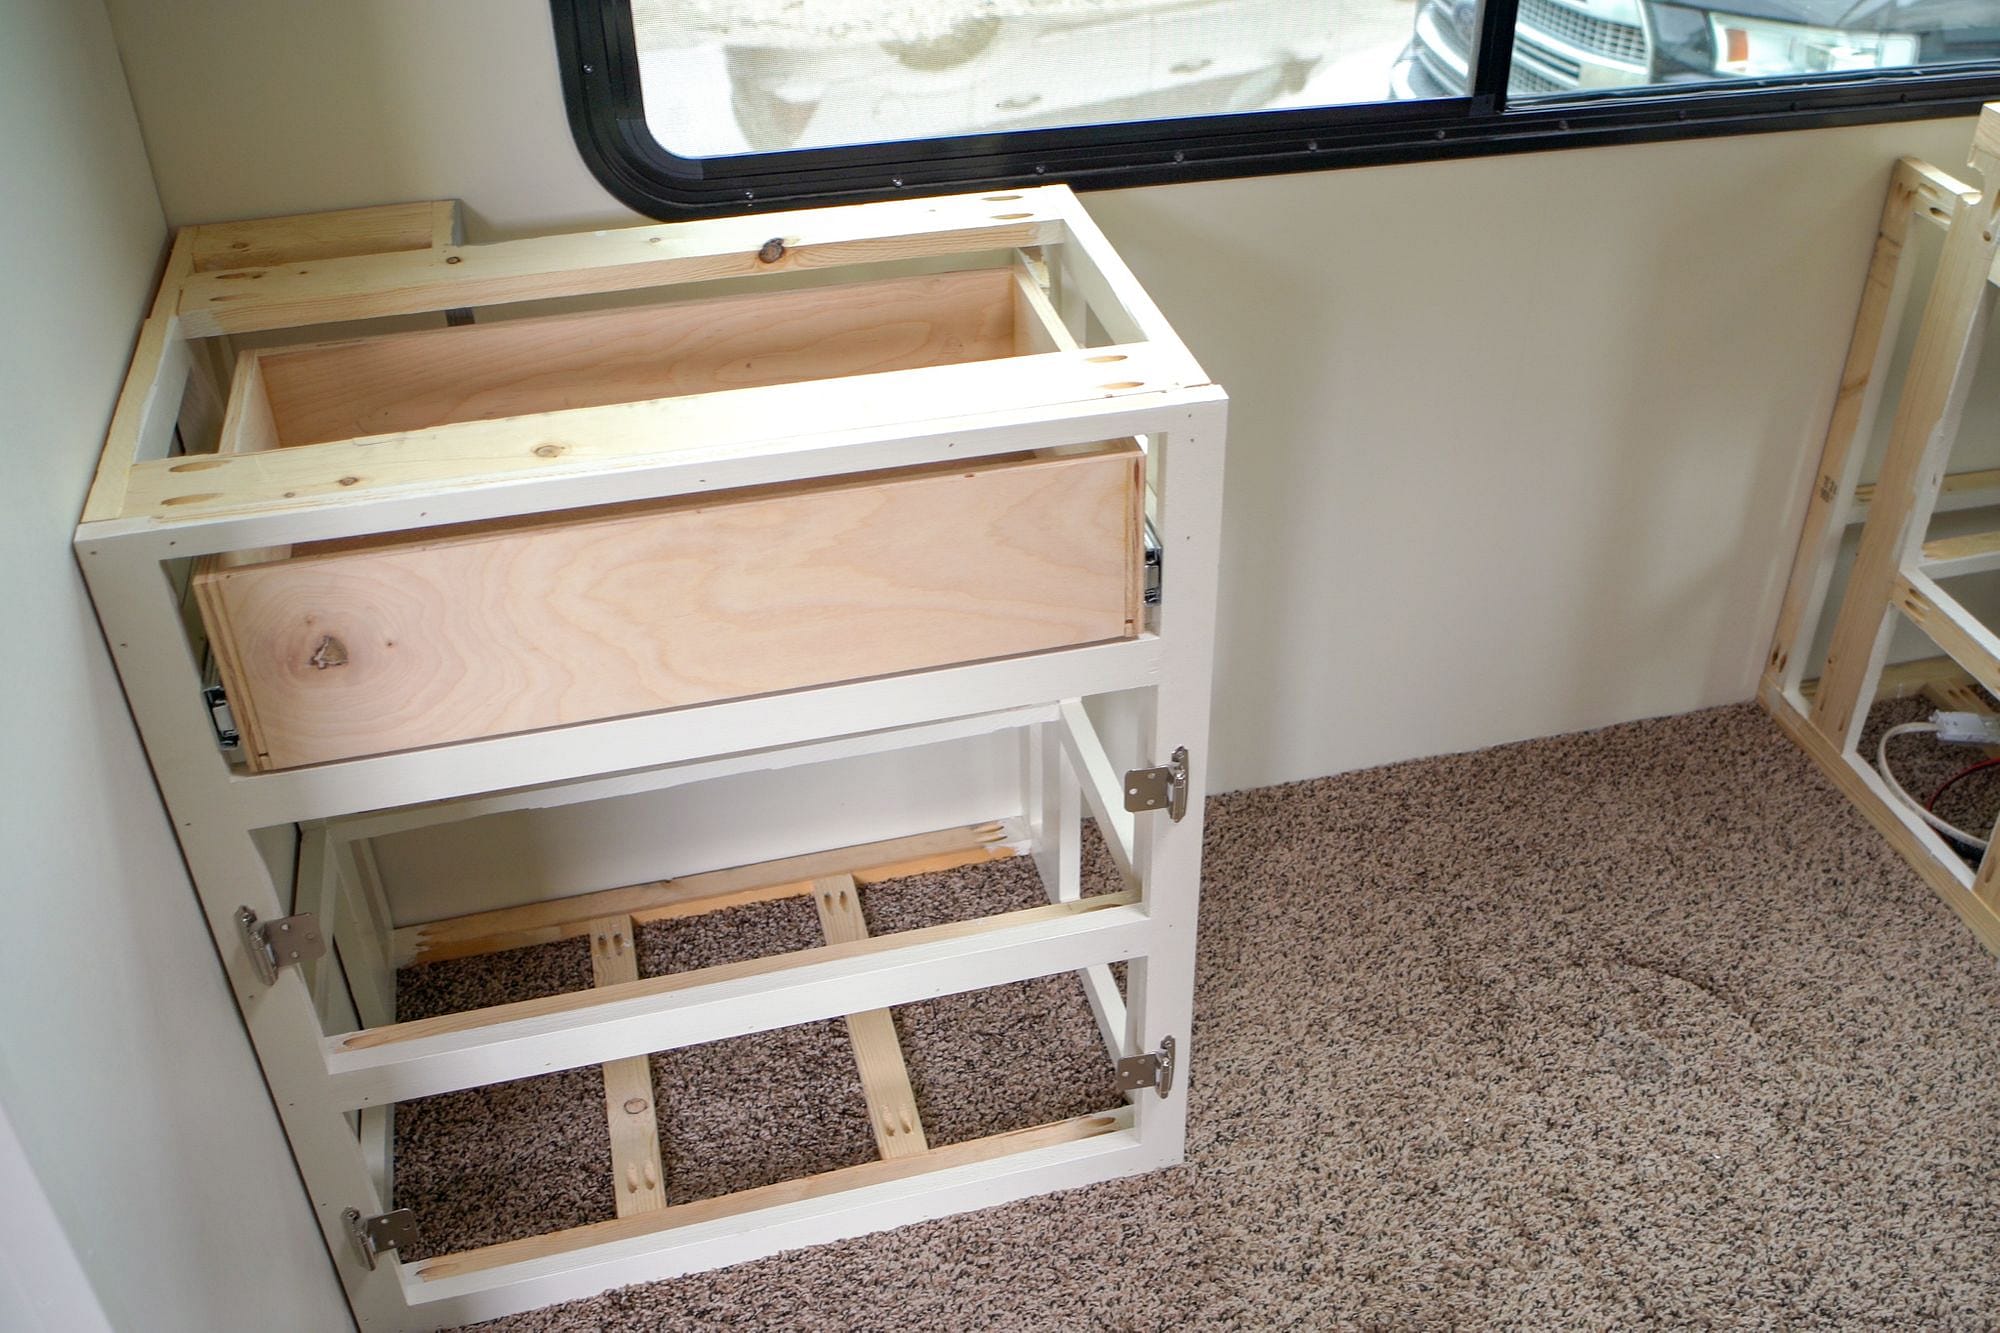
First, the cabinets came in. We slid them into the corners and they seemed to sit as tight and flush as we could hope for.
Next, the cable trough. This was designed such that it interlocks with the cabinets, locking them in place with a pressure fit. It was a perfect fit! Nice and snug against the walls without being too tight.
Last, the desk itself. We nervously carried it into the RV. Would it fit?!
Yes! We lifted it into the slide at an angle so it could pass the slide trim, and straightened it out. It sat square against both sides, and flush to all the walls. To say I was relieved is an understatement!
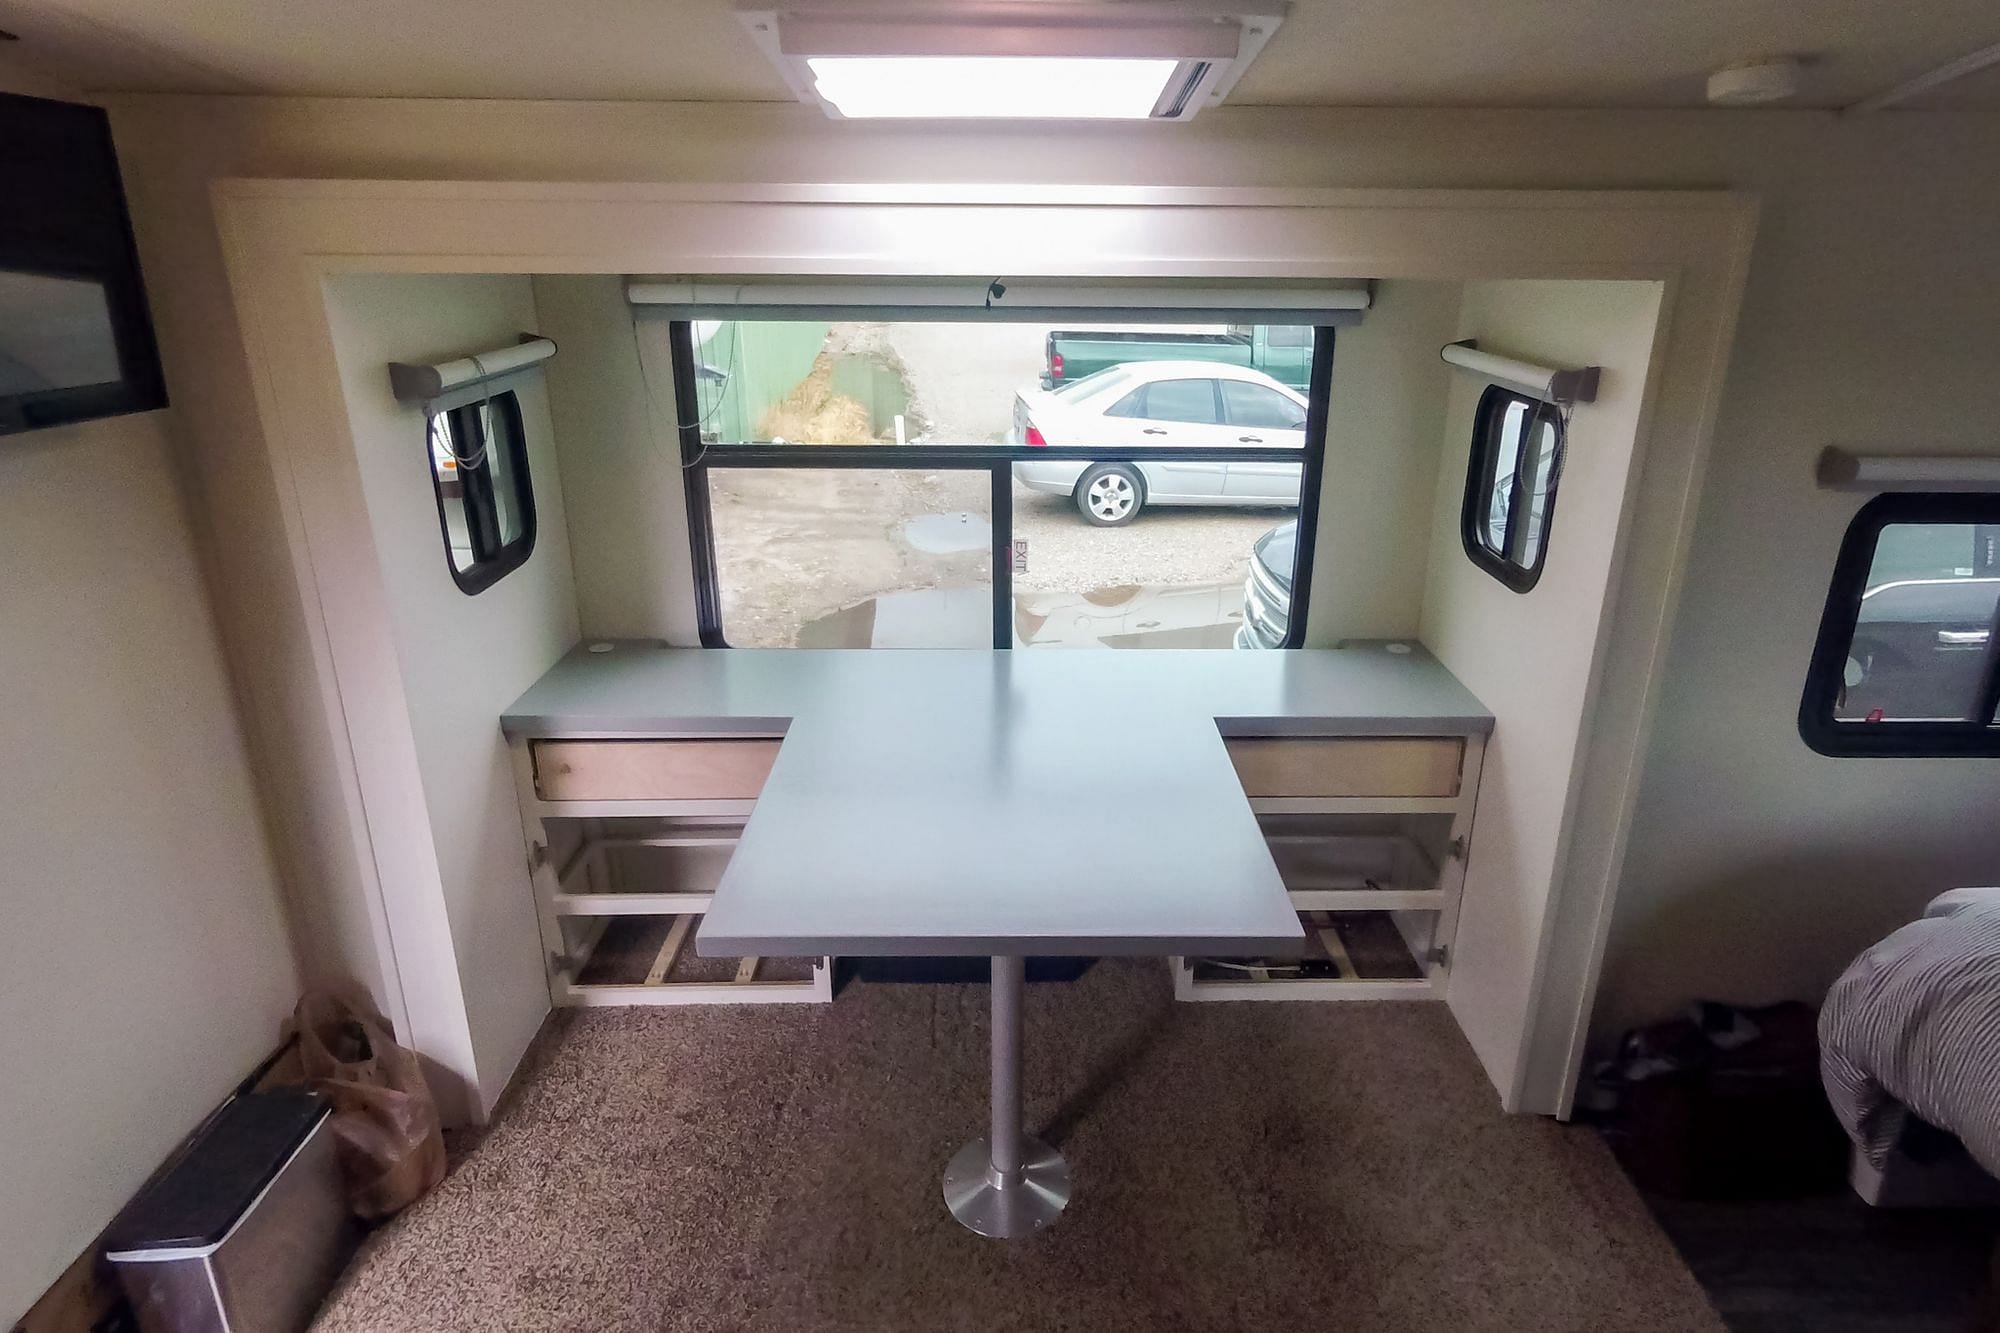
Even with nothing screwed together, the desk was solid! Nothing was moving at all, just from the pressure fit.
In a normal house, this might be fine, but in an RV it needed securing. A few screws held each cabinet firm against the walls, and a few more secured the desk top to the cabinets. We reused one of the existing dinette legs to support the front edge of the desk.
Attaching the drawers and doors
Once the paint had dried on the doors and drawers, we installed those with some new drawer / door pulls we had picked up at Home Depot.
It went surprisingly smoothly, and everything lined up pretty well. I took my time to line up the doors perfectly when I mounted the hinges, but the doors are still off by a hair - not something most people will likely notice, but catches my eye each time I see them.
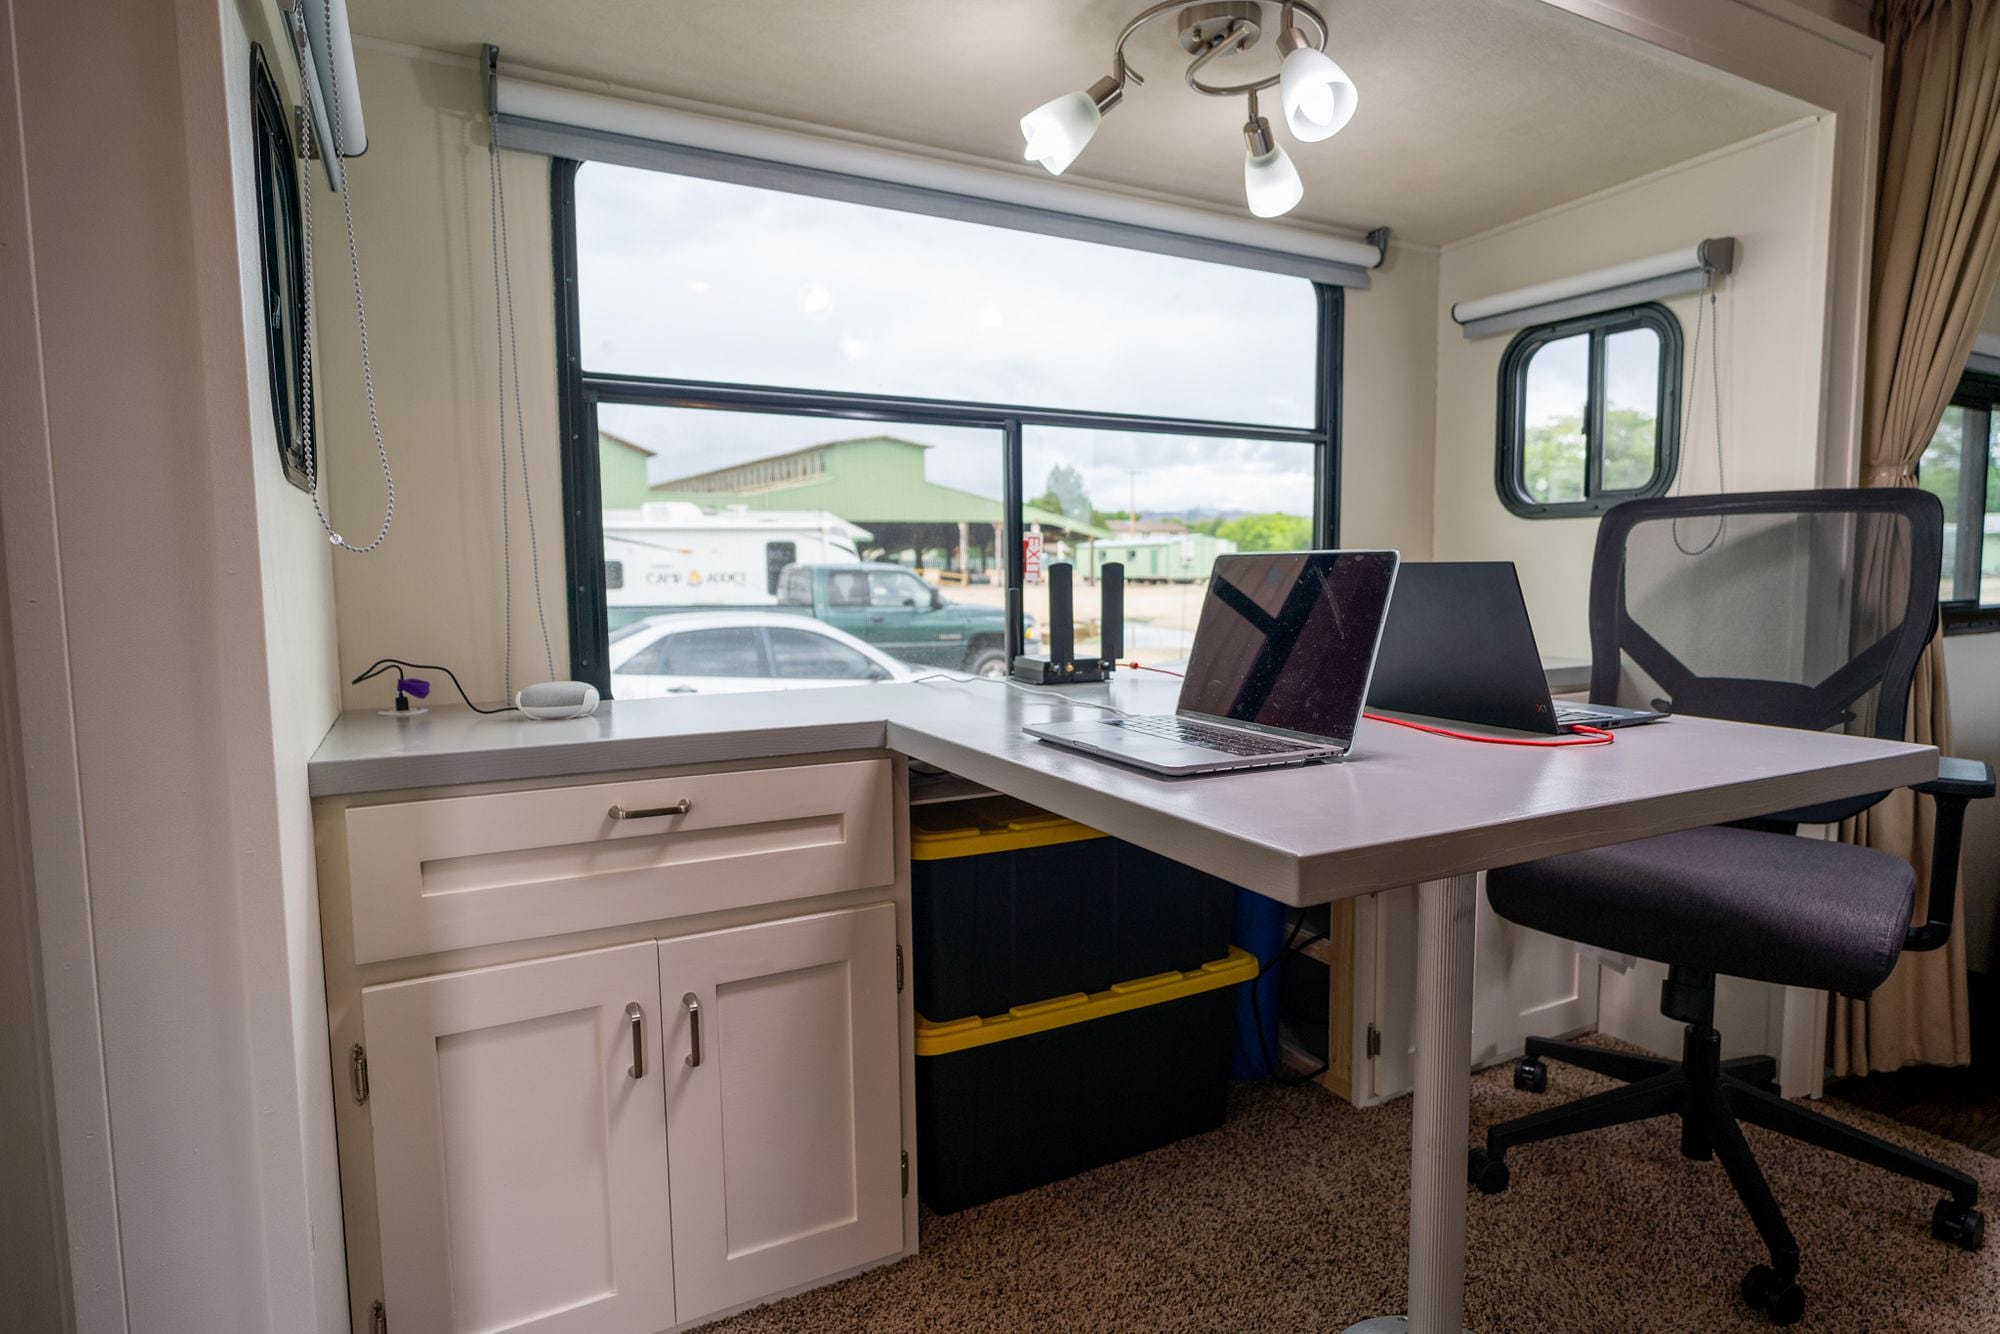
I built the doors and drawer fronts to mimic the shaker-style cabinet doors in the rest of the RV, but we chose to paint these in a semi-gloss Confident White paint to better blend in with the walls. I'm really pleased with the end result.
Wiring up
All those outlets need power, so we had to get the desk wired up.
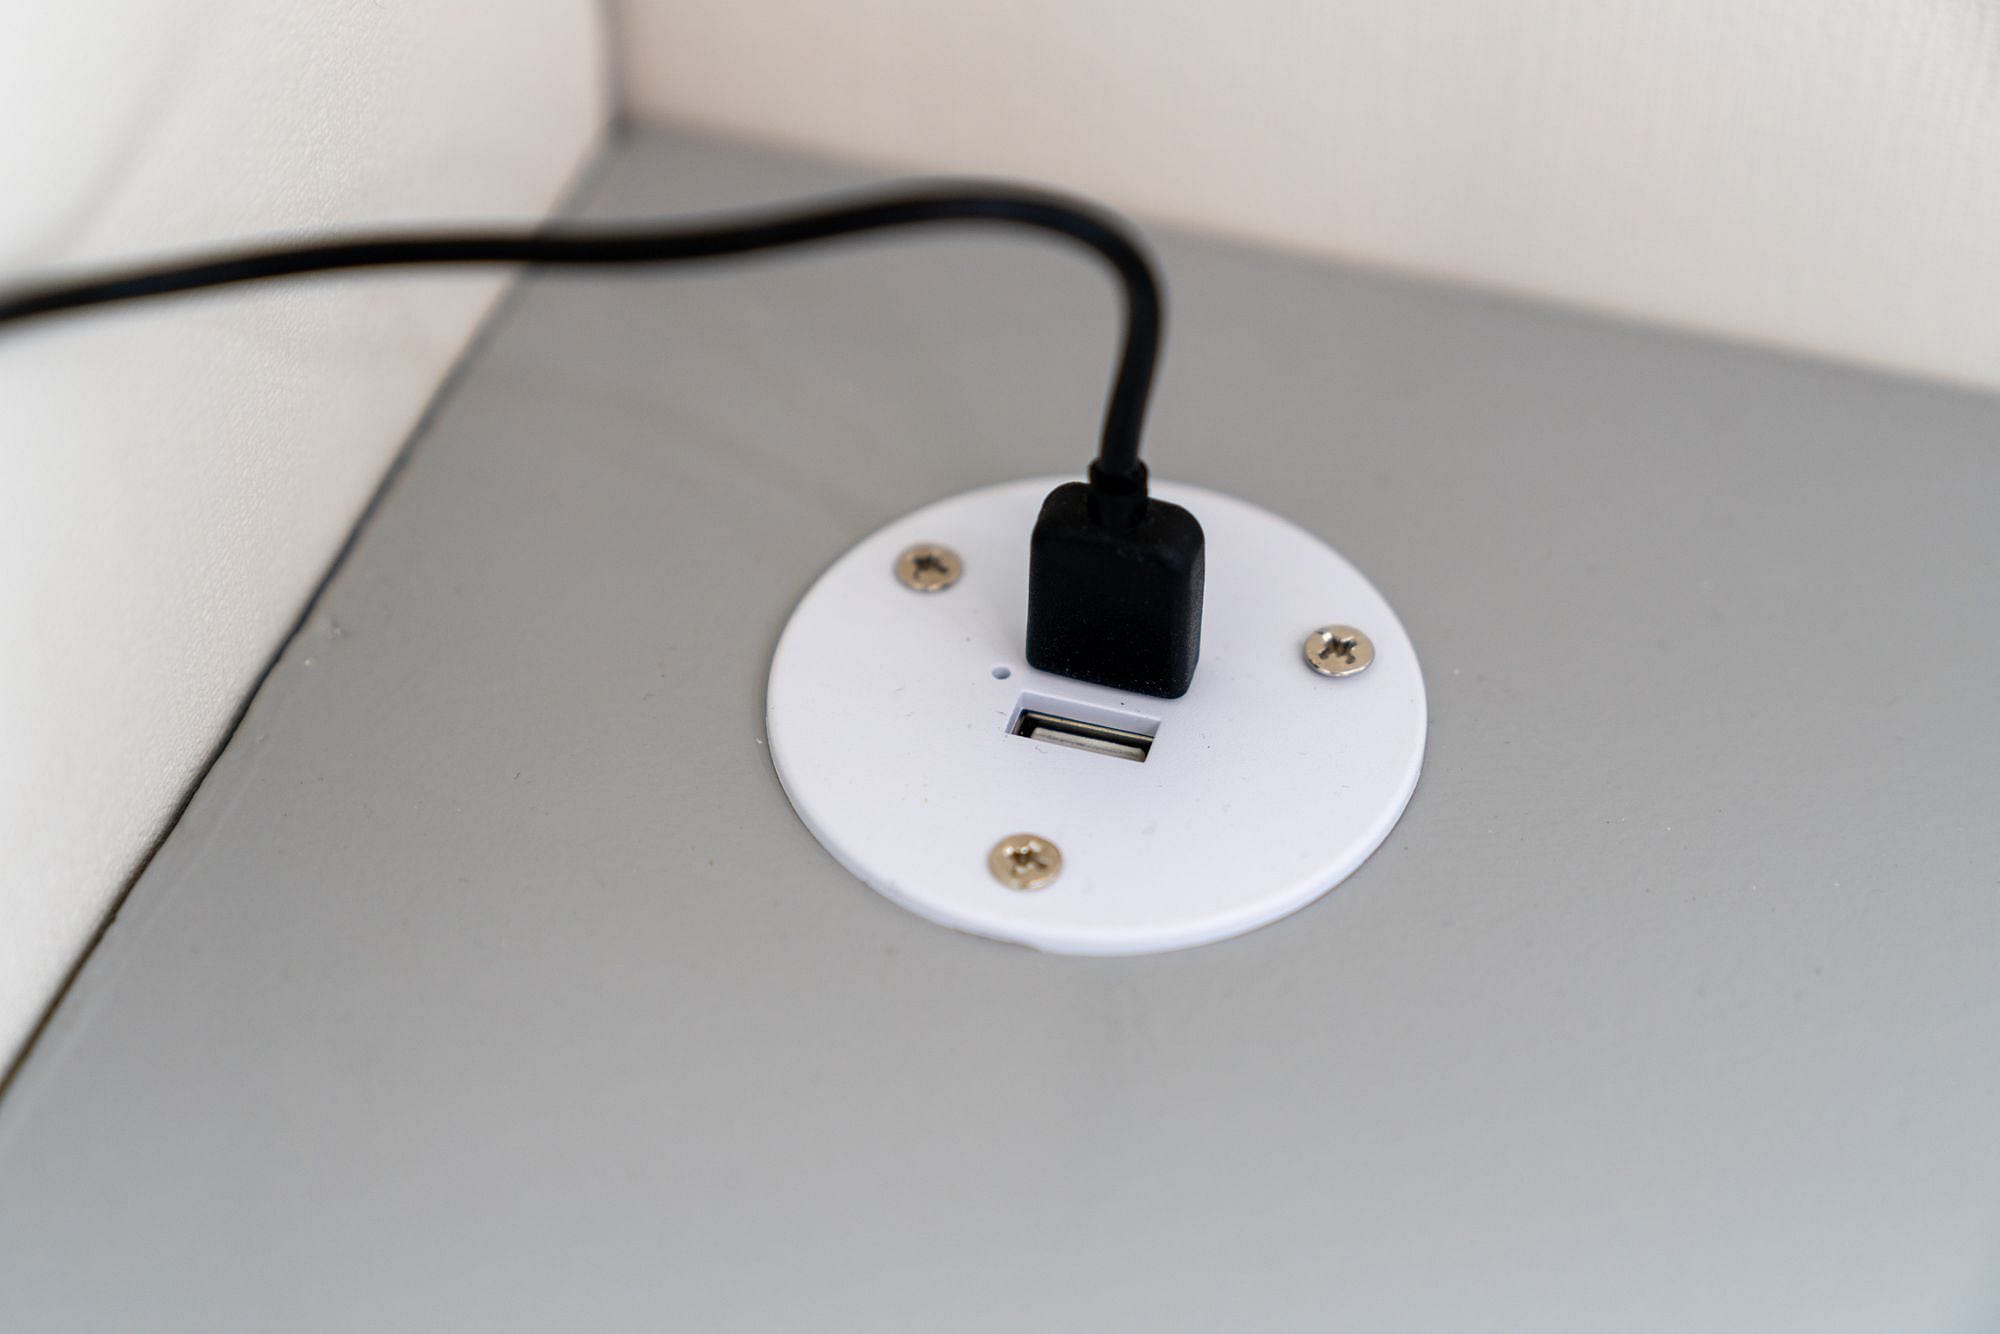
Our slide already had 110V power available via an outlet in the bench seat, and I had previously installed 12V outlets too.
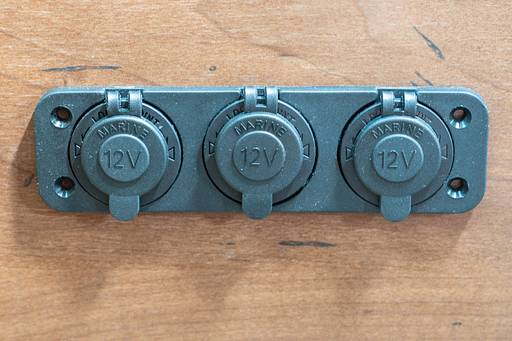
But the new desk called for something more elaborate.
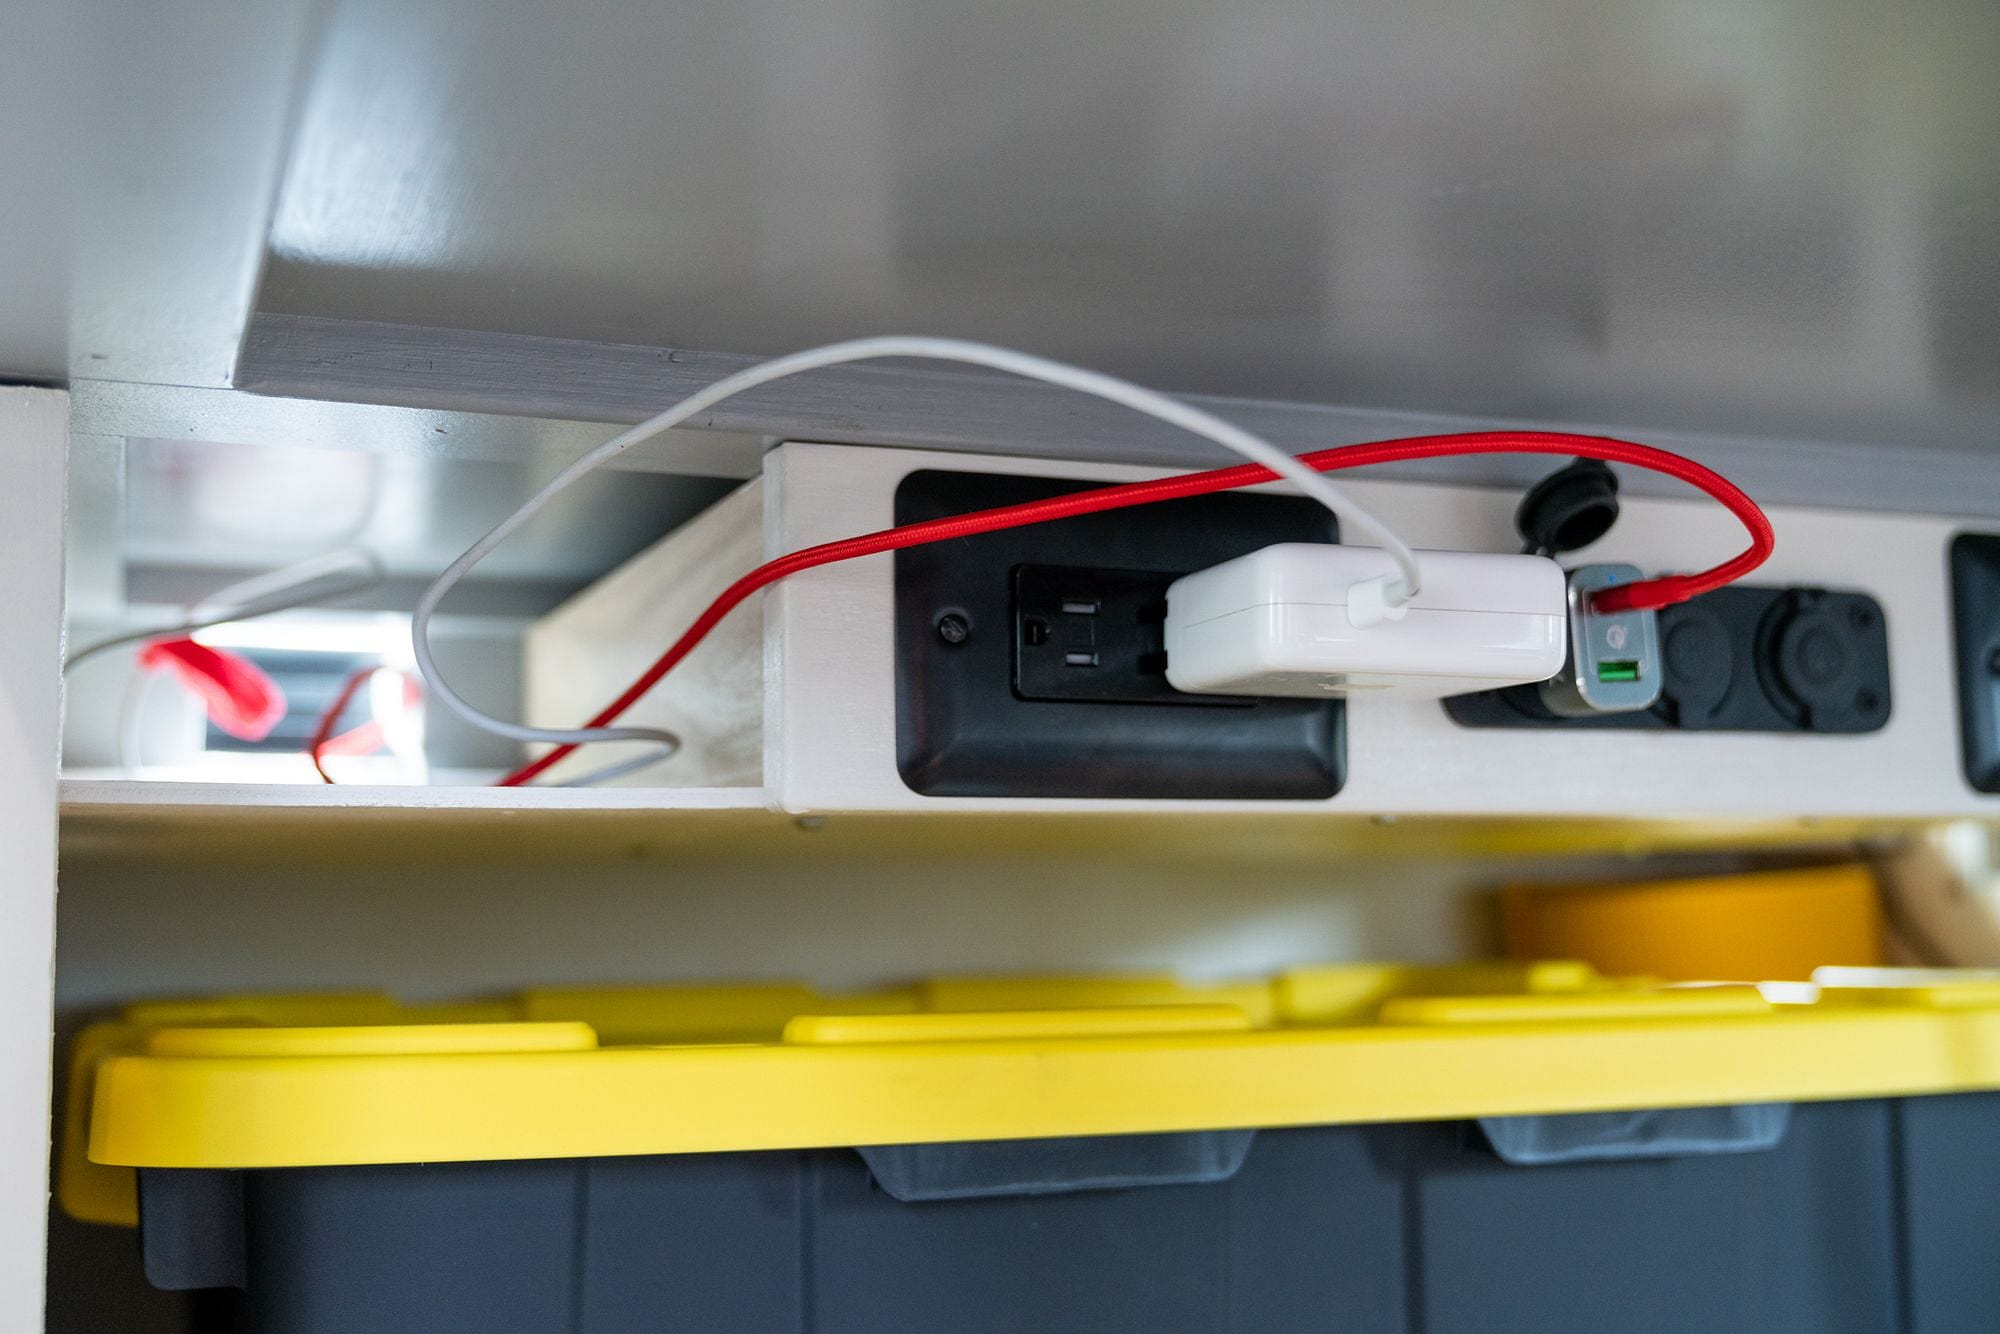
I cut the 12V wire going to the lights and 12V outlets, and redirected it to the power panel. I also ran some new 110V wire to the same spot. I used wire loom and PVC conduit to keep everything tidy and protected.
I daisy-chained two 110V double outlets, and ran the 12V power into a Blue Sea Systems DC Fuse Block. From here, I was able to split it out on individually fused wires for the three 12V outlets and two double USB ports.
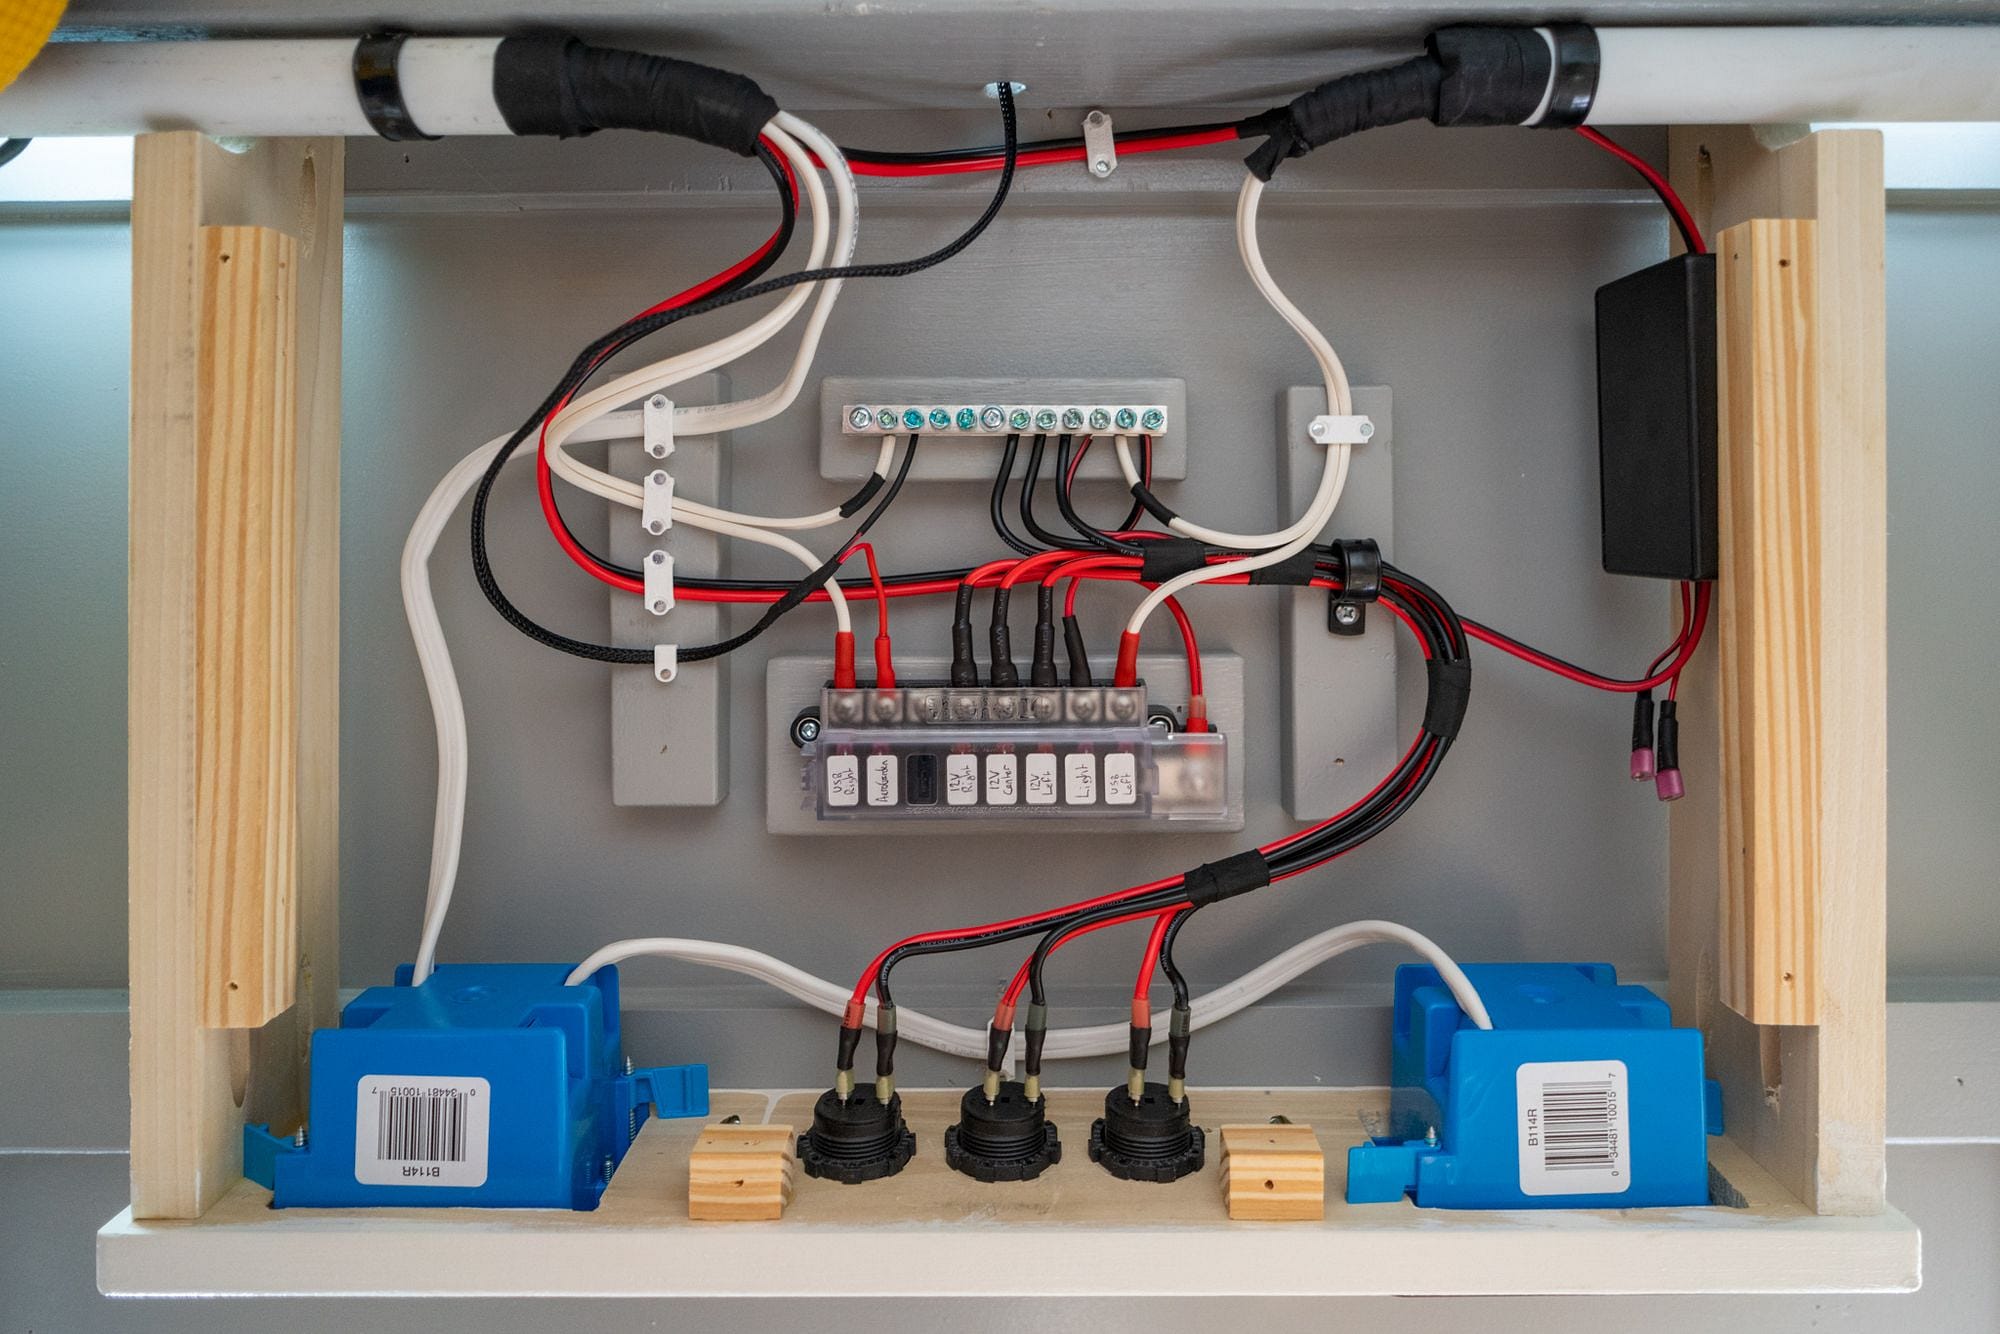
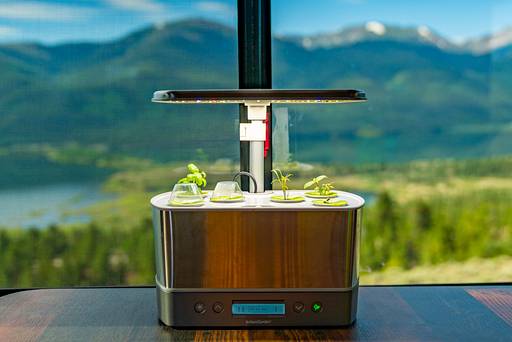
We also added a hardwired connector for our AeroGarden, although we're currently using that to power our router until we mount that back up on the wall!
The last thing to wire up was the light.
New light fixture
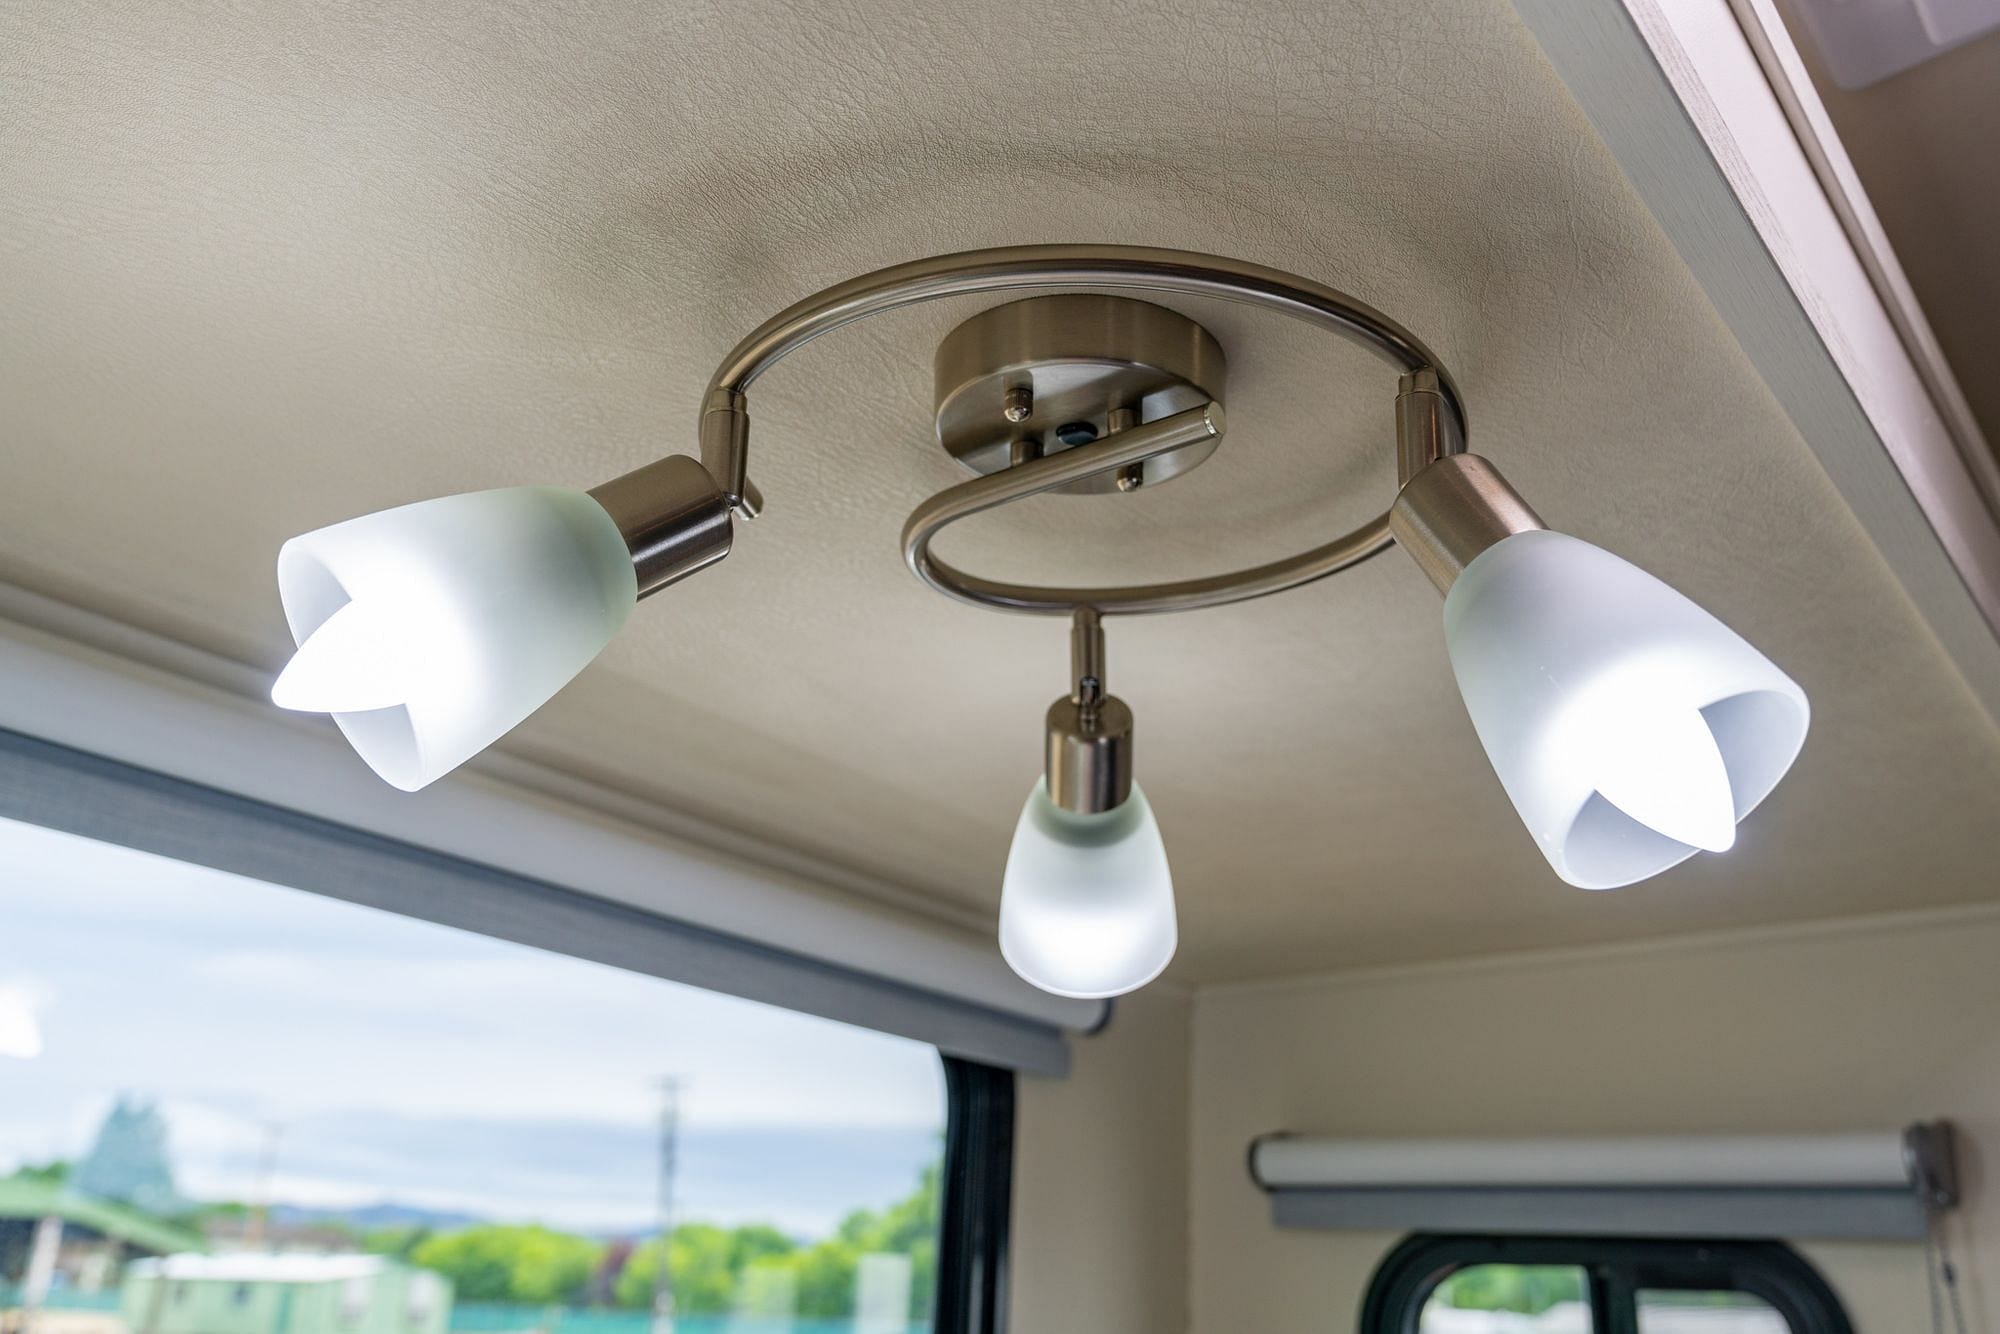
I hated our previous dinette light. The light output was low, the bulbs were loose and would often flicker, and I didn't like the design. Worst of all, the switch for the light was on the light fixture itself - and I couldn't reach that while sitting at the dinette.
We ordered a new light fixture from Amazon. Although it was designed for 110V, some simple rewiring and a few 12V LED bulbs allowed us to convert it to run directly on 12V. We chose the daylight white, but they also sell a warmer color too. But what about the light switch?
This light was the only one in our RV that we hadn't wired into our home automation system, so we took the opportunity to do that. I modified a Sonoff SV (similar to the Sonoff S31 we use to control our electric heater) and mounted it in a small plastic enclosure near the power panel. It's powered from the DC fuse block, and then a wire runs all the way behind the cabinet, outside the slide and connects to the existing wiring that runs to the light.
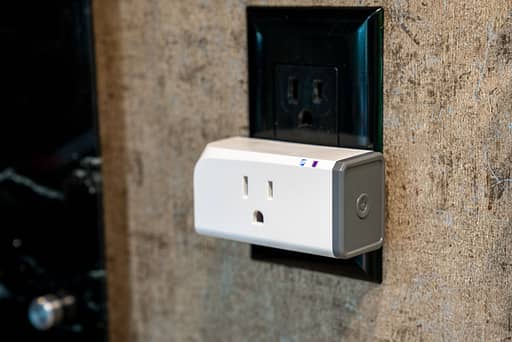
For now, that lets us turn the light on and off via our phones or with voice control using our Google Home Mini. Once the final pieces of trim are installed, we'll also mount a switch underneath the desk.

Office chairs
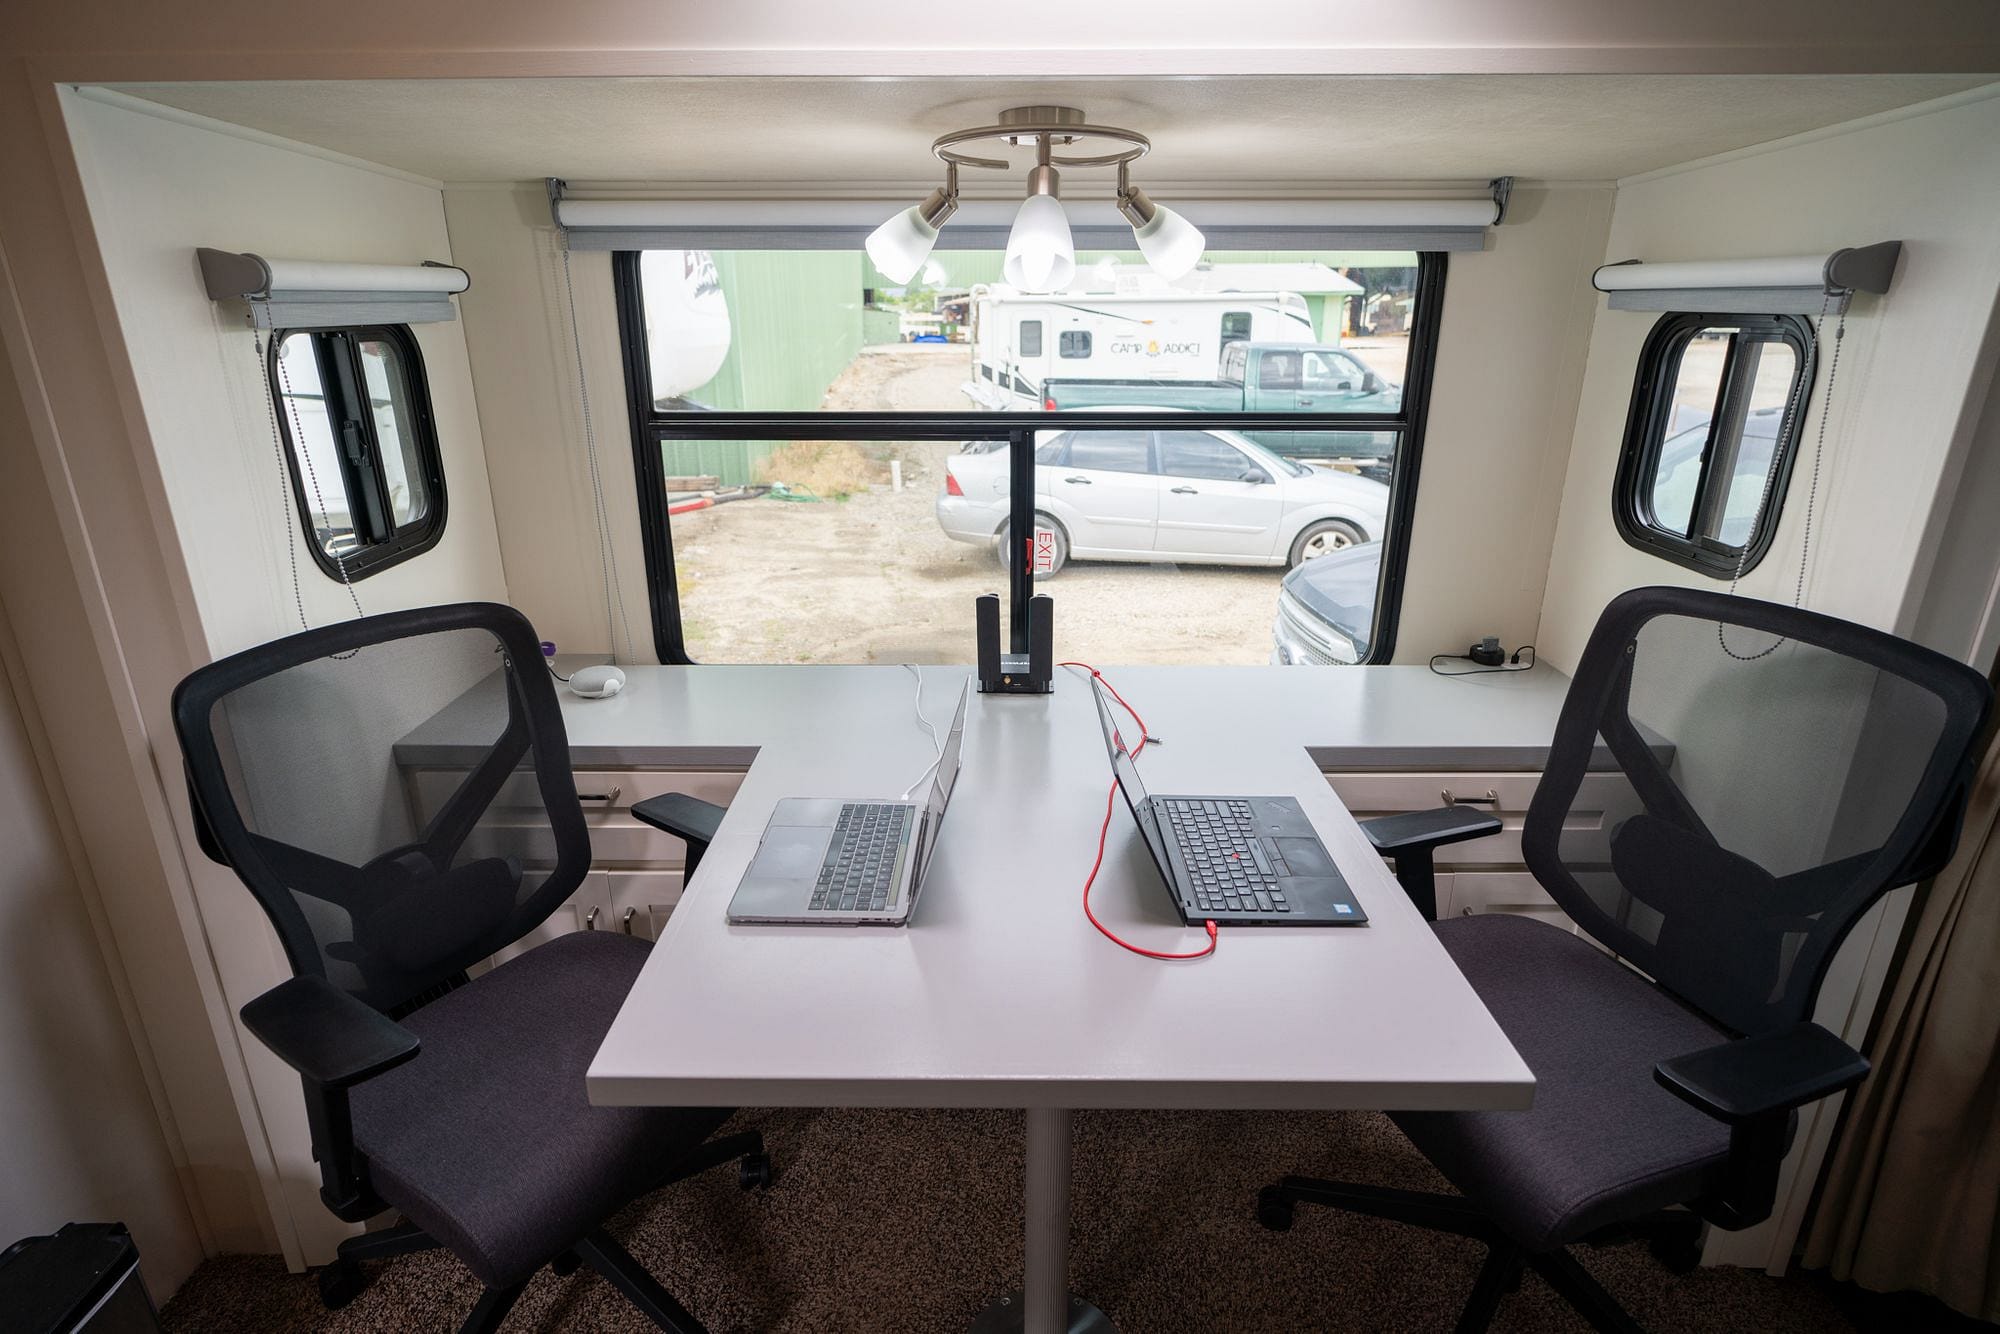
One of the big drivers for this rebuild was so we could use office chairs while sitting at the desk - much more comfortable and ergonomic than the bench seats!
With the desk installed, we headed into town to find some chairs. Our space was limited so we needed chairs that would be comfortable without being too large (or heavy!).
After checking out a couple of different places and sitting on lots of different chairs, we settled on the Voxx Raynor Mesh Back Fabric Task Chair from Staples. Assembling these took just a few minutes, and so far they're proving exceptionally comfortable!
Finishing touches
The desk is in and we have chairs. Finally, we have somewhere we can sit and work in our RV again - also somewhere to eat!
This was by far the most time consuming part of the remodel. If you're experienced in this sort of thing then I'm sure you could knock it out in no time at all, but much of it was brand new for me and I learned a lot.
Designing the desk ahead of the build in SketchUp made it so much easier to construct - I wouldn't embark on another project without designing it in SketchUp first.
A few people have asked about weight. How does it compare to the old dinette? We haven't weighed our rig yet, but based on how heavy things felt to carry, I don't think we've added too much weight. Custom building the cabinets and desk let us keep weight down, and the old dinette wasn't exactly light! As for moving the weight further out into the slide, we did check with Outdoors RV before we started to see if they had any concerns, but they gave us the green light.
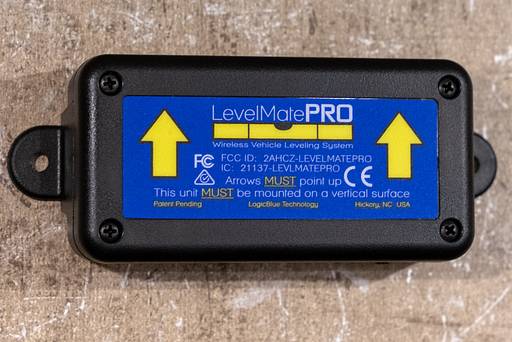
There are still a few more pieces of trim to cut, paint and install. We still need to put a few things back up on the wall, like our router and LevelMatePRO. And we still need to put some caulking in a few spots.
It's not that much though - the end is in sight and I hope we can finish it all off before next week. Then we'll be doing a big sort out to declutter our RV before we load things back in.
But for now, we'll be enjoying our new workspace - it was a lot of work, but the result has made it all worthwhile!
Hey! Did you enjoy this blog post?
I write all the content on this site myself, and then make it available for free, for you. If you found it useful or interesting, would you consider a sending us a little something to say thank you?
Using Buy Me A Coffee, you can send us as little as $5 or as much as you want - either way, it means a lot to us! Click the big button below if you want to help support our work.