
by Matt Knight
Thursday April 15, 2021 • 20 min read
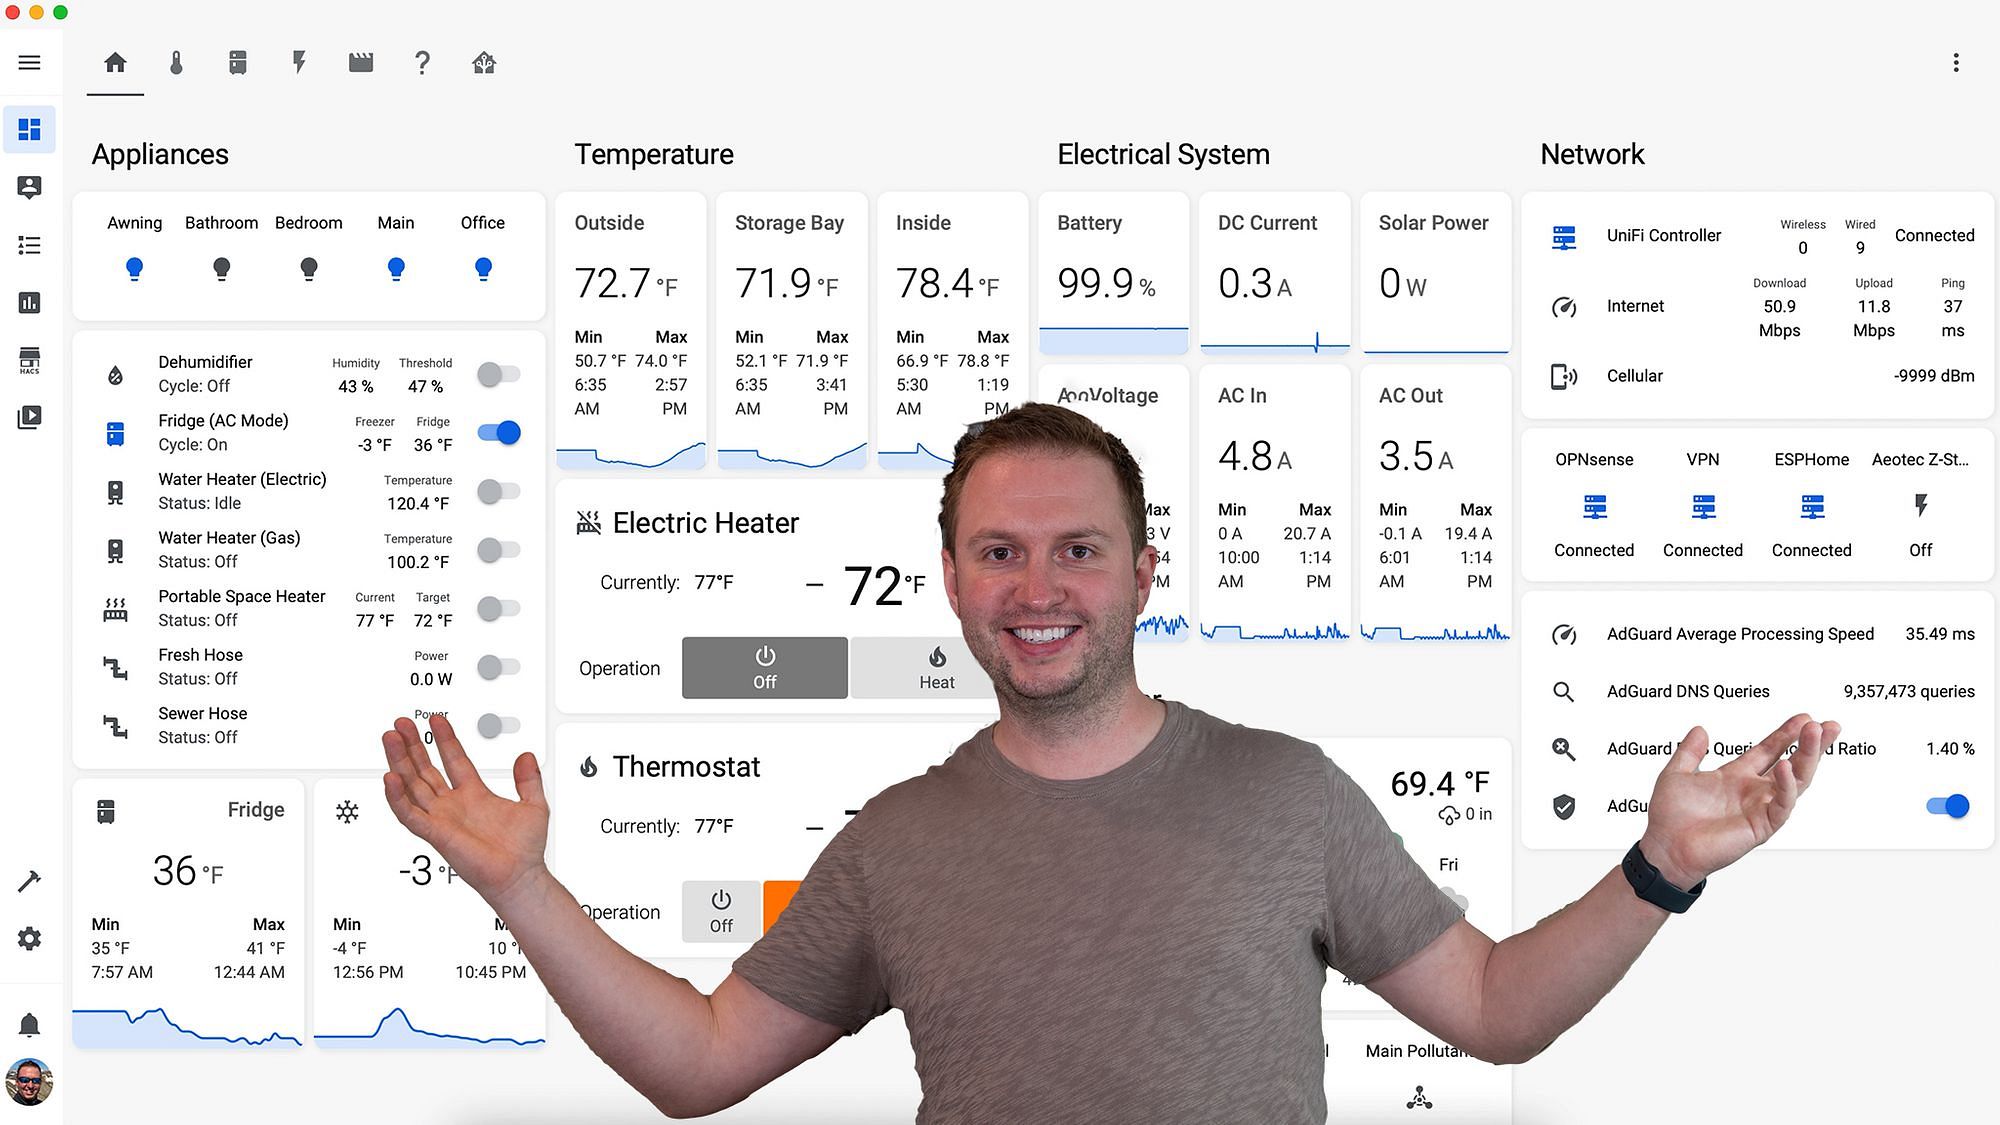
A tour of our DIY smart RV, packed full of home automation technology that makes our full-time RV life more comfortable, secure and efficient!
Introduction
For many people, camping in their RV is an opportunity to escape technology. But for us, our RV is more than just a camping vehicle - we have lived and worked in our RV full-time for almost 3 years.
As a self-confessed geek and maker, I can't stop tinkering with things, and I saw a real opportunity in our RV to use home automation technology to make our RV life more comfortable, more secure and more efficient.
Our smart RV is completely DIY, and maybe this blog post will inspire you to try one or two of these things yourself!
Video
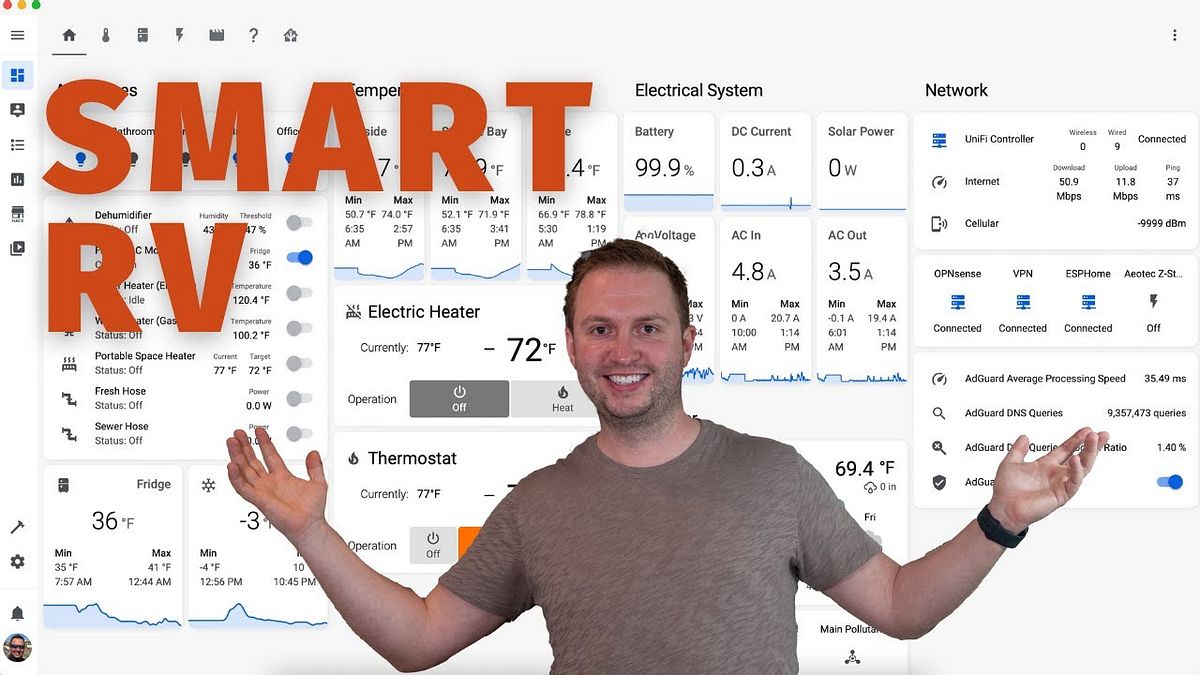
This blog post accompanies our video tour of our smart RV.
Home Assistant
At the heart of our smart RV is some open-source software called Home Assistant.
If you're interested in learning more about why we chose Home Assistant, check out our blog post about Running Home Assistant in an RV.
Hardware
While it can run on a low-cost Raspberry Pi, we are running it on slightly more powerful hardware:
Why such powerful hardware? Well, in addition to running the home automation system, it's also monitoring and logging all the data so that we can use it for future analysis - we're collecting around 900,000 data points per day!
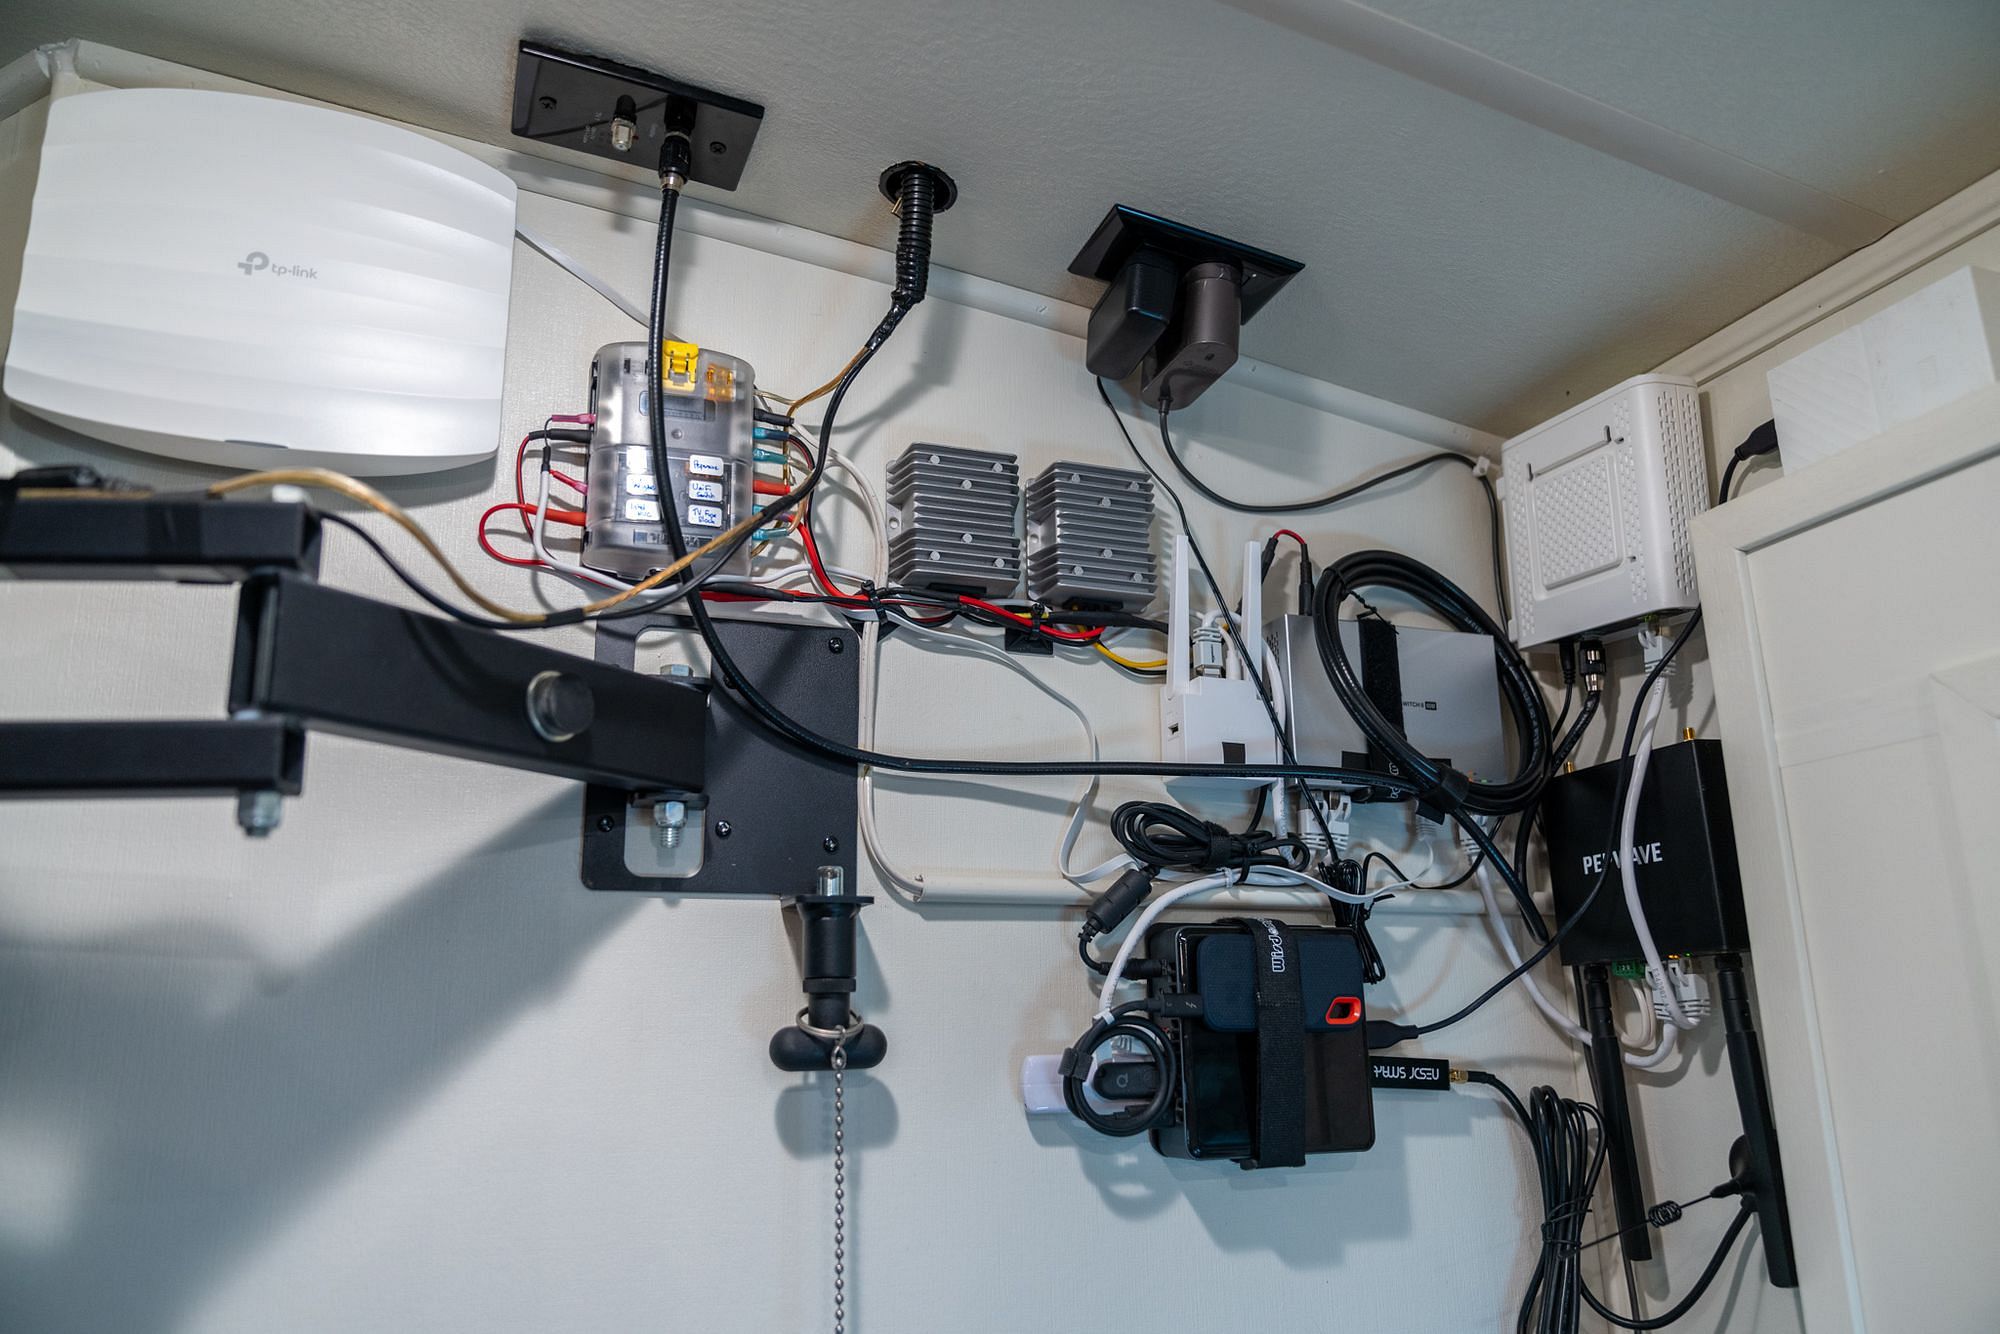
The Intel NUC is also our mini home server, running everything from Plex (for watching movies and TV shows) to development tools allowing us to effectively work from the road.
I'll talk more later about some of the other components in the photo above, including our TP-Link EAP245 WiFi access point and the various USB devices connected to the Intel NUC.
Dashboard
Home Assistant is the antidote to the home automation industry's desire to build fences around their products whereby customers are locked into walled gardens in which only certain approved devices can talk to each other.
By contrast, Home Assistant supports integrations for more than 1,700 different devices - and that number is growing every day!
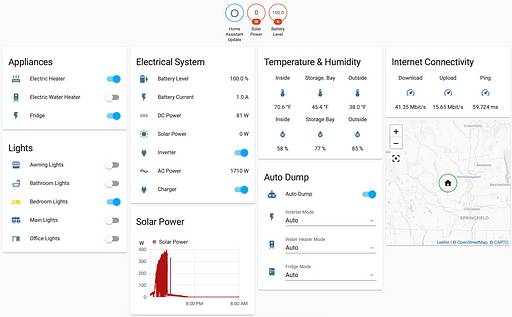
The most visible part of Home Assistant is perhaps its dashboard, available via the web on mobile and desktop, as well as having native apps for those too. If we're in the RV, we can connect directly to it via WiFi - no internet connection required. But if we're away from the RV, as long as both we and the RV are connected to the internet, we still have remote control of everything!
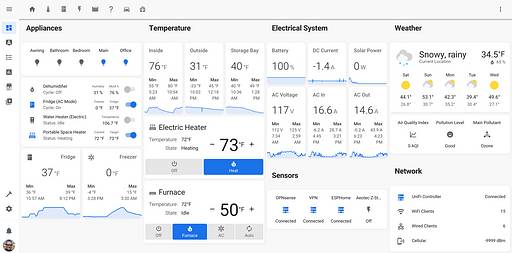
The dashboard allows us to control every device within our smart RV, but it also lets us set up advanced features like scenes and automations.
Levels of Automation
I like to think of home automation in 3 levels:
- Level 1: decoupling control of a device from the device itself so that it can be controlled remotely via a home automation system - e.g. smart lights so you can turn lights on / off through your phone.
- Level 2: higher-level controls allowing control of multiple devices through a single command - e.g. tell your system you're going out and it will turn off all the lights at once.
- Level 3: self-aware automations that are constantly monitoring for triggers and ready to respond automatically - e.g. the system knows when you arrive home and automatically turns on the lights if it's dark outside.
Many products offer level 1 autonomy, e.g. smart plugs and smart light switches that can be controlled through your phone.
But for me, things get really exciting when you move to level 2 and even level 3 autonomy - and for this, we often want multiple devices working together.
Devices & Sensors
Before I show you some of the smart capabilities that our RV now has, let me introduce you to the devices we have incorporated. For some of these, the value of integration will be immediately obvious (e.g. monitoring or controlling remotely), whereas for others the value is in how they can work as part of the larger system.
Lights
Perhaps the most obvious device we have integrated into our smart RV are our lights - in the bedroom, living room, office, bathroom and outside under our awning.
Smart lights are nothing new - products like Philips Hue Smart Bulbs have been around for years. Our challenge is that in the RV, all our lights run on 12V, so conventional smart bulbs won't work for us.
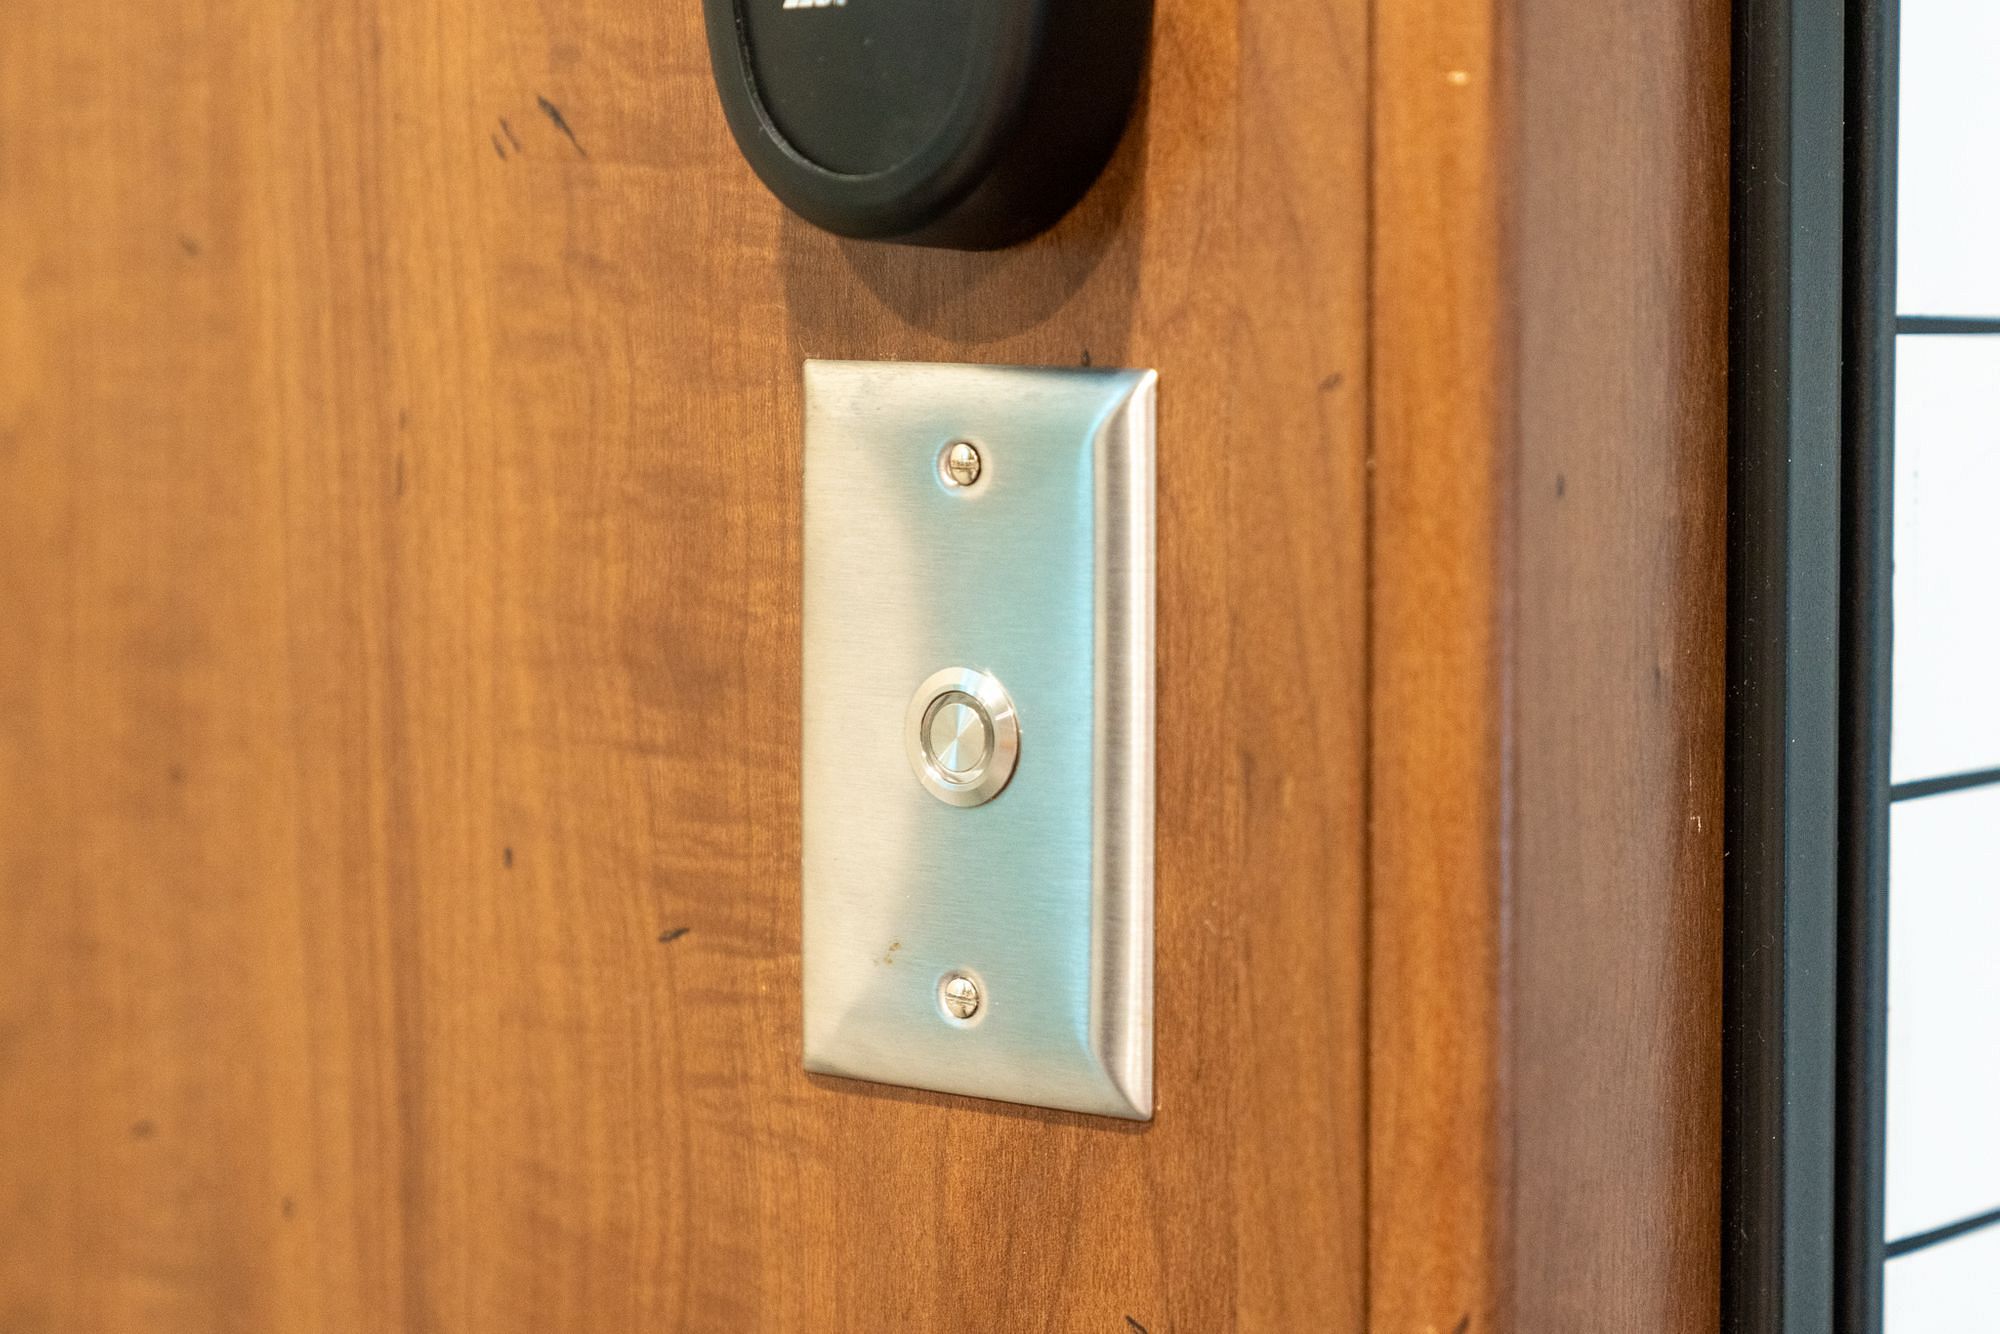
Instead, I've used a Sonoff SV on each set of lights to add WiFi control. In addition, I had to replace the light switch fittings to replace the locking toggle switches with momentary switches - otherwise the switch would still say On if you turn the lights Off on your phone.
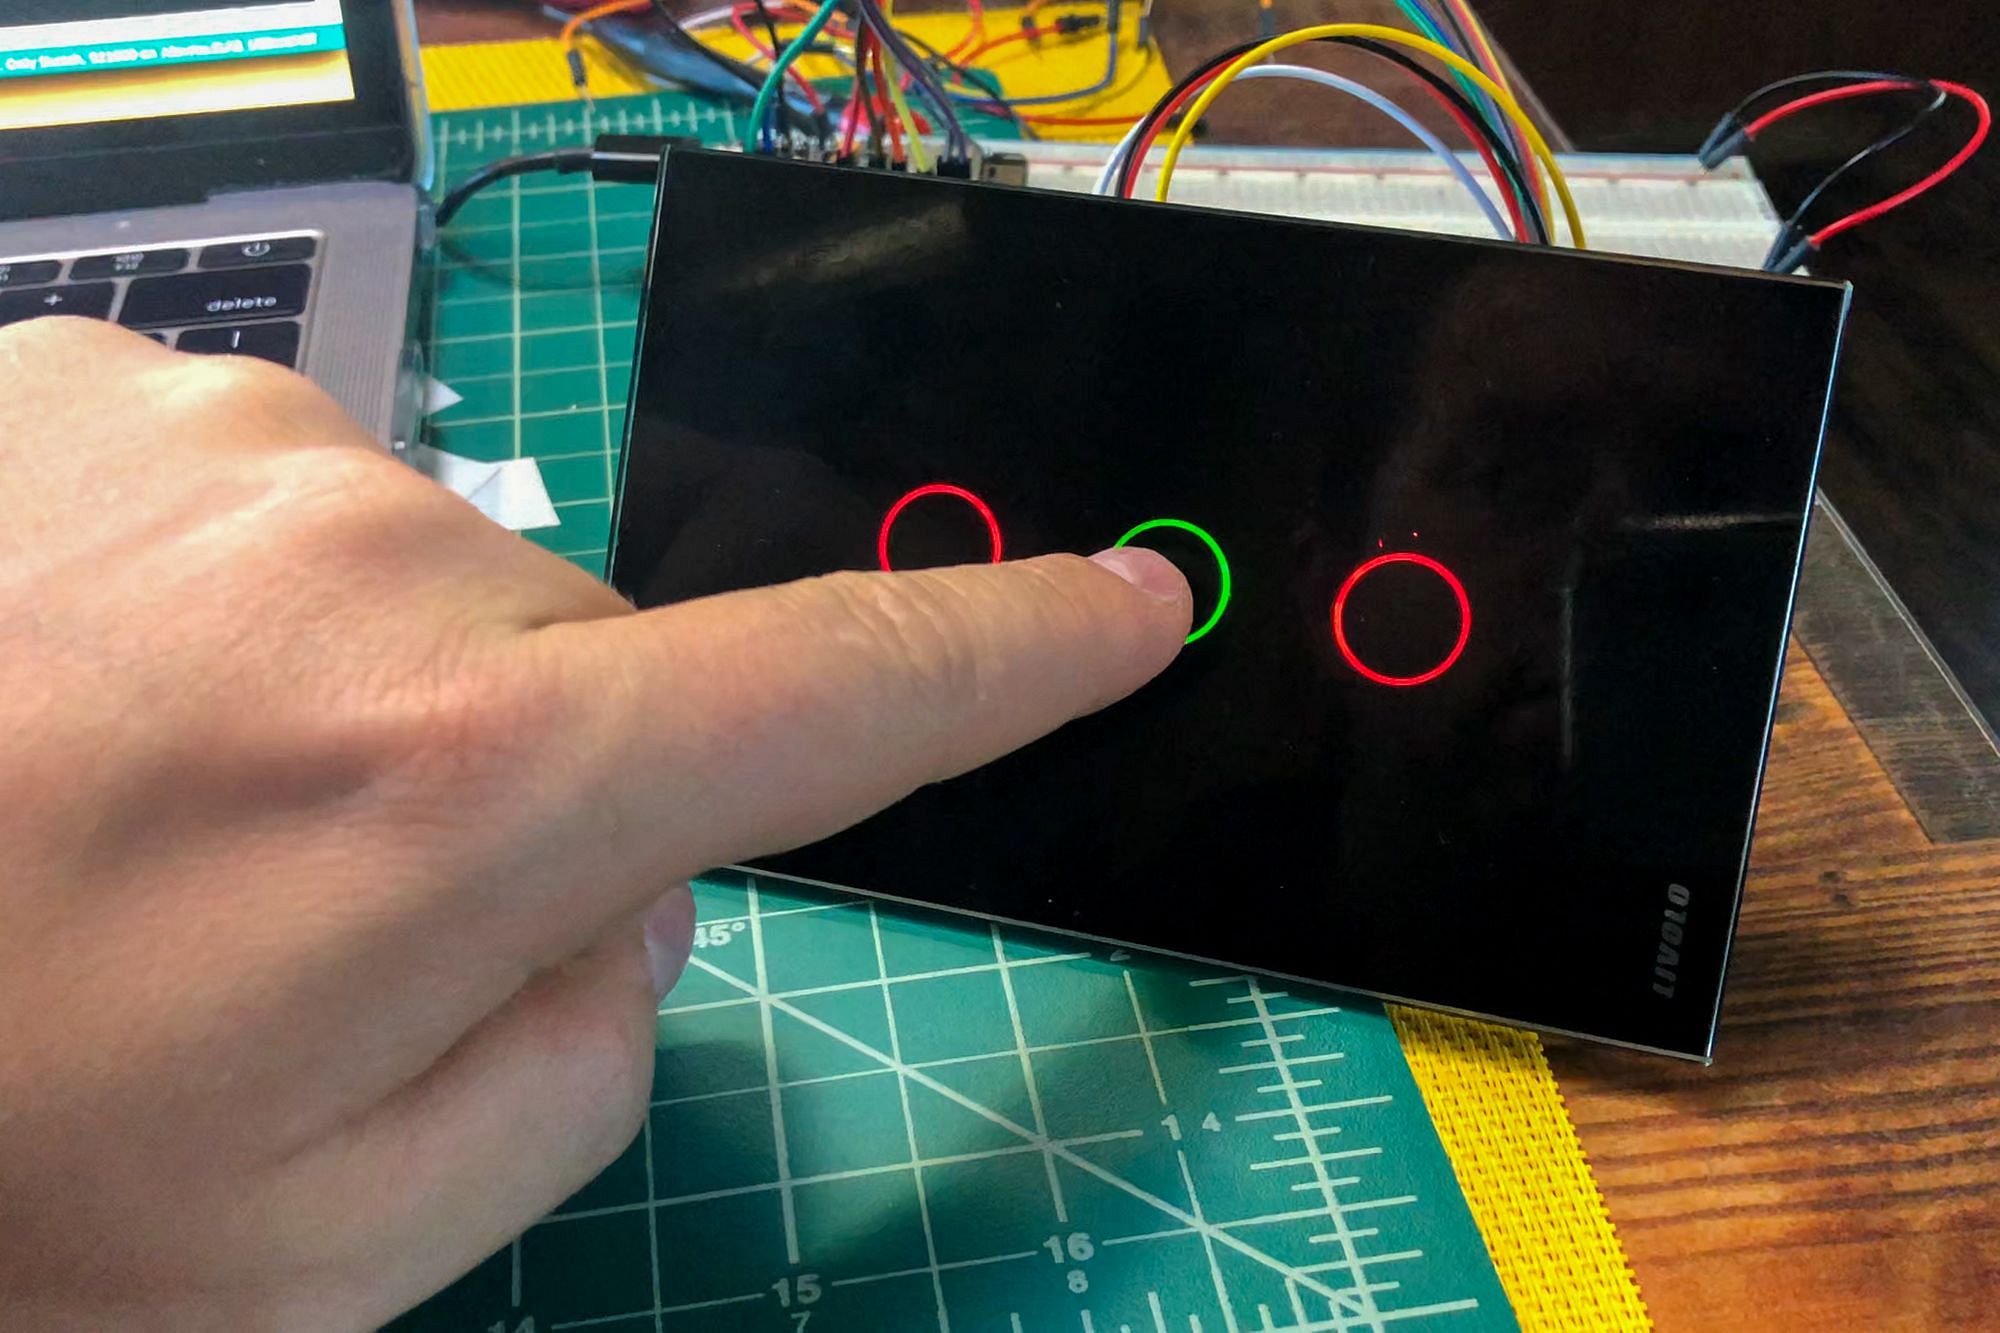
A few of our lights are controlled by a Sonoff 4Ch Pro, although I'd recommend against this as wiring the original switch back in is much harder than with the individual Sonoff SV boards.
I flashed the Sonoff SV and Sonoff 4Ch Pro devices with open-source firmware called ESPHome to integrate them into Home Assistant.
Appliances
As well as lights, we've also used the Sonoff 4Ch Pro to control our electric and gas water heaters. For the time being I've not reconnected the original switches, but it's on my honey-do list!
Note that we deliberately have not integrated control of our awning or slide - I can think of no use case where I would want these to move without being able to directly observe them and ensure it was safe to operate them. Doing so unattended would require a plethora of sensors and for the amount of times we use them, it's just not worth it to us.
I hard wired in a Sonoff POW R2 to allow us to turn on and off 120V AC power to our fridge - by leaving the switch on the front of the fridge set to Auto, we can now use the Sonoff to switch between AC and propane power.
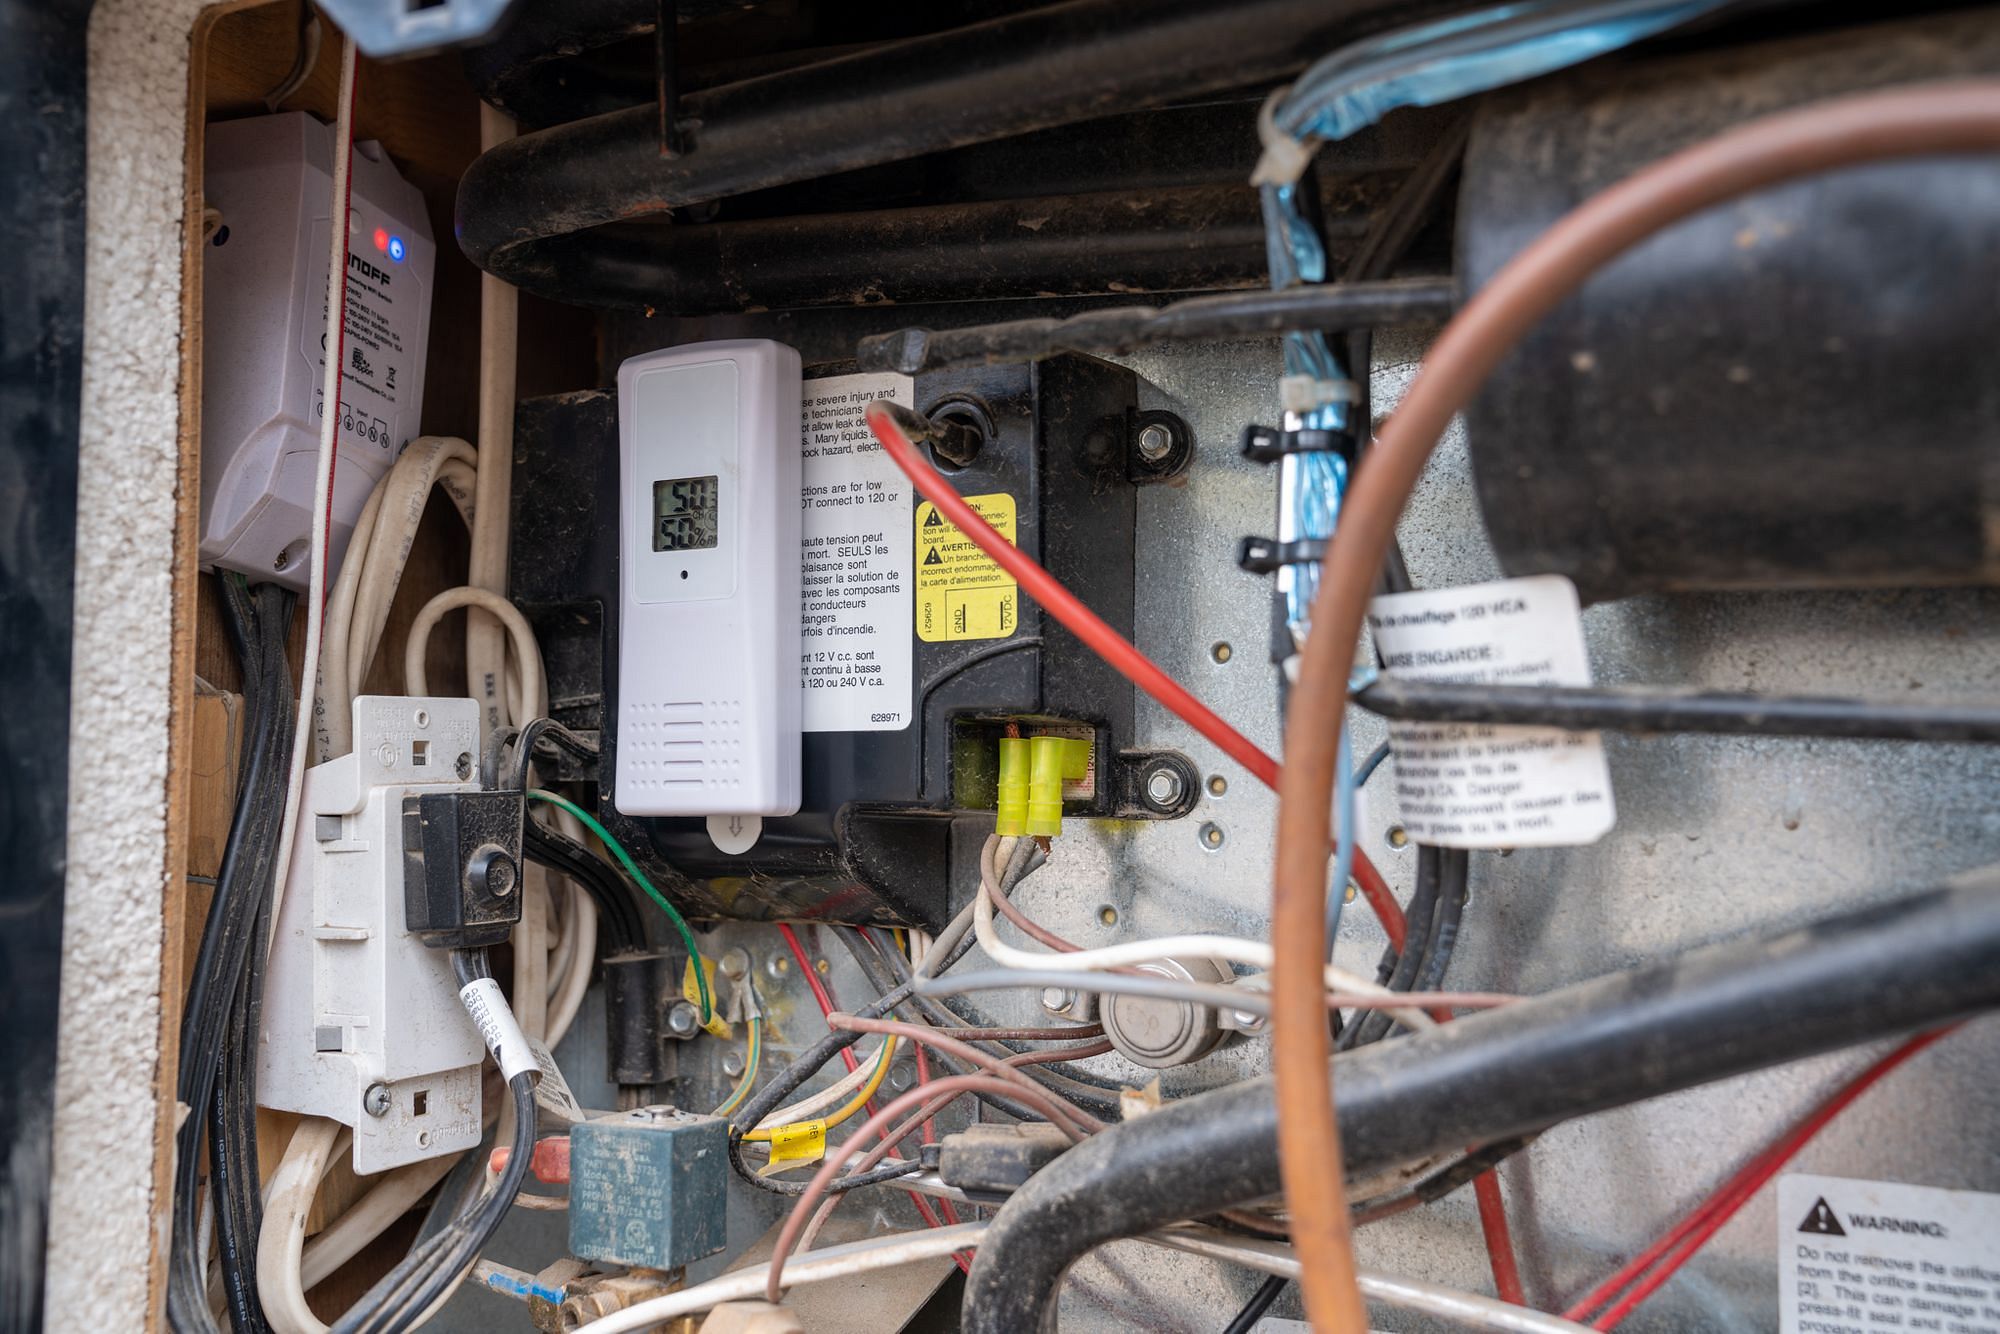
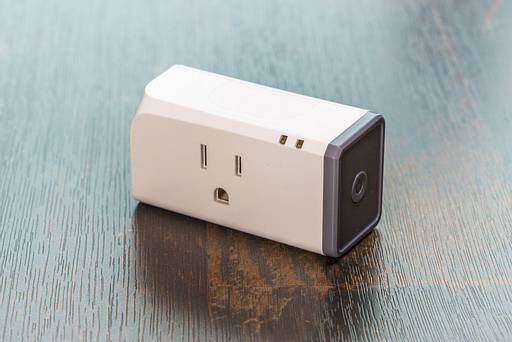
For standalone devices such as our portable electric heater, residential dehumidifier and NoFreezeWaterHose heated fresh / waste water hoses, we've used Sonoff S31 smart plugs.
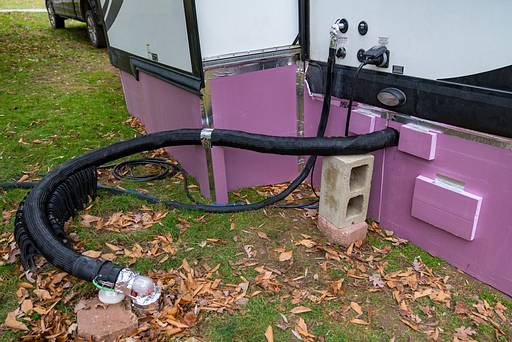
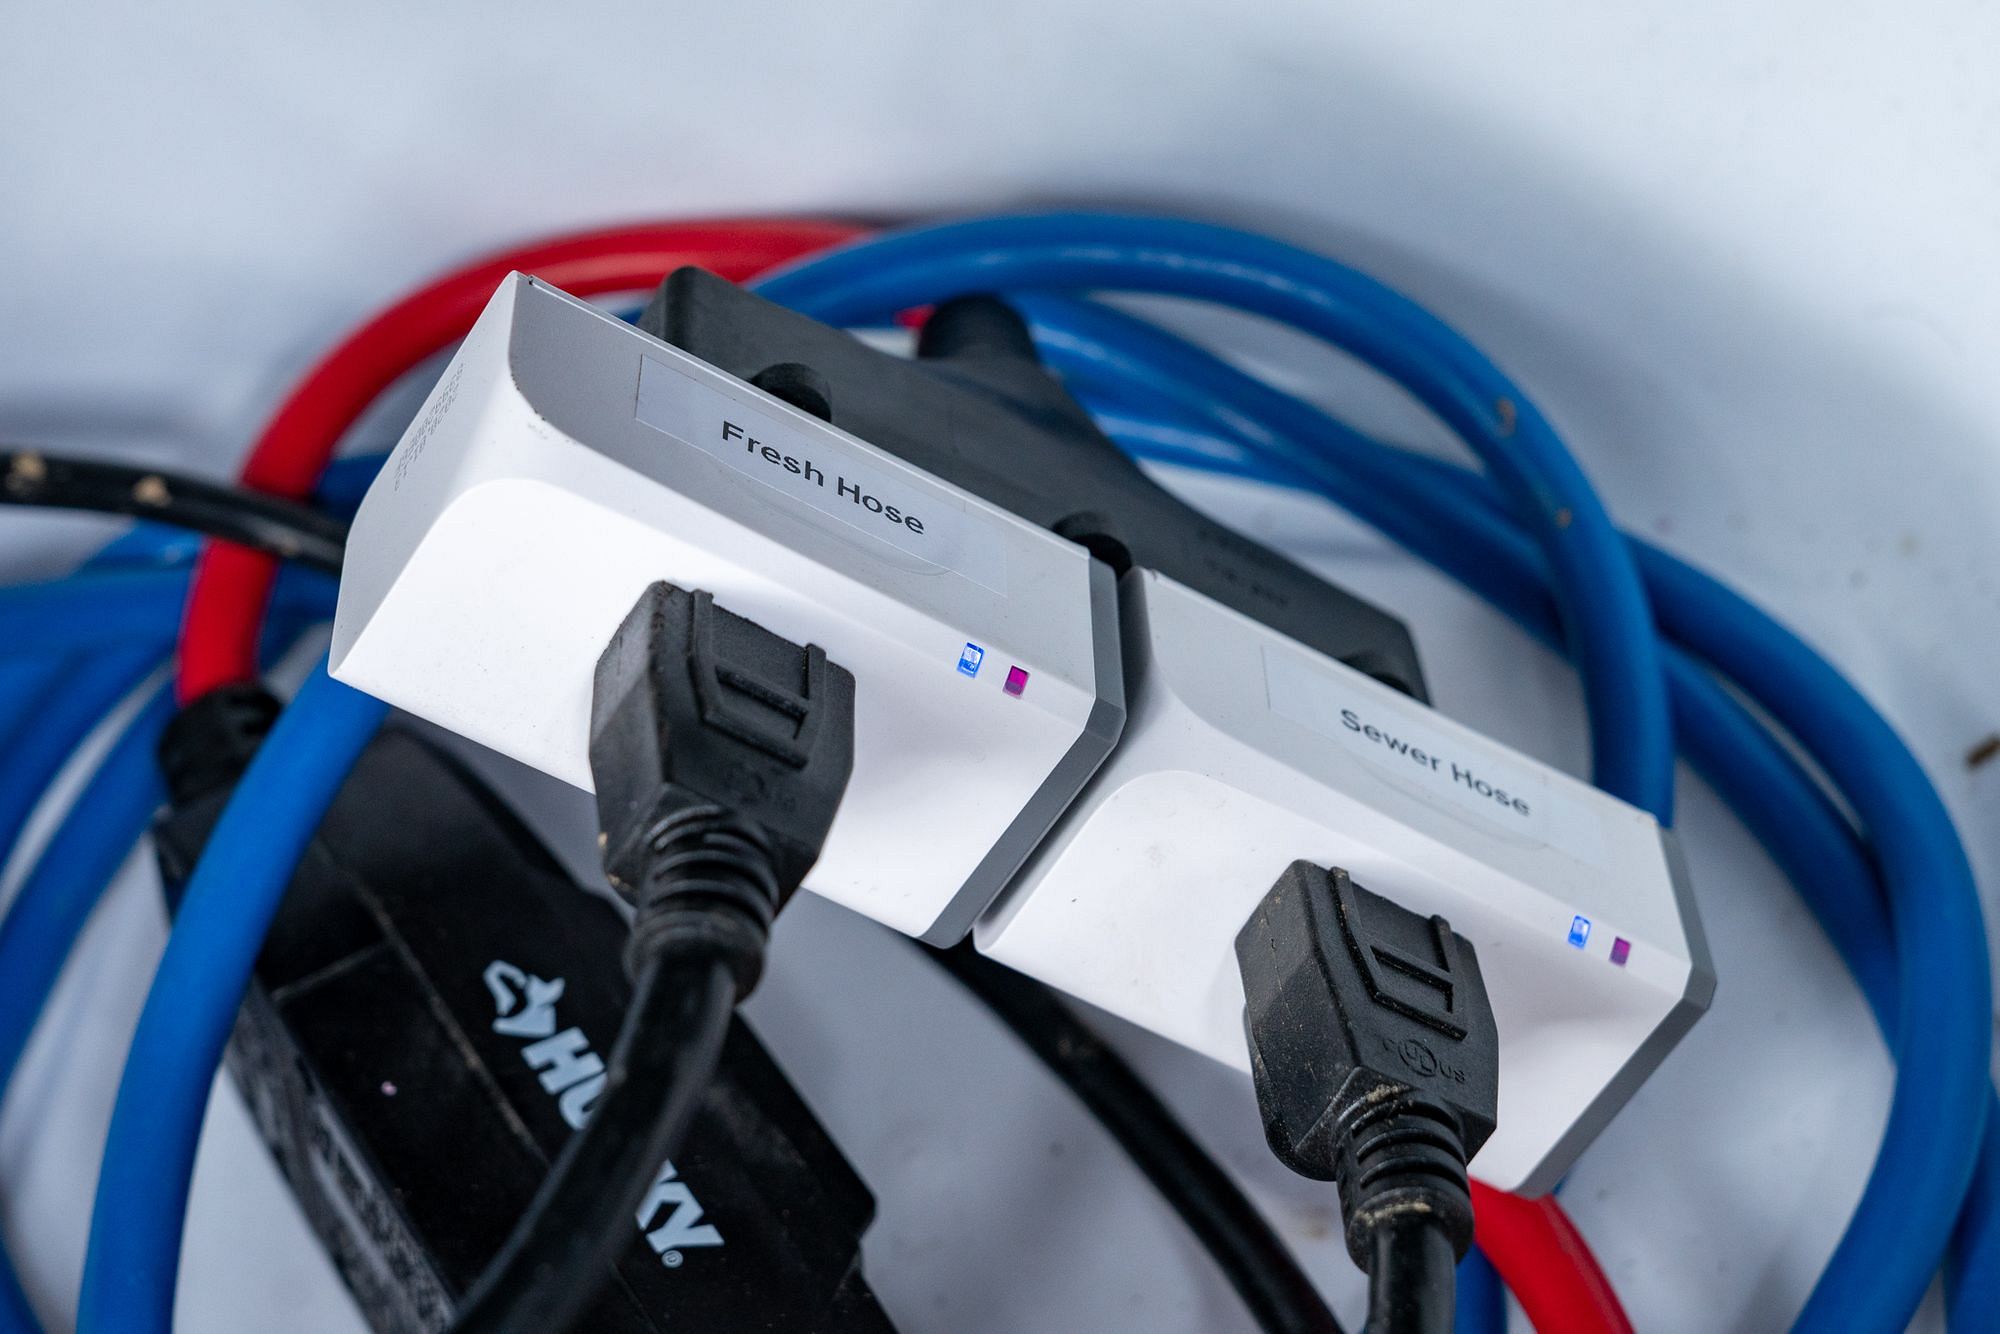
As with the Sonoff SV, I've flashed the Sonoff POW R2 and Sonoff S31 smart plugs with ESPHome firmware to integrate them into Home Assistant via WiFi.
Thermostat / AC / Furnace
Our RV, like many, came with an ugly analog thermostat - a simple slider to set the desired temperature, and a toggle switch to choose between the furnace and AC.
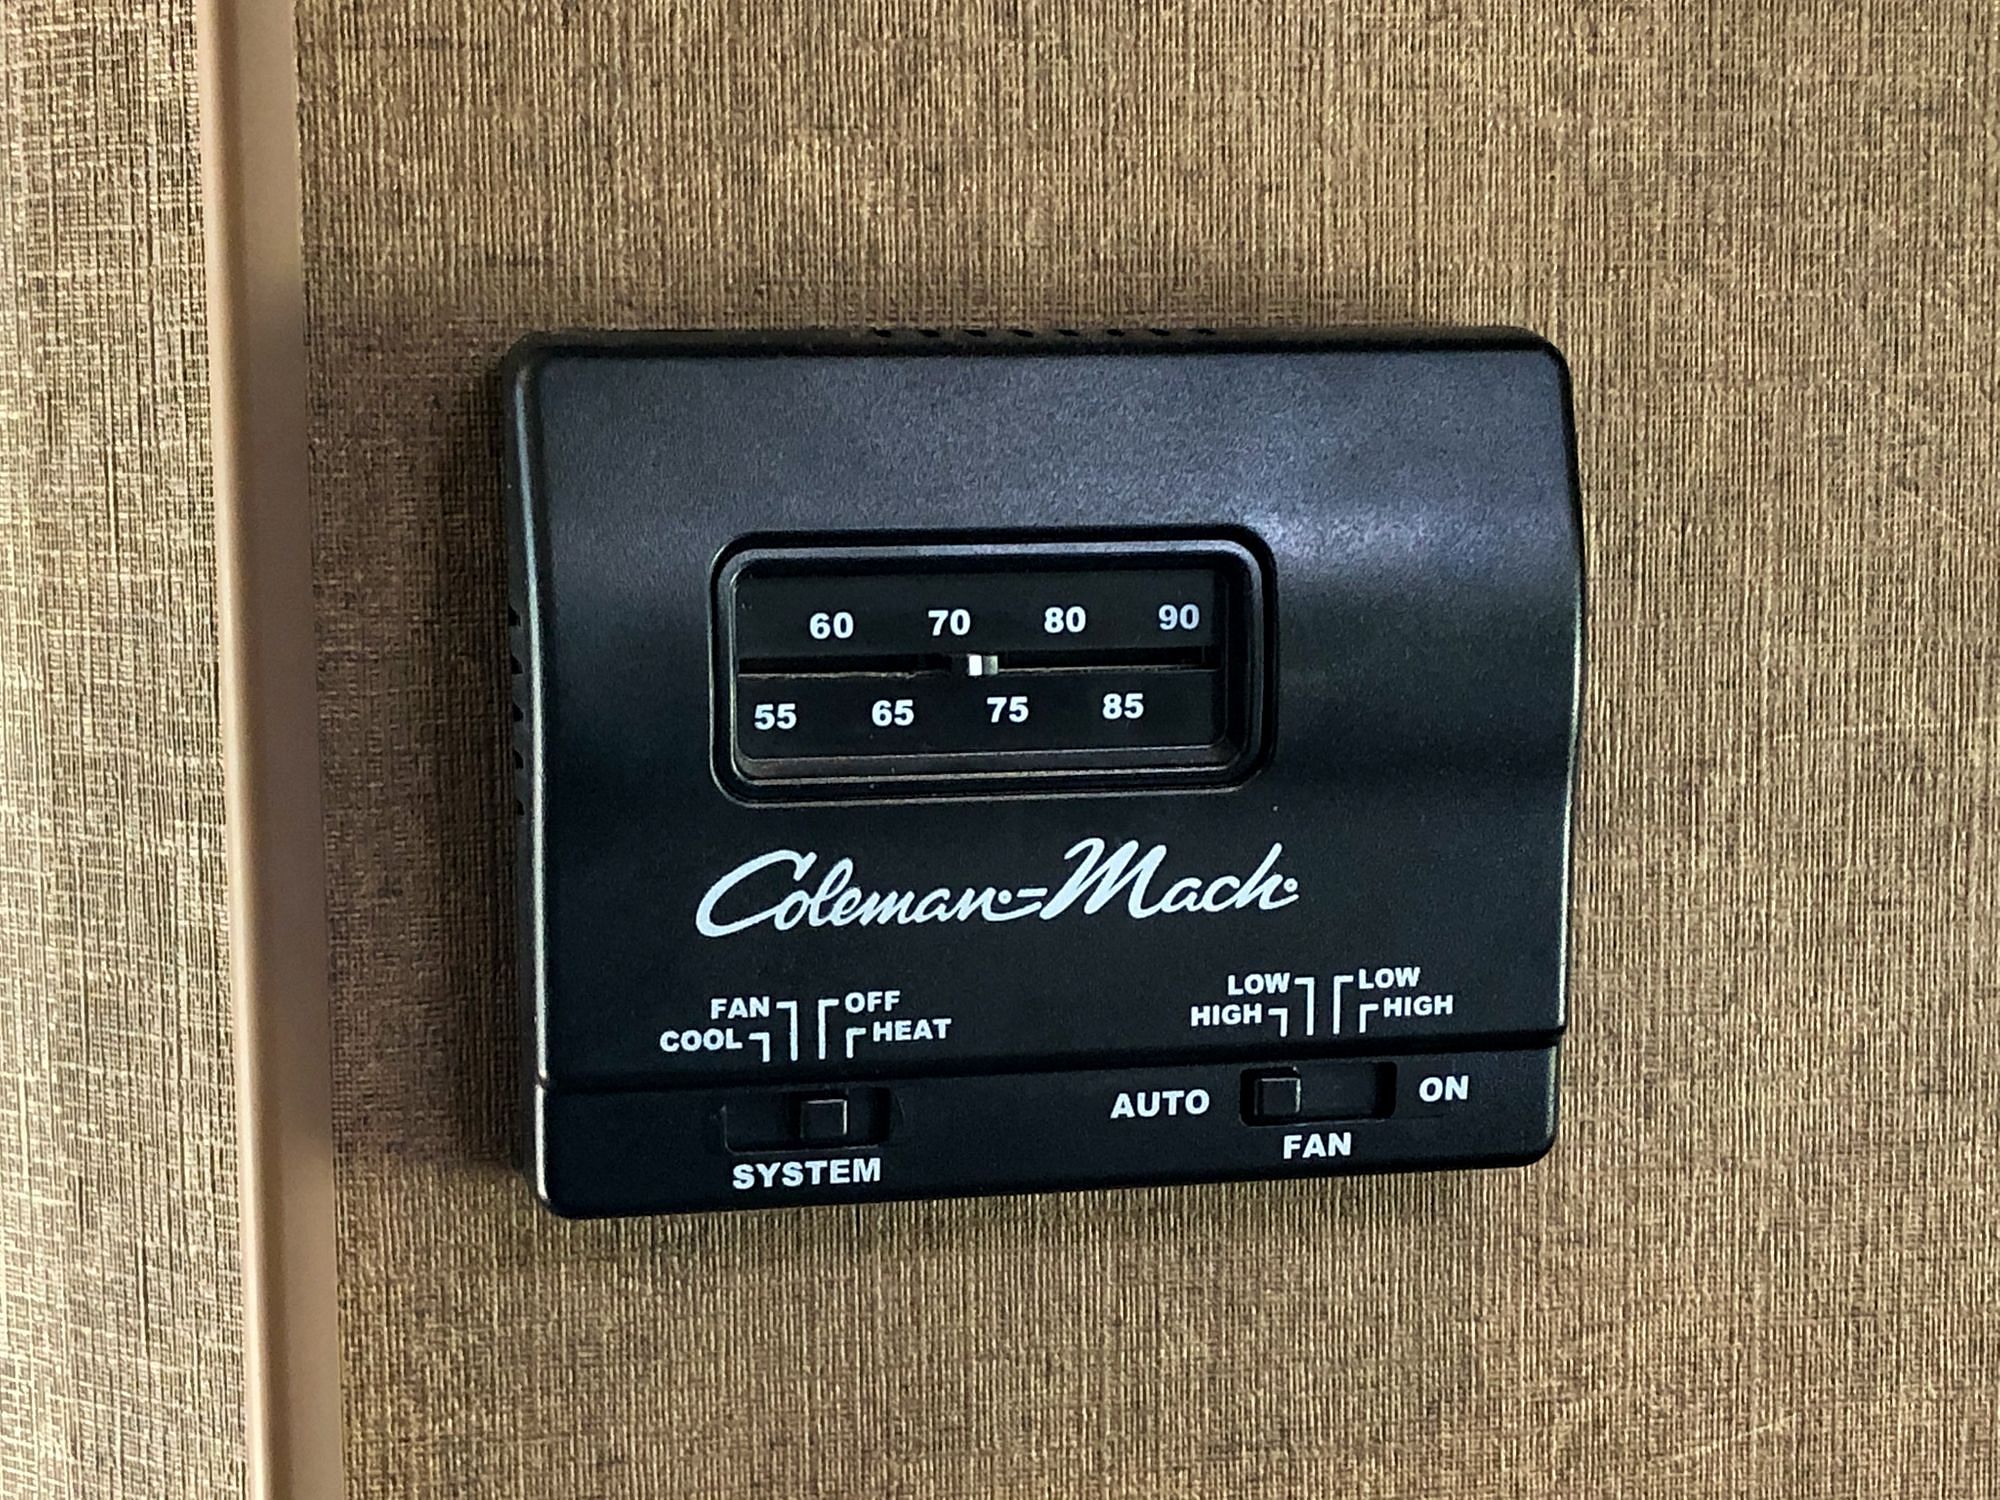
Almost two years ago, I upgraded our thermostat to one that I could incorporate into our home automation system.
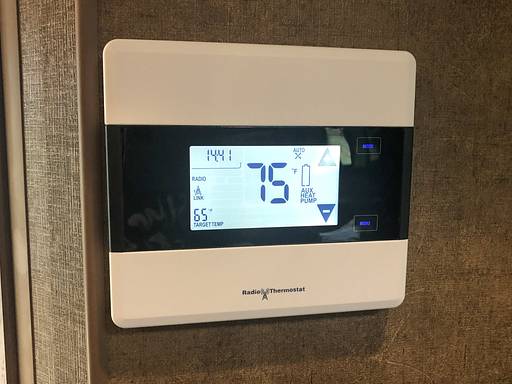
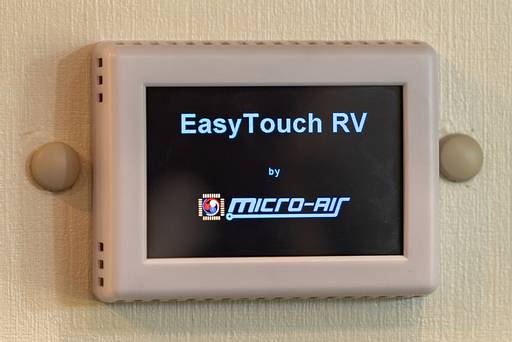
This upgrade is a little more involved, and sadly I'm still not aware of anything on the marketplace that is easier to install and yet still allows local control with Home Assistant. However, if you're looking for a simple standalone wireless thermostat, you might be interested in the MicroAir EasyTouch RV thermostat.
Our Radio Thermostat communicates via Z-Wave, and I'm using the Aeotec Z-Stick Gen5 Z-Wave Hub which is plugged into a USB port on the Intel NUC to control the thermostat.
Victron Electrical System
We've spent most of our RV life boondocking in beautiful remote places, running almost entirely off-grid using solar power.
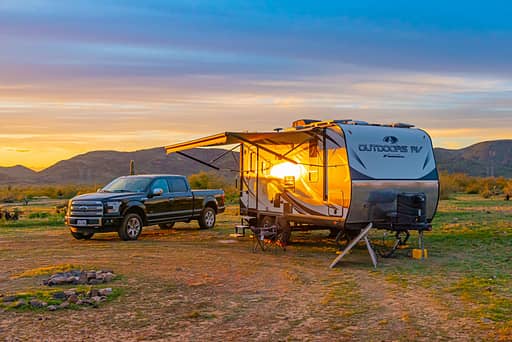
When I was designing our electrical system, I was originally planning to pair our Battle Born Batteries with Magnum components. However, in the process of my research, I found that Victron has an incredibly progressive approach to software design - they've open sourced large amounts of it, including all of the communication protocols they use.
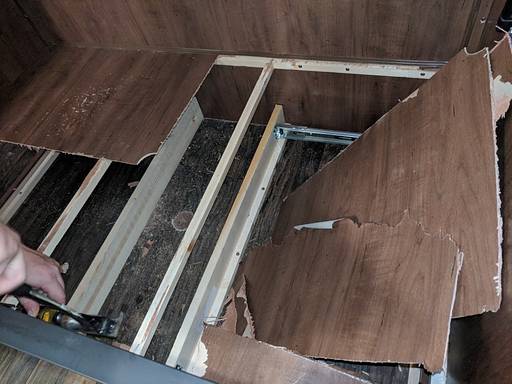
Furthermore, if you have one of their GX products in their system, you can access almost every data point from your system in real-time, as well as having control over everything too. In our case, we integrated a Victron CCGX and USB WiFi dongle and used its internal MQTT broker to connect the entire electrical system to Home Assistant.
This lets us monitor things like:
- Battery: state of charge, voltage, net current draw, temperature
- Inverter: mode, input /output voltage, input / output current, input / output power
- Solar: panel voltage, state, solar power
But it also lets us control things too, like turning our inverter and charger on and off. Since the inverter has a constant background power drawn of 20-30W, we tend to keep it turned off most of the time while off-grid, and the ability to turn it on using our home automation system is very useful!
Temperature, Humidity & Contact Sensors
As well as things to control, there are a lot of opportunities to monitor things in the RV, so we've deployed a myriad of sensors around our home! In fact, we now have 17 temperature and 7 humidity sensors in the RV!
We're using the Ambient Weather F007TH temperature and humidity sensors in the following locations:
- Living Room / Office
- Outside
- Bathroom
- Storage Bay
- Under Bed (electrical system)
- Fridge Compartment (outside)
- Tank Valves (under RV)
These sensors are great since they're relatively inexpensive and you can buy them in a pack with a weather station like the Ambient Weather WS-10 that we have.
We also use the AcuRite 986TX fridge and freezer temperature monitors to monitor the temperatures in, well, the fridge and freezer!
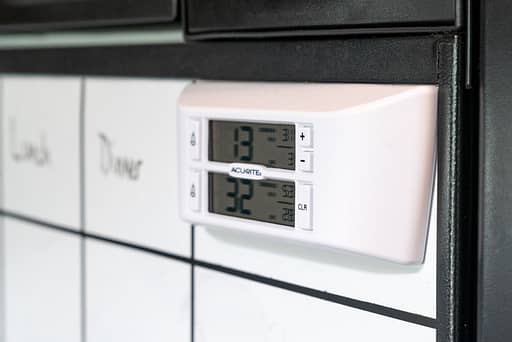
All of these sensors are wireless, based on a 433MHz RF signal. To intercept these signals and bring them into Home Assistant, I use the Nooelec NESDR Smart v4 Bundle combined with the rtl_433 software to decode the signals.
I also built a custom device based around an ESP32 and some DS18B20 temperature sensors to monitor some very specific locations in the RV:
- Water pump - to make sure it's not going to freeze
- Fridge coil - to see when the fridge is cycled on and when the Norcold cold weather kit is operating
- Hot water tank (top) - to see if we have hot water
- Hot water tank (bottom) - to see how much hot water we have!
On each of our doors (front door and both storage bay doors) I installed a Samsung SmartThings Multipurpose sensor - these can notify us whether the door is open or closed (we have a bad habit of forgetting to close our storage bay doors!) and also the current temperature.
We also have the Samsung SmartThings Remote Button that attaches magnetically to our stove hood. Whenever this is pressed, it notifies our home automation system and we can set it to do whatever we choose - when we're boondocking we typically set it to turn our inverter on / off, and right now it's controlling the main lights in the RV.
Our Samsung SmartThings devices use Zigbee to communicate, and I use the dresden elektronik ConBee II USB Gateway in the Intel NUC to control them. I don't think the specific sensors we use are currently available, but I'm hoping to try out some other SmartThings compatible devices to see if they work as well.
Networking Gear
All of these devices communicate back to Home Assistant via one of four wireless technologies:
- WiFi - using a TP-Link EAP245 WiFi access point
- 433MHz RF - using the Nooelec NESDR Smart v4 Bundle
- Zigbee - using the dresden elektronik ConBee II USB Gateway
- Z-Wave - using the Aeotec Z-Stick Gen5 Z-Wave Hub
To me, this really highlights the power of Home Assistant - it can integrate so many devices across multiple technologies into one central spot.
Our networking setup in the RV is significantly more complex than most, and a big reason for that is that we take security incredibly seriously - connecting all IoT WiFi devices to a dedicated and locked-down WiFi network, running a powerful firewall (OPNsense), as well as a Web Application Firewall in front of Home Assistant itself.

Voice Control
Once a device has been integrated into Home Assistant, it means we can control it through the Home Assistant dashboard on either our phones or laptops wherever we are in the world.
But that's just the start.
One important new capability it unlocks is the ability to control any of these devices by voice using our Google Home Mini.
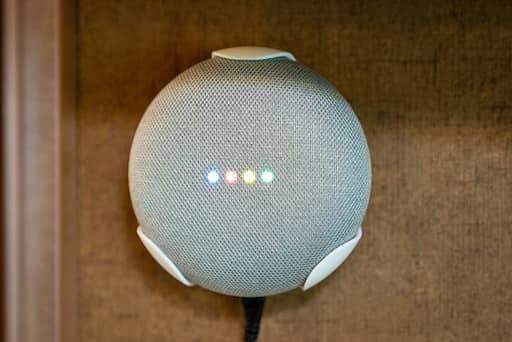
We use Home Assistant's Nabu Casa product to enable integration with Google Assistant, meaning we can control a myriad of things in the RV just by voice - including lights, appliances, the thermostat and inverter.
I should add that voice control is one of the only aspects of our Smart RV that relies on having an internet connection due to the way that the speech recognition works.
This system also ties in nicely with scenes - customized routines that can execute multiple instructions at once. For instance, when we leave the RV we can say "Hey Google, I'm going out" and it will turn off all the lights, make sure our portable heater is turned off, turn down the thermostat for our furnace, etc.
Automations
What is an automation?
In Home Assistant terms, it's a defined as triggers (things that happen) which check certain conditions (things that must be satisfied) and then execute one or more actions. This is a simple but incredibly powerful paradigm that we use to make our smart RV.
We have too many automations to list them all, but here are some of my favorites:
Schedules
One of the simplest types of automation is scheduling. There are a variety of ways to do this in Home Assistant, including a HACS plugin.
Here are some of our schedules:
- Awning Lights - turn on the awning lights at sunset (automatically computed based on our location provided by the GPS module in our Victron system) and turn them off again at 9pm
- Thermostat - turn the temperature down at night and then gradually increase the temperature in the morning before we wake up
- Water Heater - turn the water heaters on in a morning so that we have hot water ready for a shower as soon as we wake up
All of these schedules are easily configured so we can enable / disable them or changing the parameters through the dashboard really quickly.
Untrippable Breaker
This is one of my favorites. Our rig is a 30A RV, meaning that the main breaker in our AC panel is rated to 30A.
In simplified practical terms, this means we can run two large appliances (e.g. the microwave and electric water heater) at once, but if we try to run a third large appliance (e.g. the electric kettle), we'll likely pull more than 30A and trip the main breaker.
If you have a 30A RV, I'm sure you've probably done this multiple times before - we certainly have!
This winter, we knew we were going to be using lots of high power electrical appliances - electric water heater, portable electric space heater, microwave, Instant Pot, Air Fryer Lid, electric kettle, etc.
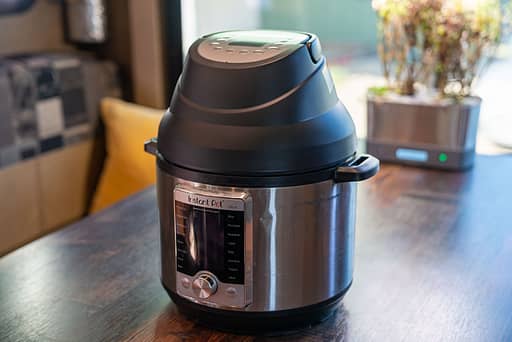
For some of these devices, it's obvious if they're turned on - e.g. the microwave or kettle. But others are less visible or may cycle on and off - e.g. the electric water heater and Instant Pot - making it harder to know when they're actually pulling power.
So I built an automation to help. Using data from our Victron system, it constantly monitors how much 120V AC current we're using in the RV, and if it detects we're using more than 30A then it will step in within a fraction of a second to turn something off.
We set a hiearchy of appliances to disable - first our electric water heater, and then our portable electric space heater. Once it detects sufficient power is available to turn them back on for at least 10 seconds, it will return them to their previous state.
This system has been working so well for us since we implemented it in November last year that we haven't tripped the breaker all winter long!
Auto Dump
OK, don't get too excited - this has nothing to do with dumping tanks! Instead, this is about making use of excess solar power when we're boondocking.
As full-time RVers, we need a solar system that is large enough to get us through cloudy winter days which means that on sunny summer days we have more electricity than we know what to do with! It wouldn't be unusual for our batteries to be full by lunch time, so all that glorious afternoon sun goes to waste.
The auto dump system tries to dump that excess solar power somewhere useful. It works by monitoring how full our batteries are as they charge, and when they reach predefined thresholds, it begins to kick in.
When the batteries reach 80%, it will automatically turn on our inverter - ensuring any devices we have plugged in begin to charge. At 90%, the fridge will switch from propane to AC, saving us propane and powering it instead from free sunshine. At 98%, the electric water heater will kick on, dumping any remaining solar power into our hot water tank for a solar-powered shower!
As the battery levels drop, the system reverses those actions - using ~3% hysteresis so things don't toggle on and off.
The end result is that on a sunny day in summer, the system ensures all our devices remain fully charged, we save some propane, have a full tank of hot water for showering or washing up, and our batteries are still full at the end of the day.
Water Heater Shutoff
RV water heaters are invisible devices - other than the little illuminated switch, you can't really tell if it's on or not. How often have you turned that switch on to heat up the water, and then forgotten to turn it off again, leaving it running all day long to keep your hot water tank hot and waste a load of electricity or propane?
Yeah, we've done that more often than we care to admit, especially this winter with full hookups where we're not paying as much attention to power consumption.
This simple automation will automatically turn off the electric and gas water heaters after one hour, and means we don't have to worry about it any more!
Inverter Shutoff
I mentioned earlier about how, when off-grid, we keep our Victron MultiPlus 12/3000 inverter turned off when we don't need it to save power. The inverter has a physical switch to turn it on or off, and since we have the Victron CCGX, we can control the inverter through its on-screen menus too.
But neither of those is particularly convenient, which is why we use the Samsung SmartThings Remote Button to control the inverter.
A good use case for this when Diana would want to turn on the inverter in a morning to power the blender to make a smoothie. At first Diana had to tap through the screens on the Victron CCGX. Our improvement on this was to add voice control, so she could just say "Hey Google, turn on the inverter". This worked well, but pressing a button right next to her in the kitchen made that even easier.
But there was a problem. Diana would turn on the inverter, make her smoothie and sit down to enjoy breakfast forgetting to turn off the inverter and wasting power.
So I added a simple automation - when she double presses the button, it will turn the inverter on as normal, but then automatically turn it off again after 5 minutes. Plenty of time to make a smoothie, and problem solved!
Monitoring
We have setup our system to not only monitor everything connected to it in the RV, but to record all of that data. Different sensors and devices report their status at different intervals, but in cases like the power monitoring on our smart plugs or our electrical system, we're getting a reading almost every single second!
This is an enormous amount of data - around 900,000 data points every single day! We store all of this data in InfluxDB and can monitor it through Grafana.
We use this data to diagnose if something unexpected occurred, and to check if things are performing as expected. For instance, we used this data to check if our Norcold Cold Weather Kit was working the way we thought it should.
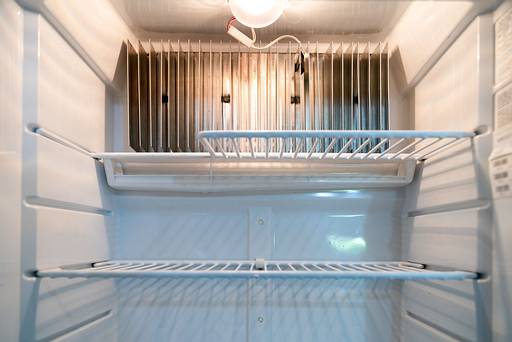
On a more day-to-day basis, we can use this high resolution data for learning more about our appliances and how they work. For example, we were able to do some very thorough power analysis on our new Instant Pot Air Fryer Lid to understand how much power it needed and whether we could run it off-grid.
Future Plans
Building our Smart RV is an ongoing project, and it's far from finished! We have learned so much in the past few years about what works, what doesn't, and how home automation technology can improve our life in the RV.
There are still a lot more things I want to investigate though. Below are just a couple of potential candidates, but my wish list has dozens of ideas on it!
Tank Sensors & Valves
Our holding tanks use simple resistive sensors that are known for being inaccurate. I did build a custom circuit for monitoring these, but the reality is that the data is so low resolution that it's just not that valuable.
I'd love to replace our tank sensors with something like the SeeLevel II tank monitoring system, and integrate that data into Home Assistant. This would give us far more insight into how our tanks are doing and help us stay off grid for longer.
In addition to sensors, I'd also like to add in some electric valves on our holding tanks, city water connection and San-T-Flush which would let us do things like:
- Automatically shut off the city water connection and water pump when we leave the RV so there's less chance of a flood;
- If we're connected to full hook-ups, wait until the tanks reach a certain threshold before opening the valves to dump them, maybe even followed by an automatic flush;
- An auto-dumping system for our holding tanks so that when we have our land, when we get home from an RV trip we can connect up the hoses, press a button and it will automatically dump and flush all our tanks, then fill the fresh tank ready for our next trip.
Alerts
Most of our monitoring right now is reactive - we have to log in to check on things. But there's no reason it has to be - Home Assistant supports lots of notification systems that we could use.
I'd like to set up alerts to let me know if a device is acting unexpectedly, for example:
- If the fridge or freezer temperature rises too high;
- If the coil on the back of the fridge gets too hot;
- If the water pump or tank valves are at risk of freezing;
- If our batteries get too low.
Summary
Our smart RV has been a labor of love. We've pieced it together gradually over the past few years, learning what matters to us, what works and what doesn't. We've made mistakes. We've changed our minds. That's been part of the fun for us.
Even though our smart RV journey is far from over, our home automation system has become a valuable an integral part of our RV. We rely so heavily on many of its features on a daily basis as they simplify our lives and work hard in the background to keep us comfortable.
Has our smart RV inspired you to think about starting your own journey? Perhaps you've already been working on your own system and you have ideas you want to share with us!
Either way, we'd love to hear from you. Leave us a comment below and let us know what excites you most about having a smart RV!a
Hey! Did you enjoy this blog post?
I write all the content on this site myself, and then make it available for free, for you. If you found it useful or interesting, would you consider a sending us a little something to say thank you?
Using Buy Me A Coffee, you can send us as little as $5 or as much as you want - either way, it means a lot to us! Click the big button below if you want to help support our work.