by Matt Knight
Sunday March 12, 2023 • 10 min read
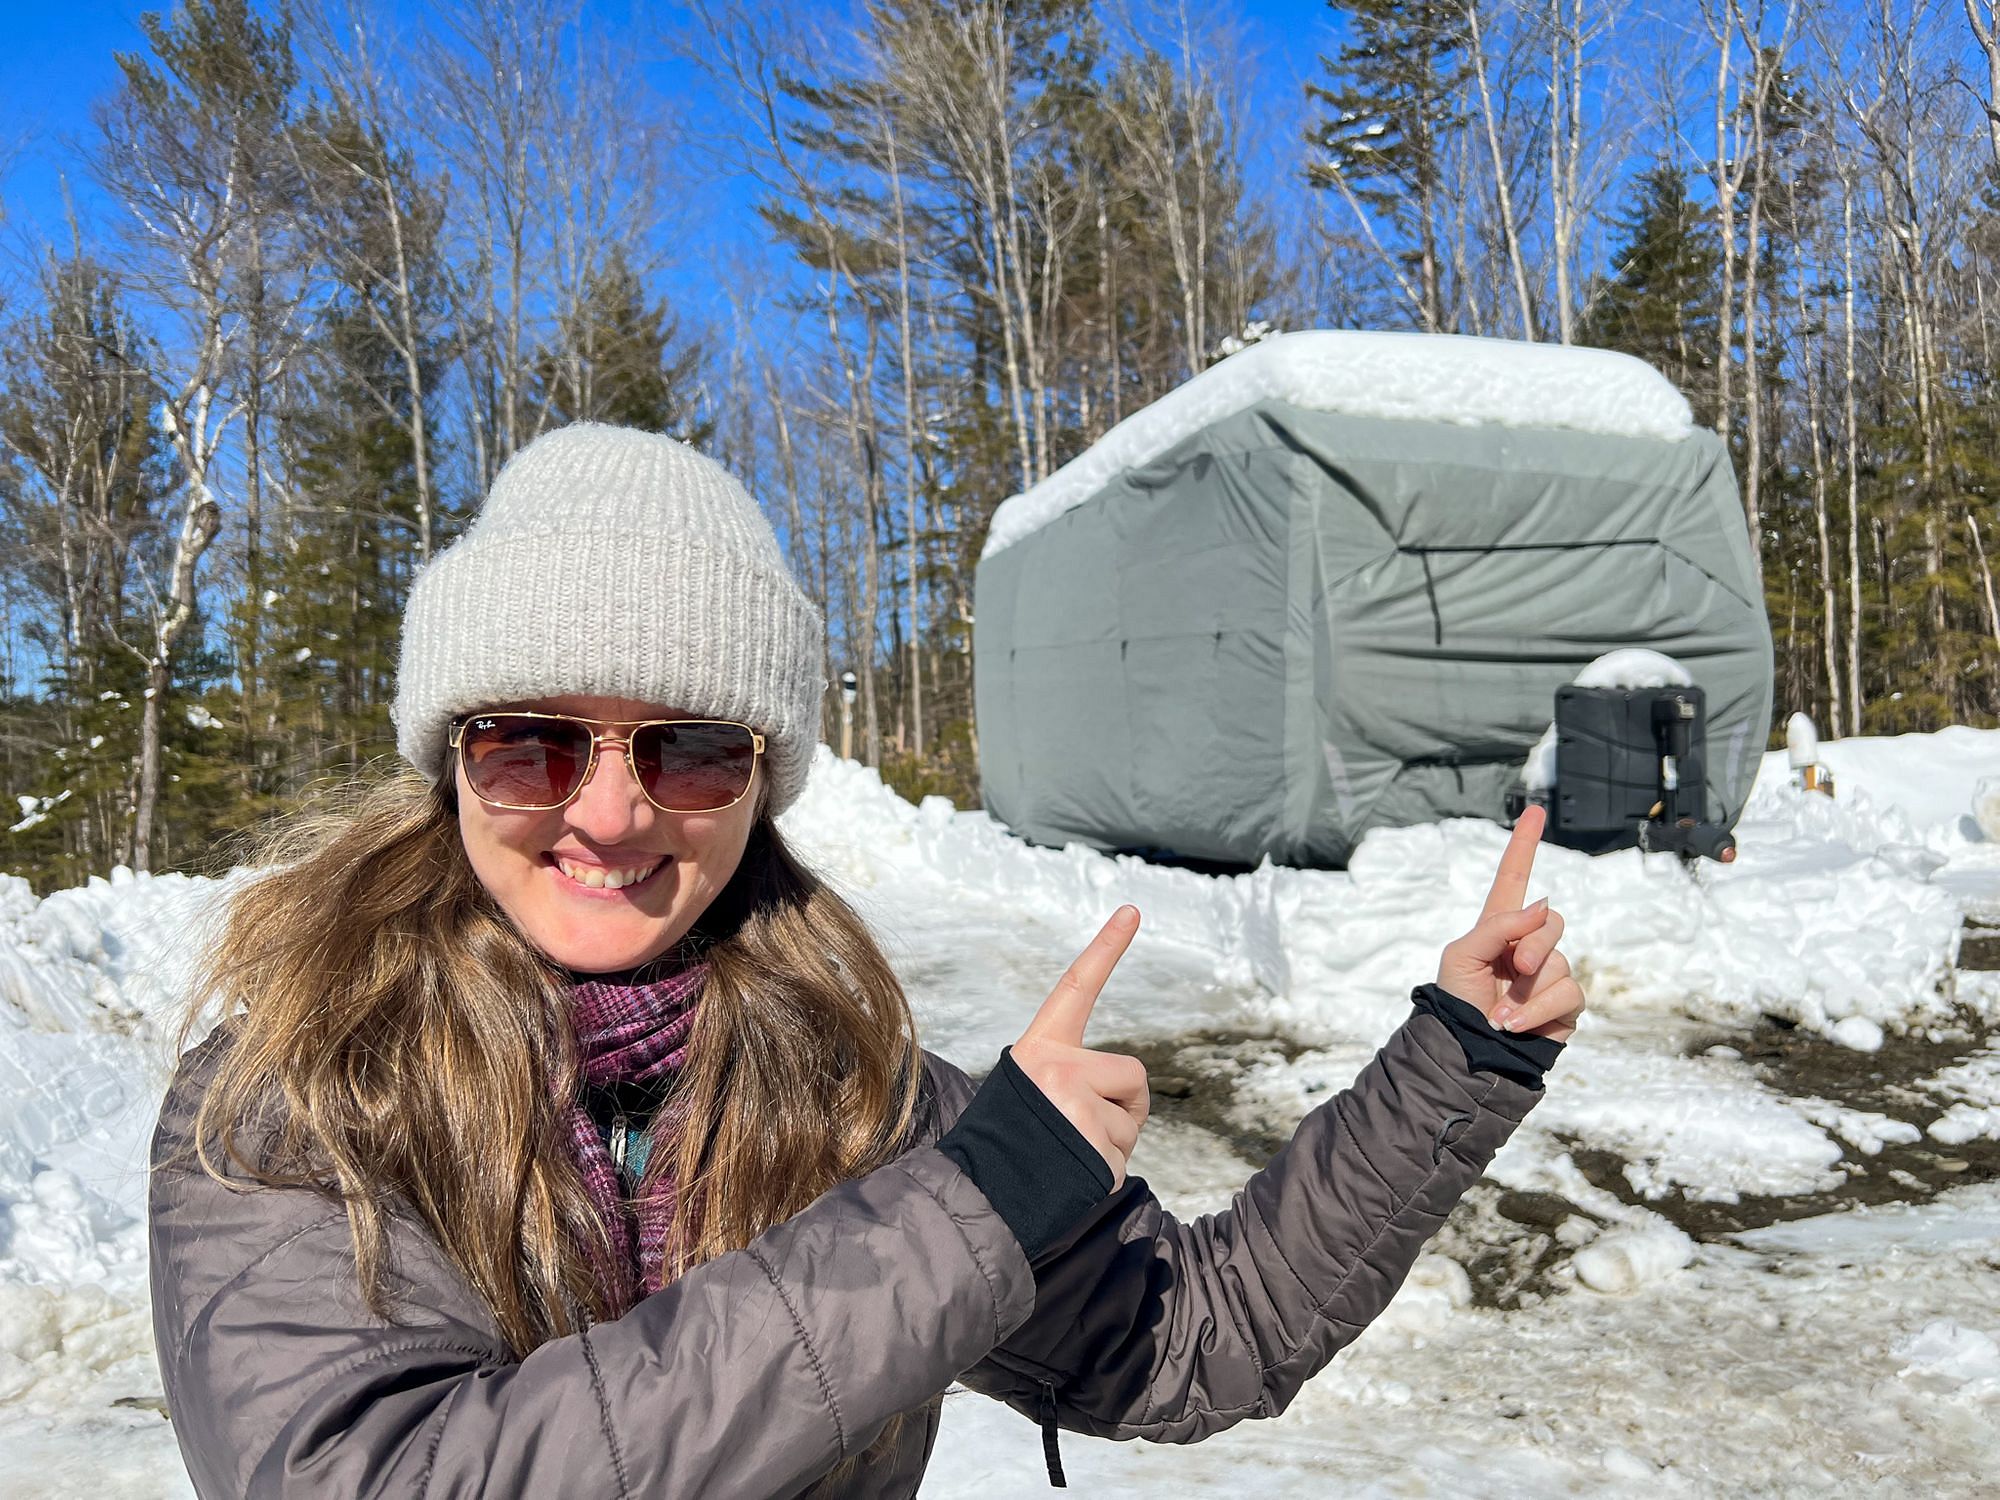
It's been a busy first week back in Vermont, but we're laying the foundations for a productive year ahead.
Looking back on 2022, we're incredibly proud of how much we accomplished - clearing a load of trees, grading the building site, bringing in power, drilling a well and installing a septic system.
But we've got our work cut out for us this year - we have a lot planned for 2023 so it's time to get to work!
Returning to Vermont
We left Rome, Italy on February 21st and flew to the UK, spending a couple of days with my family in the Peak District and a couple of days in London before flying back to the US on February 26th.
We had been carefully watching the weather in Vermont using a couple of Wyze Outdoor cameras we had left on the property.
Along with our remote monitoring system, this gave us a good sense for what to expect.
And the weather had been good - as of February 22nd, the snow was melting nicely and there was none left on the RV roof.
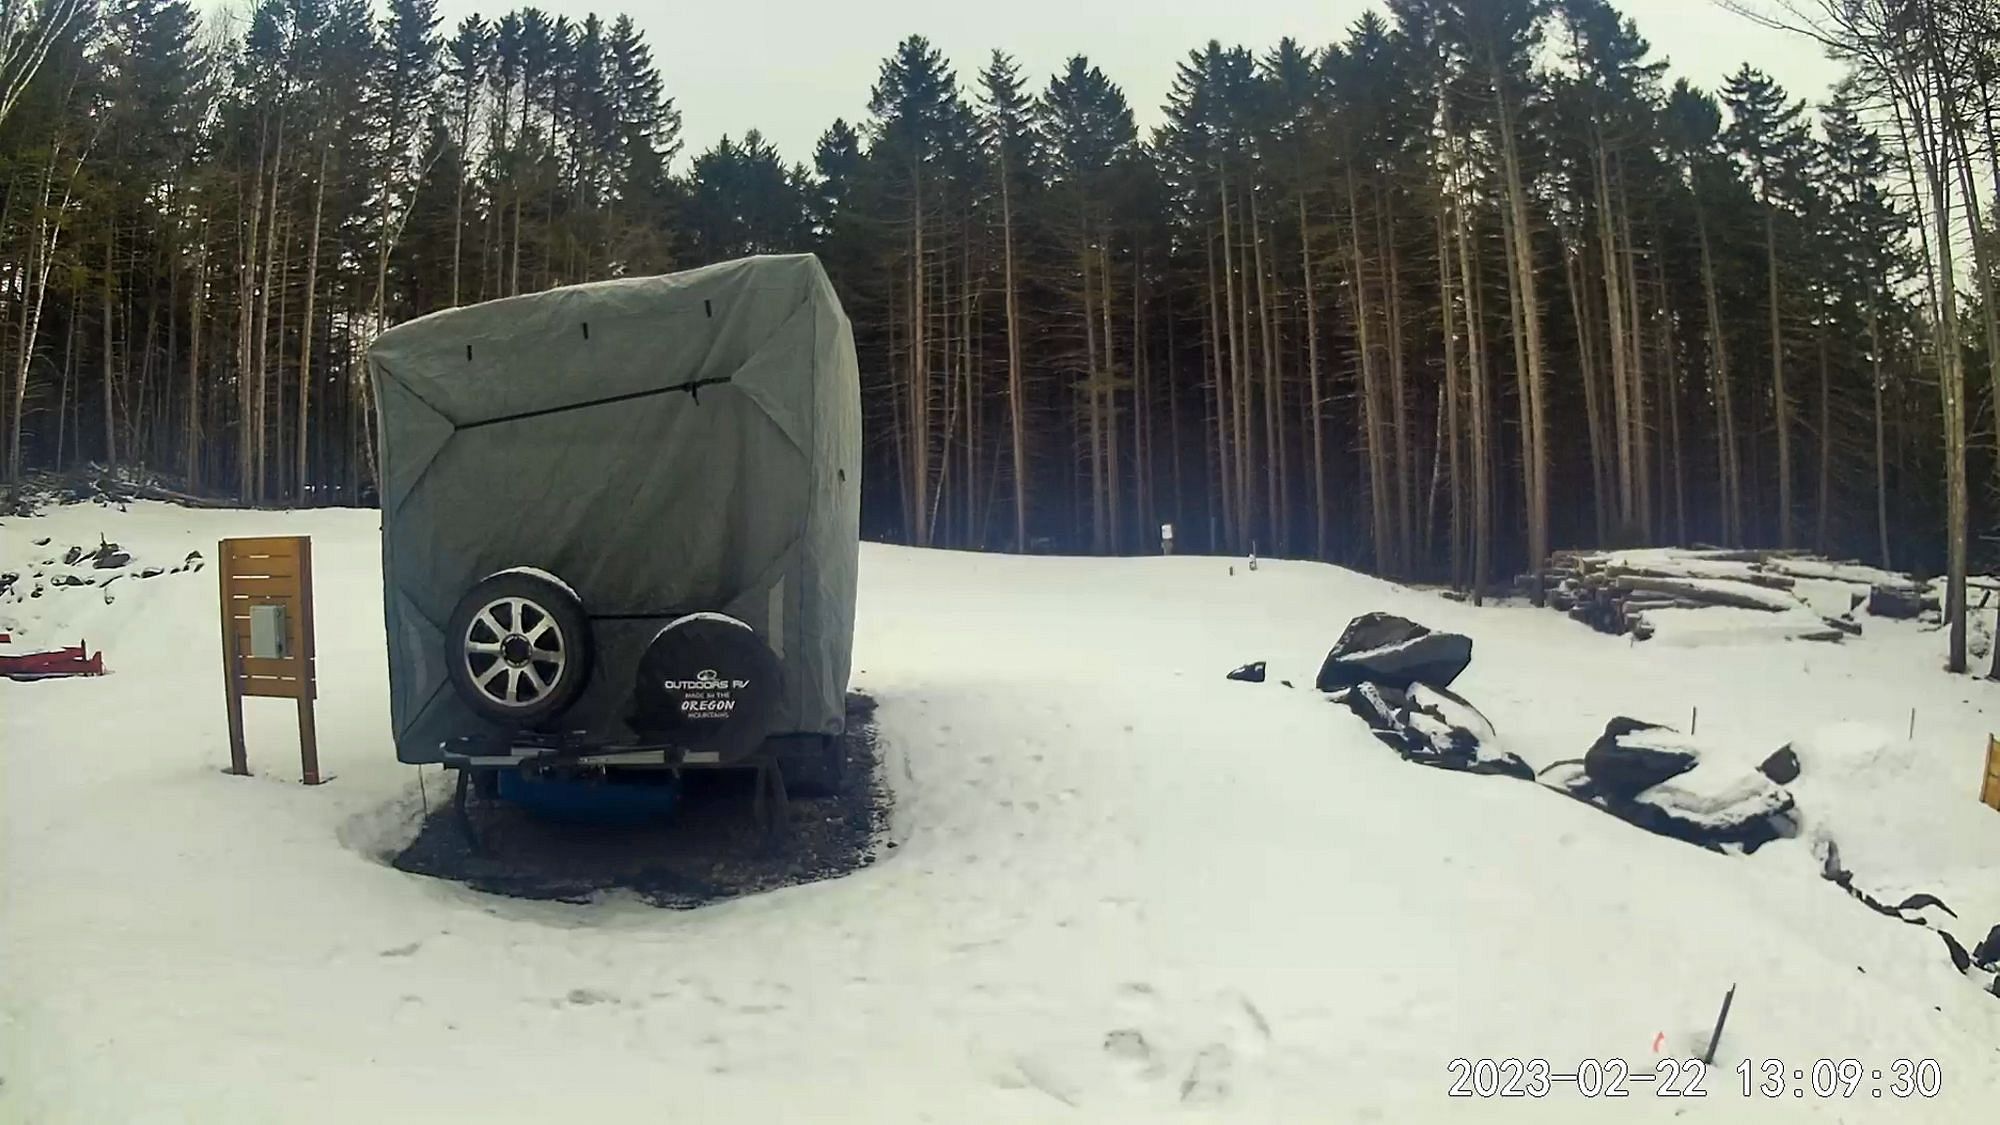
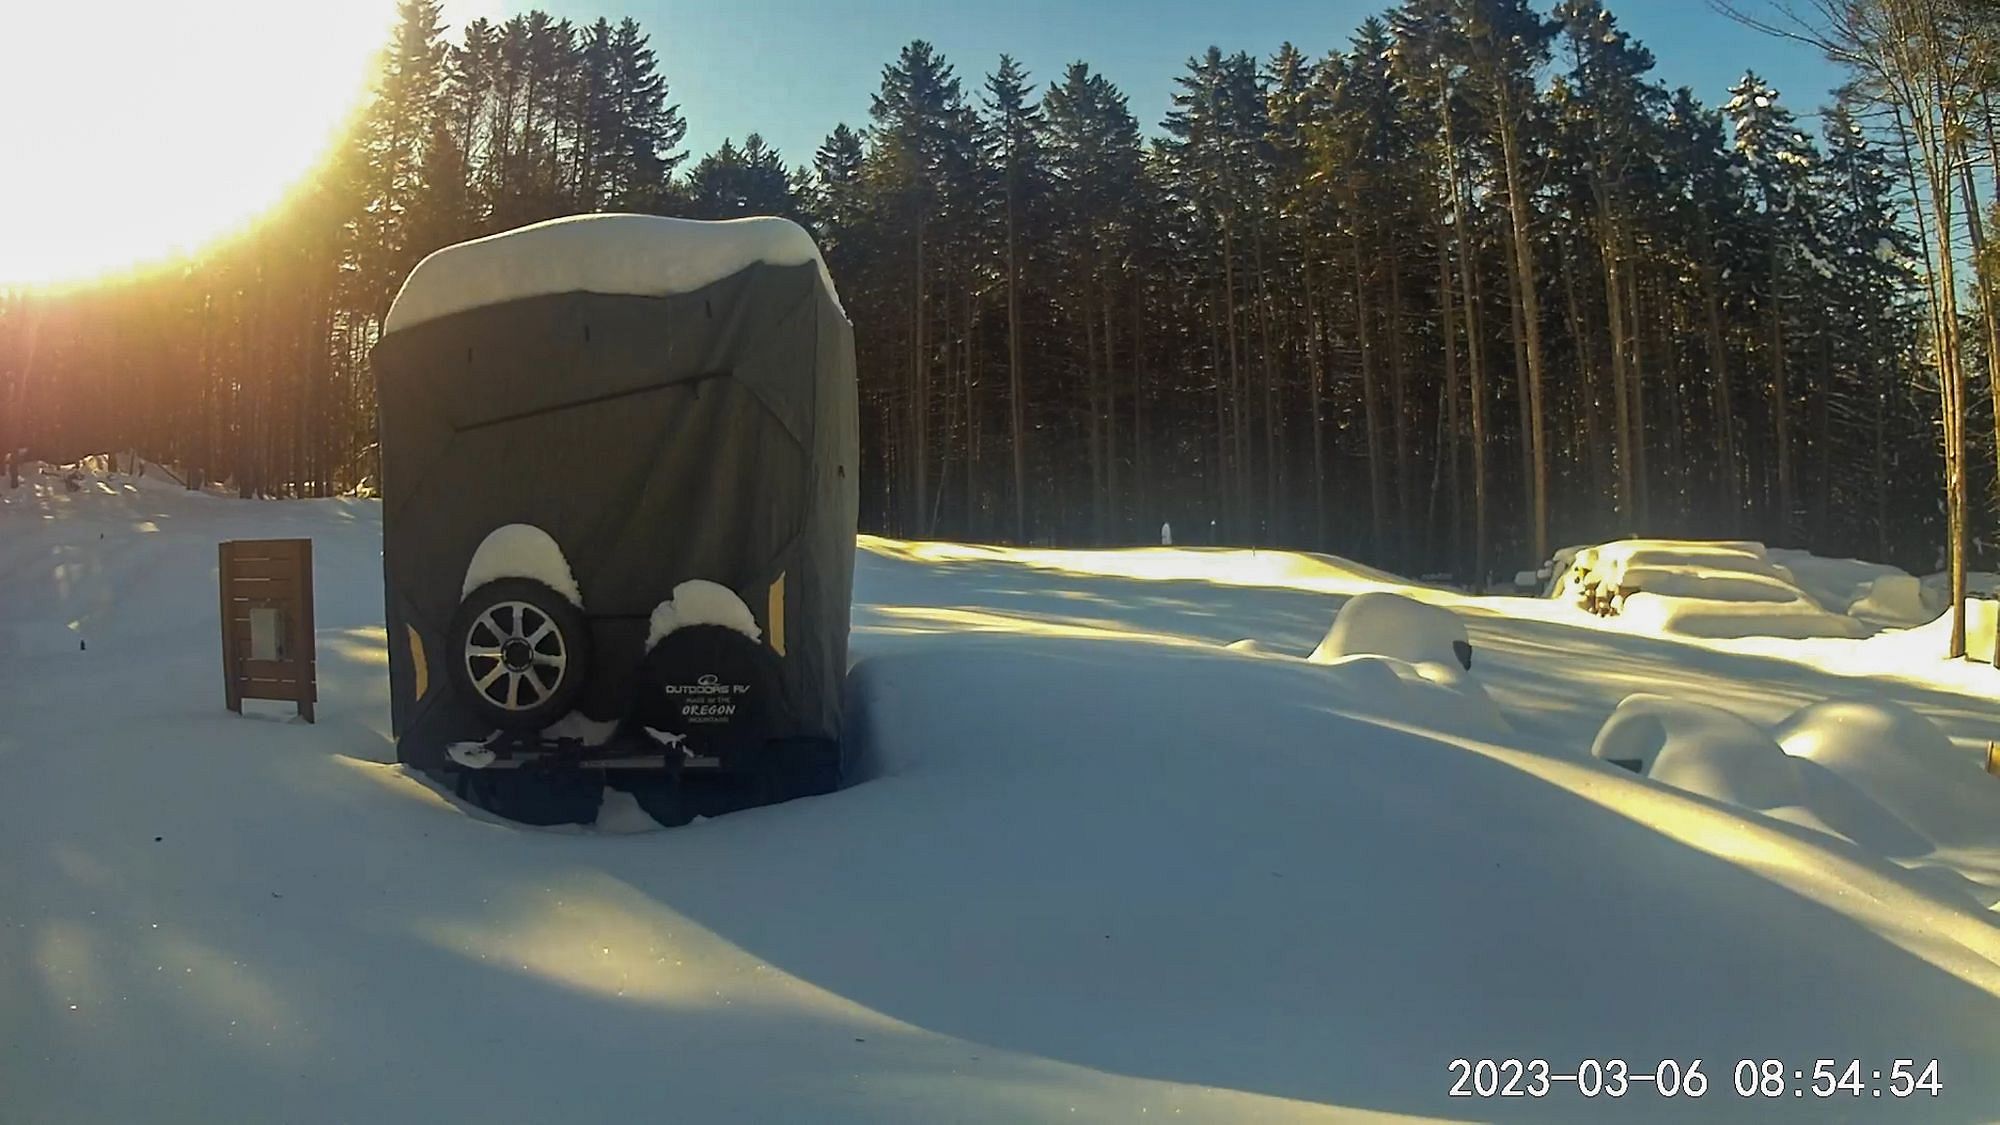
But then it all changed. Several back to back storms brought more than 2ft of snow! We decided to hang out with our friends in New York for a week or so, waiting for a good weather window with some dry, warmer days.
De-winterizing the RV
Our chosen return date was last Monday, March 6th. There was a storm a couple of days before, but the forecast for the week ahead was dry and (relatively) warm with temperatures above freezing each day.
In anticipation of our return we had arranged for a a neighbor with a tractor-mounted snow-blower to clear our driveway. Unfortunately we got a call the day before saying he had managed about 100ft before he had to give up - the snow was just too deep and icy, having not been plowed all winter.
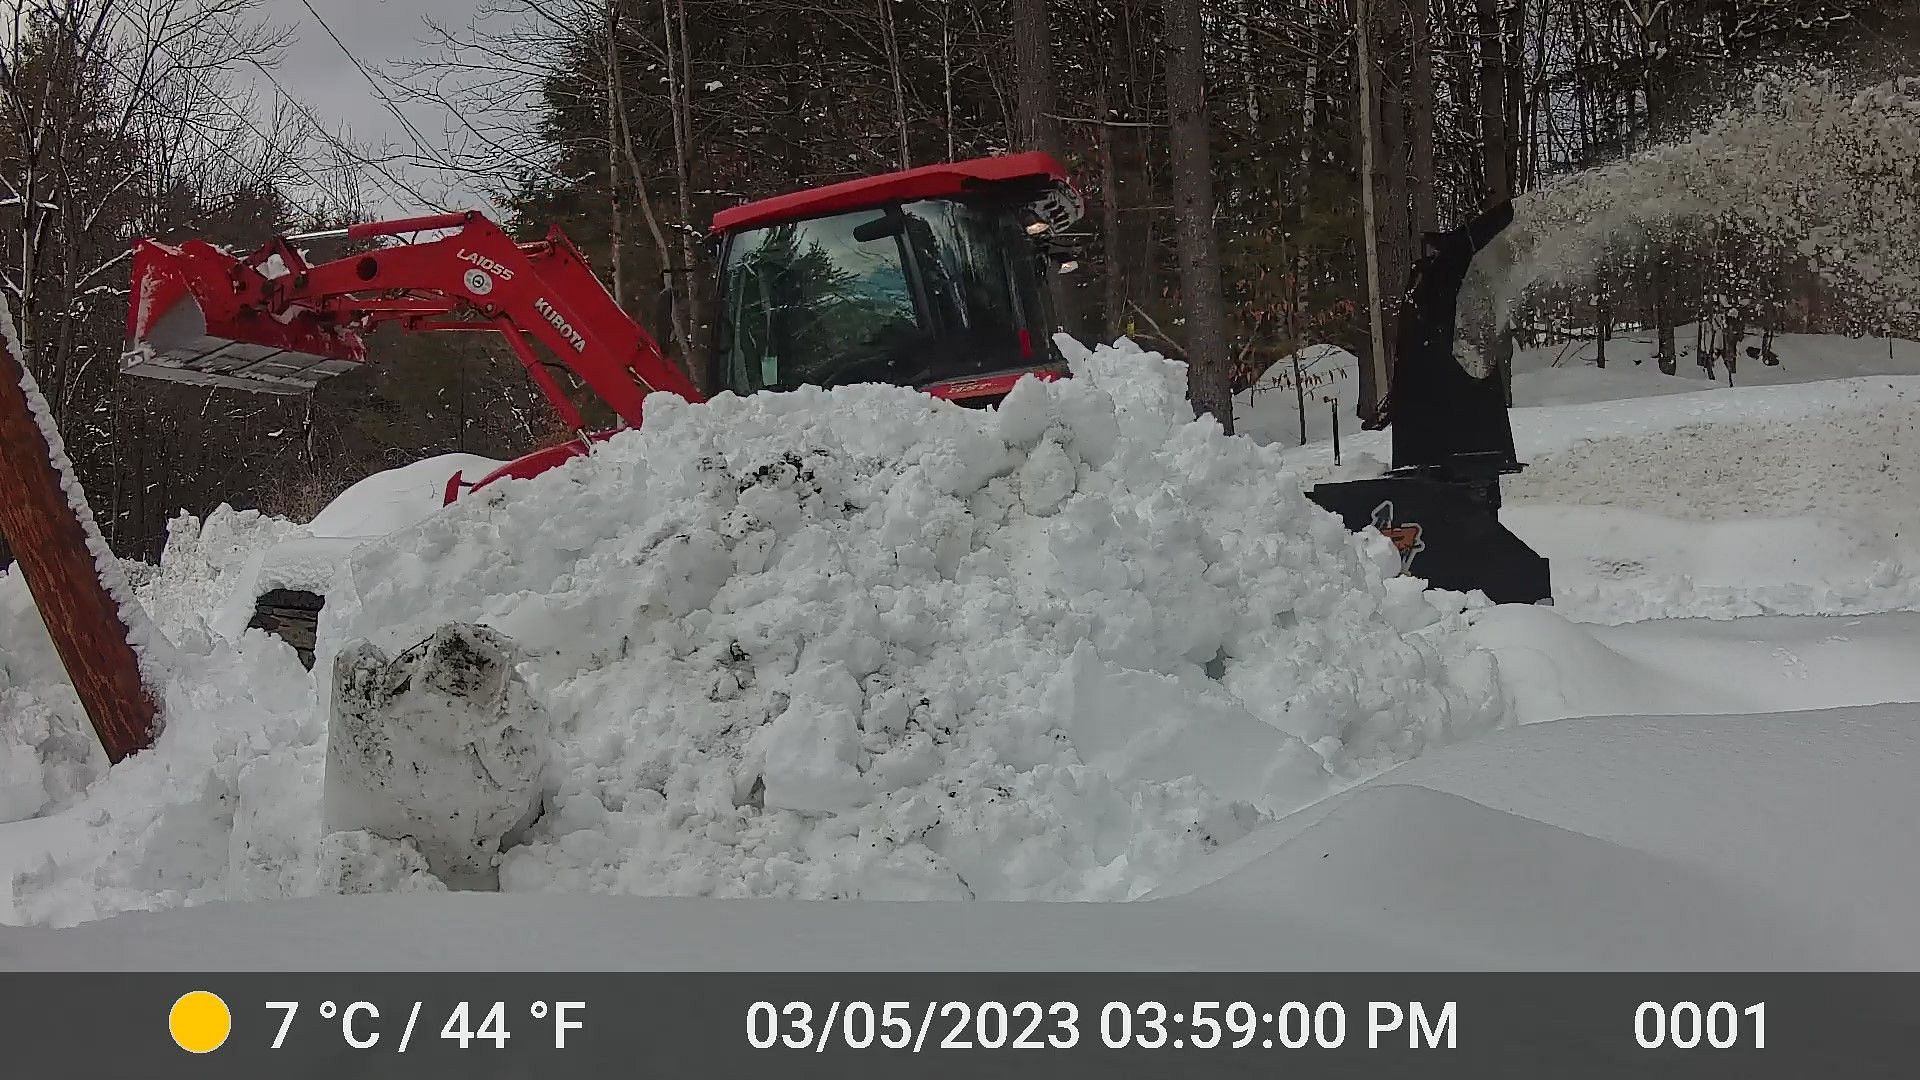
So we had little choice but to call in the big guns - the same bucket loader that we had on-site last year for our grading work. Even with this big machinery, it still took 3.5 hours to clear the driveway!
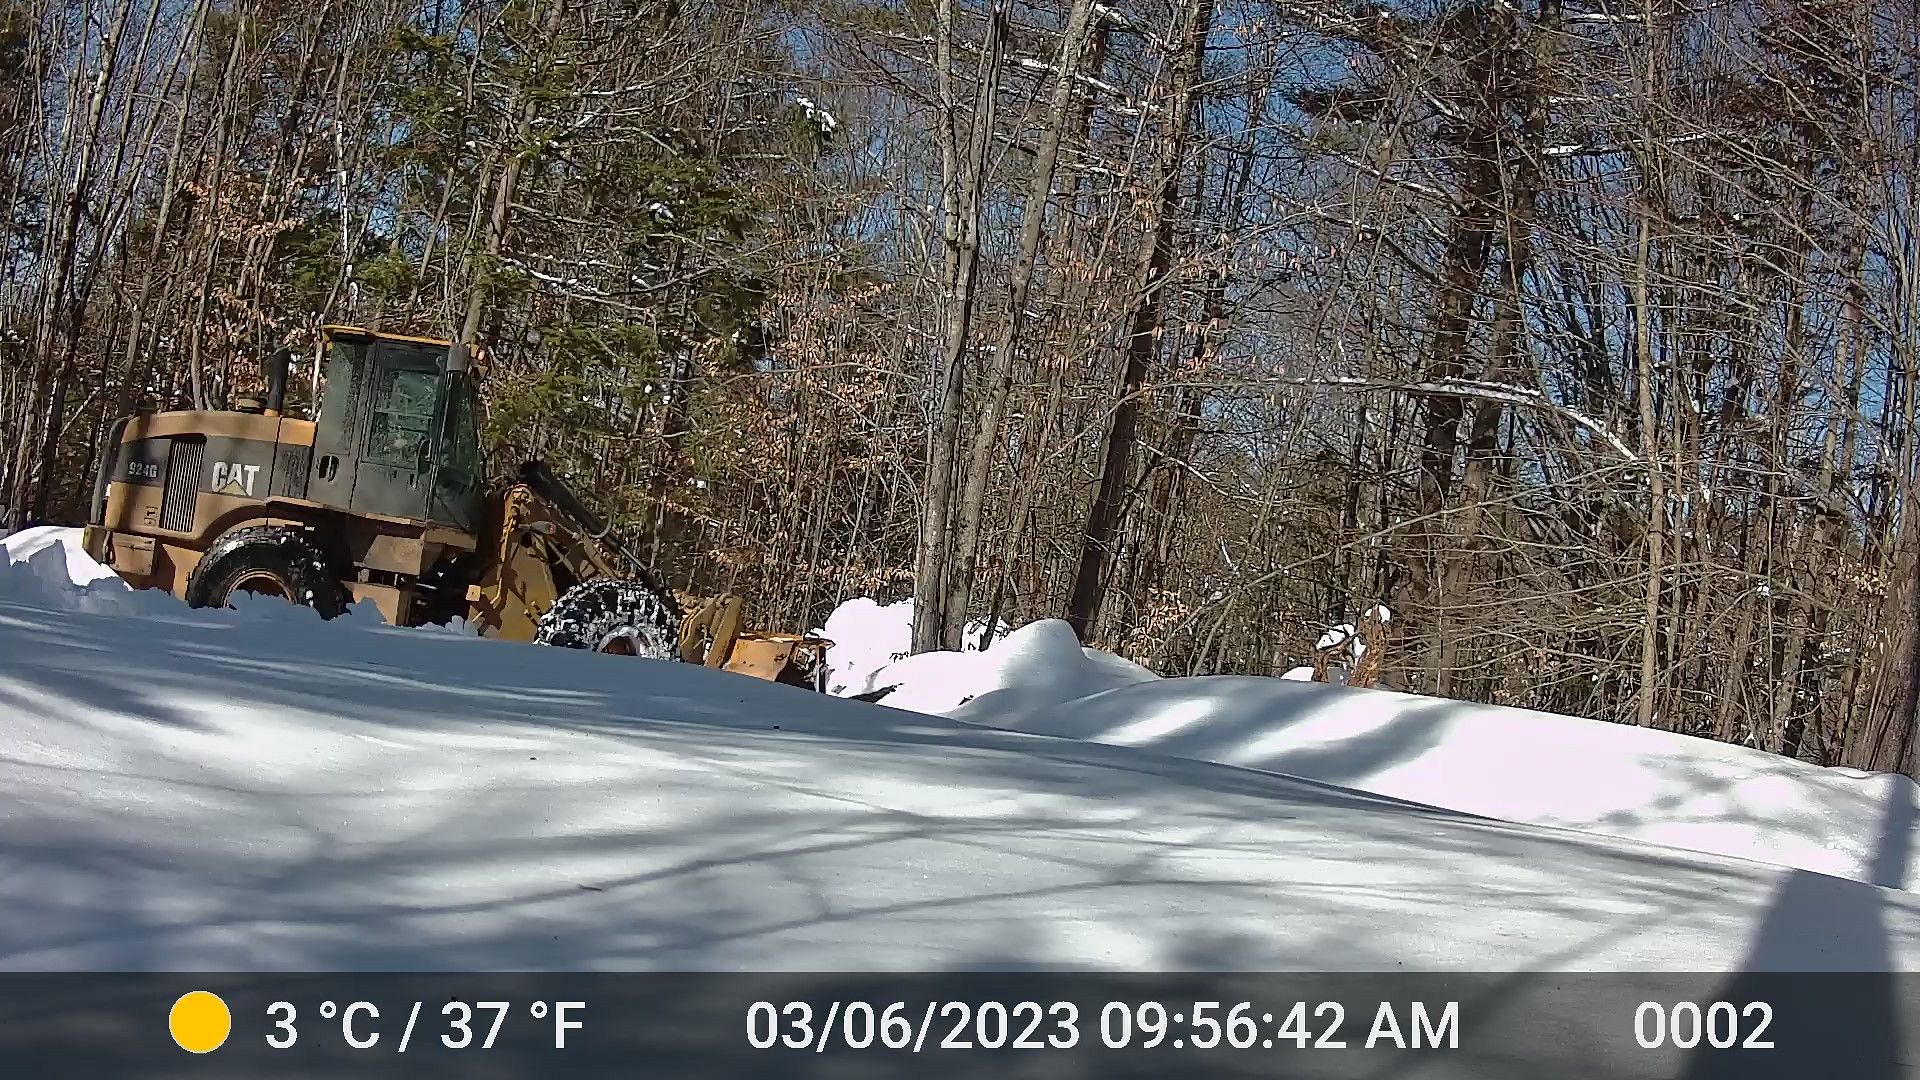
We arrived at about lunchtime, just as the bucket loader was finishing up. They had done an incredible job, and cleared not just the driveway, but the space around the RV too.
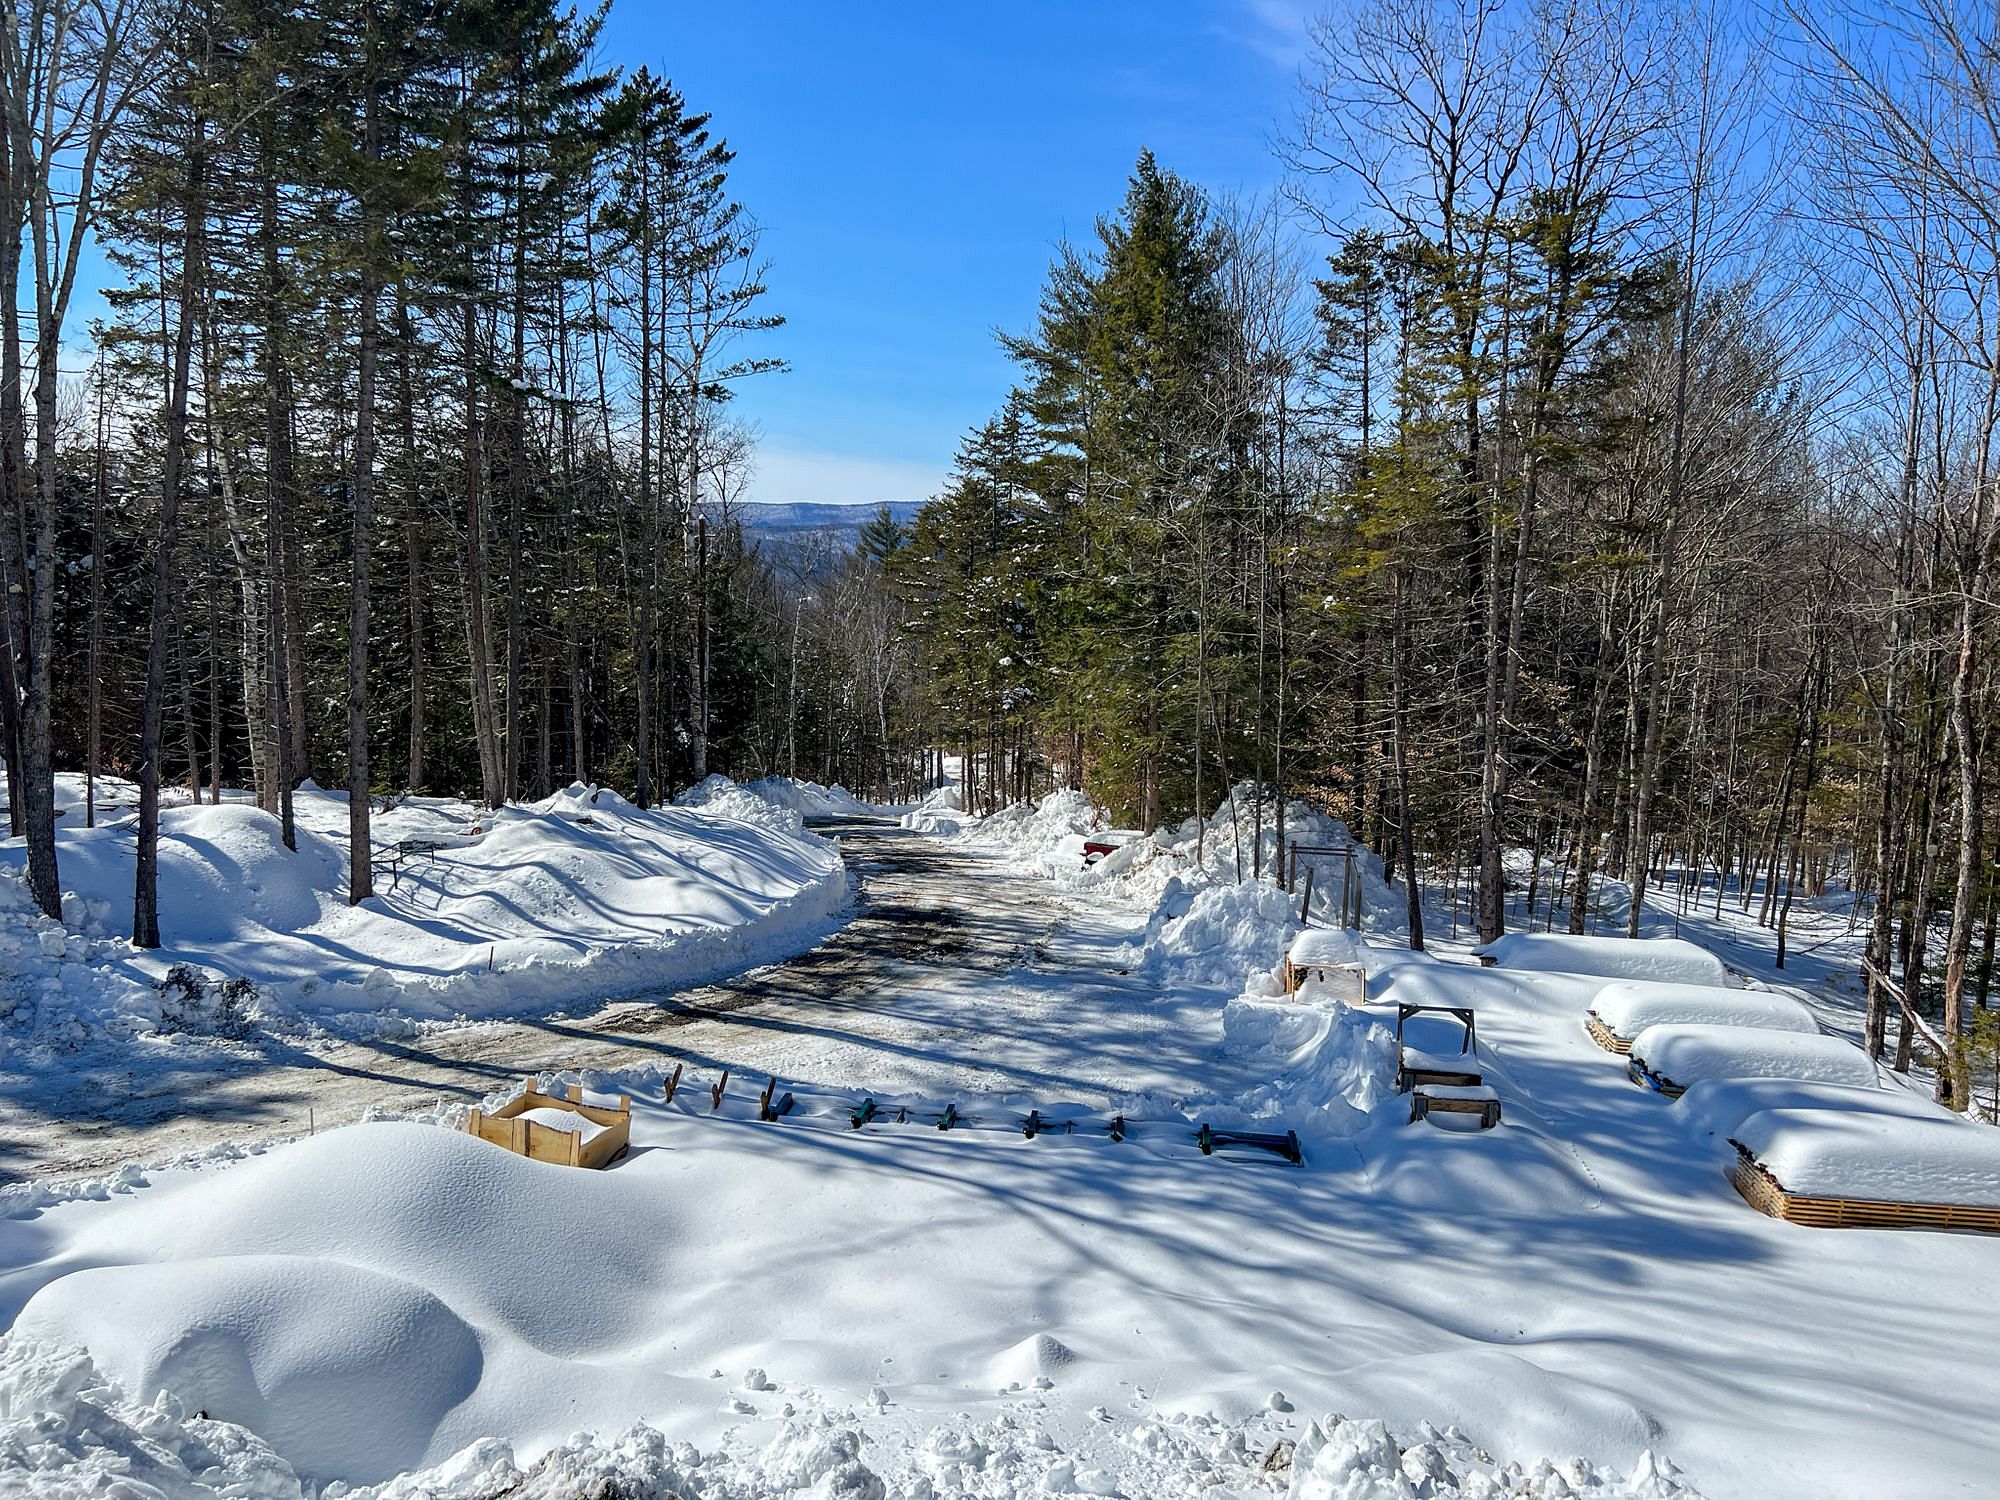
But there was still some clearing that needed doing by hand - the RV roof.
We had stored the RV with a cover over it to protect it from the elements, and before we could remove the cover we had to clear the 18" or so of heavy, wet snow that lay the roof.
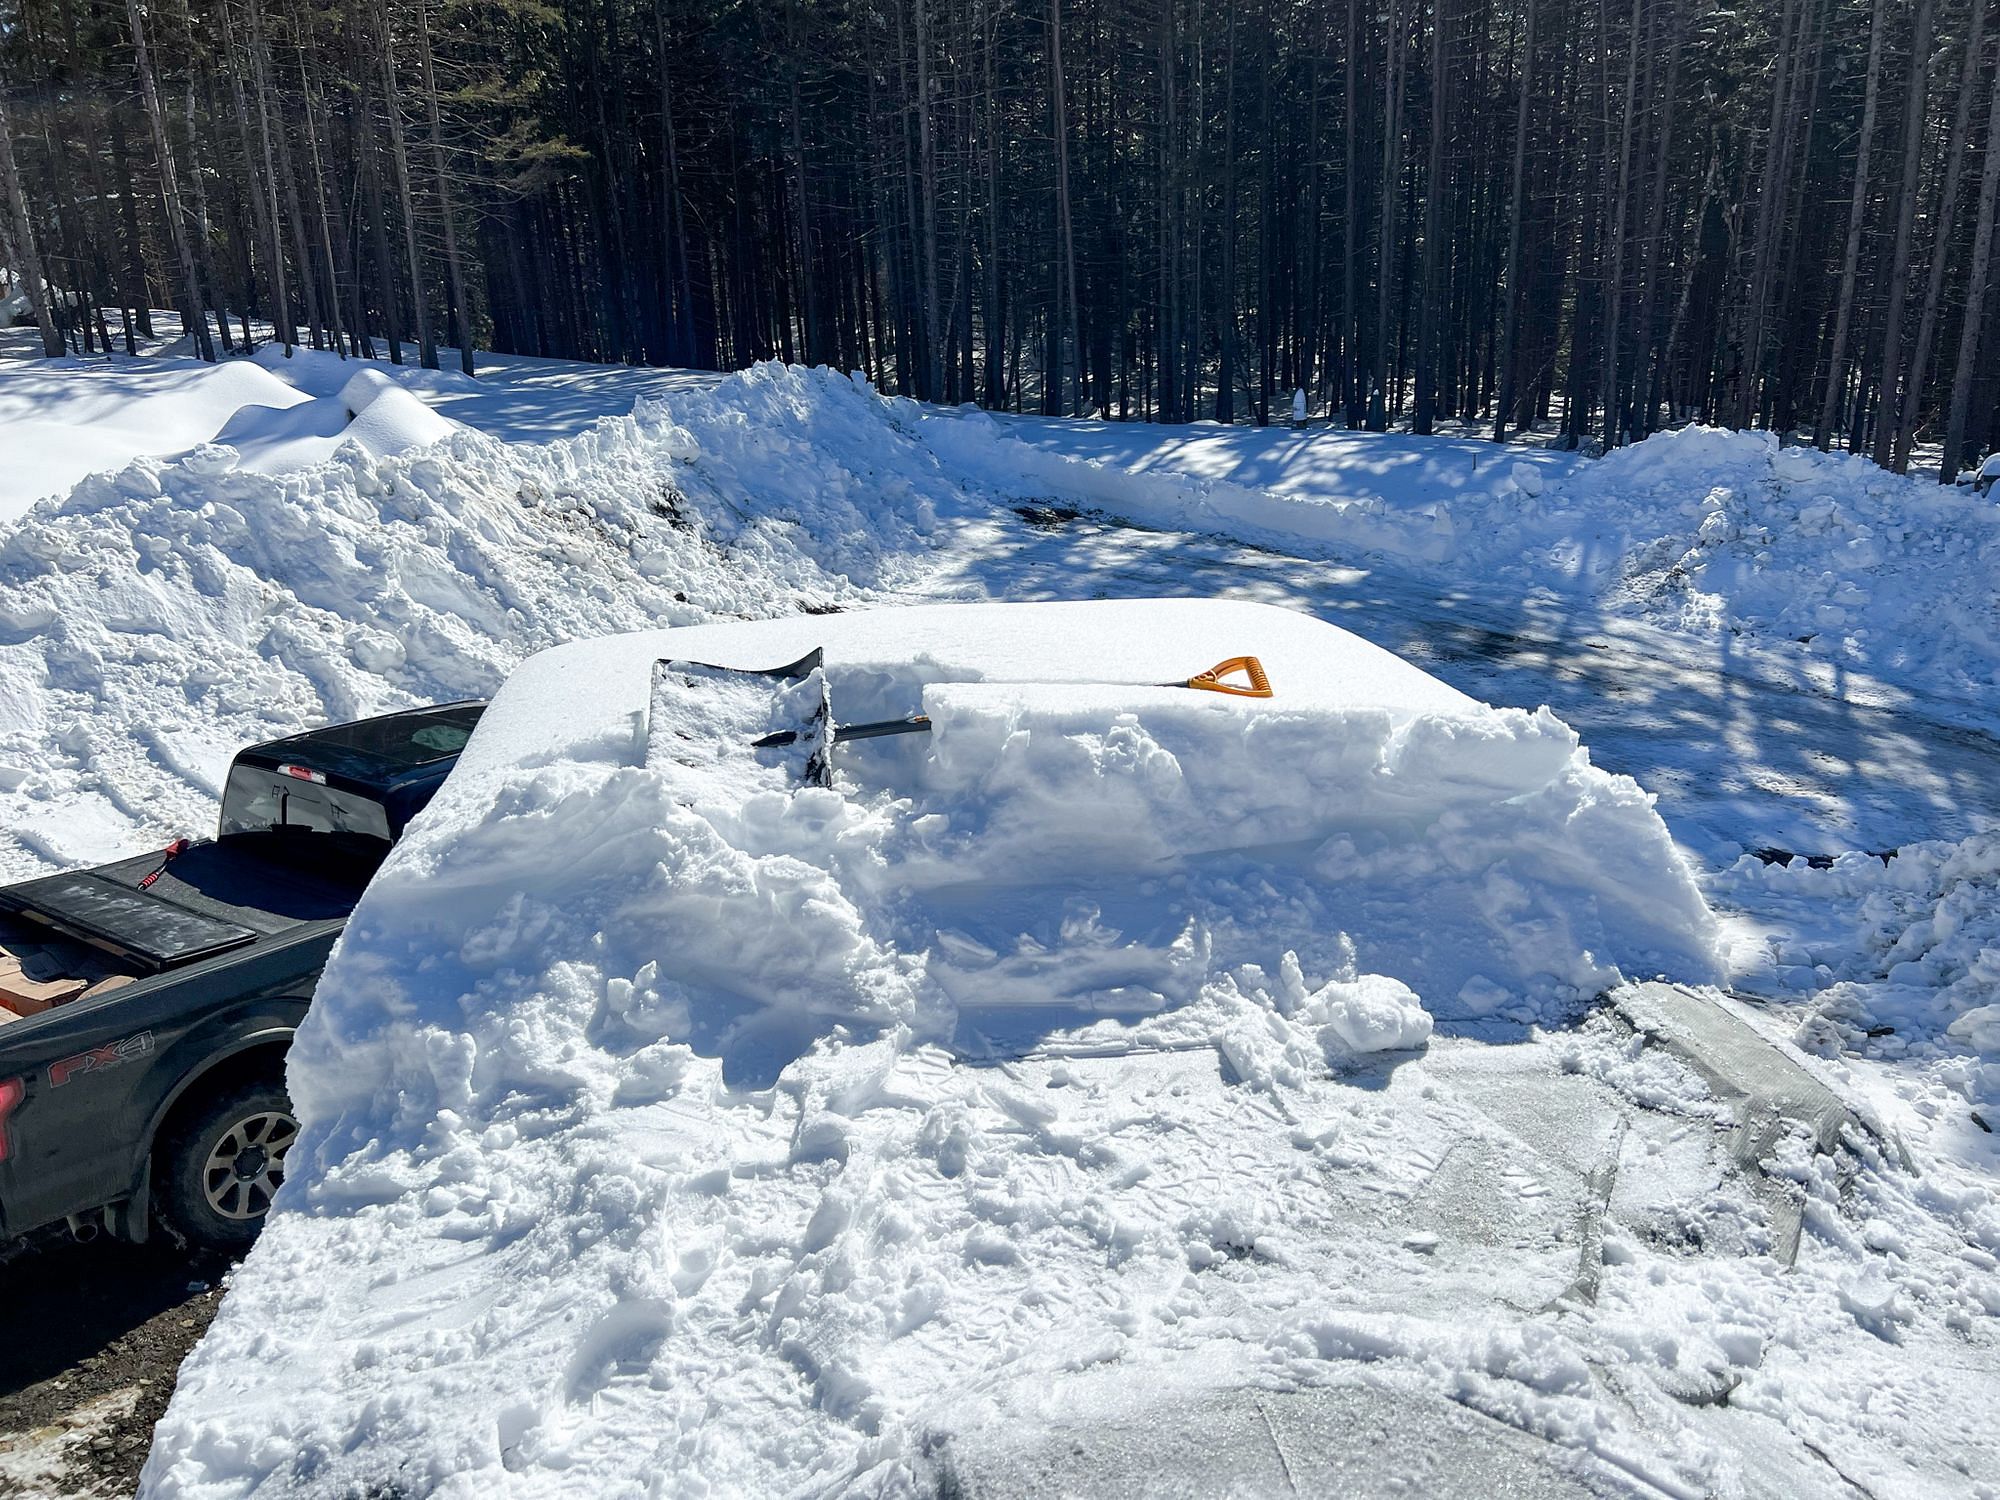
About half an hour later, we were finished. We unlocked the door and stepped inside, wondering what we would find.
We were relieved to see that everything was exactly as we left it, albeit with a thick layer of dust that had accumulated over the previous few months, presumably from air blowing in through whatever gaps it could find in the seals and vents around the RV.
We spent the next few hours cleaning and unpacking, slowly moving everything from the truck back into the RV.
Utilities on-site
When we arrived on our property around the same time last year, we did so with our RV in tow and no utilities available for us on site. For most of last year we were hauling water from a neighbor, paying someone to pump our tanks once a week, and recharging our batteries using a generator when our solar didn't cover our usage (which happened a lot).
Power
Things are a bit different now. One of the first things we did after uncovering the RV was connecting up to power, now available at the backboard we had installed last year next to the RV pad. With power available we could turn on the lights, and extend the slide.
Next, we reconnected our propane tanks which we had left full but disconnected on our RV. With electricity and propane switched on, we turned up the thermostat and within a couple of hours the furnace had warmed up the RV to around 66°F.
Water
Meanwhile, I set about filling our fresh water tank from the well pump we had installed last year. We wouldn't drink from this for a few days until we had the water tested for coliform at a local lab (it came back all clear 24 hours later). Although we had used an air compressor to clear out most of our water lines, we had put antifreeze in as an added precaution, so I thoroughly flushed all the lines until I was confident the antifreeze was all gone.
For good measure we installed a backflow preventer on the wellhead - not strictly necessary given how we're using the well, but a sensible precaution nonetheless.
Sewer
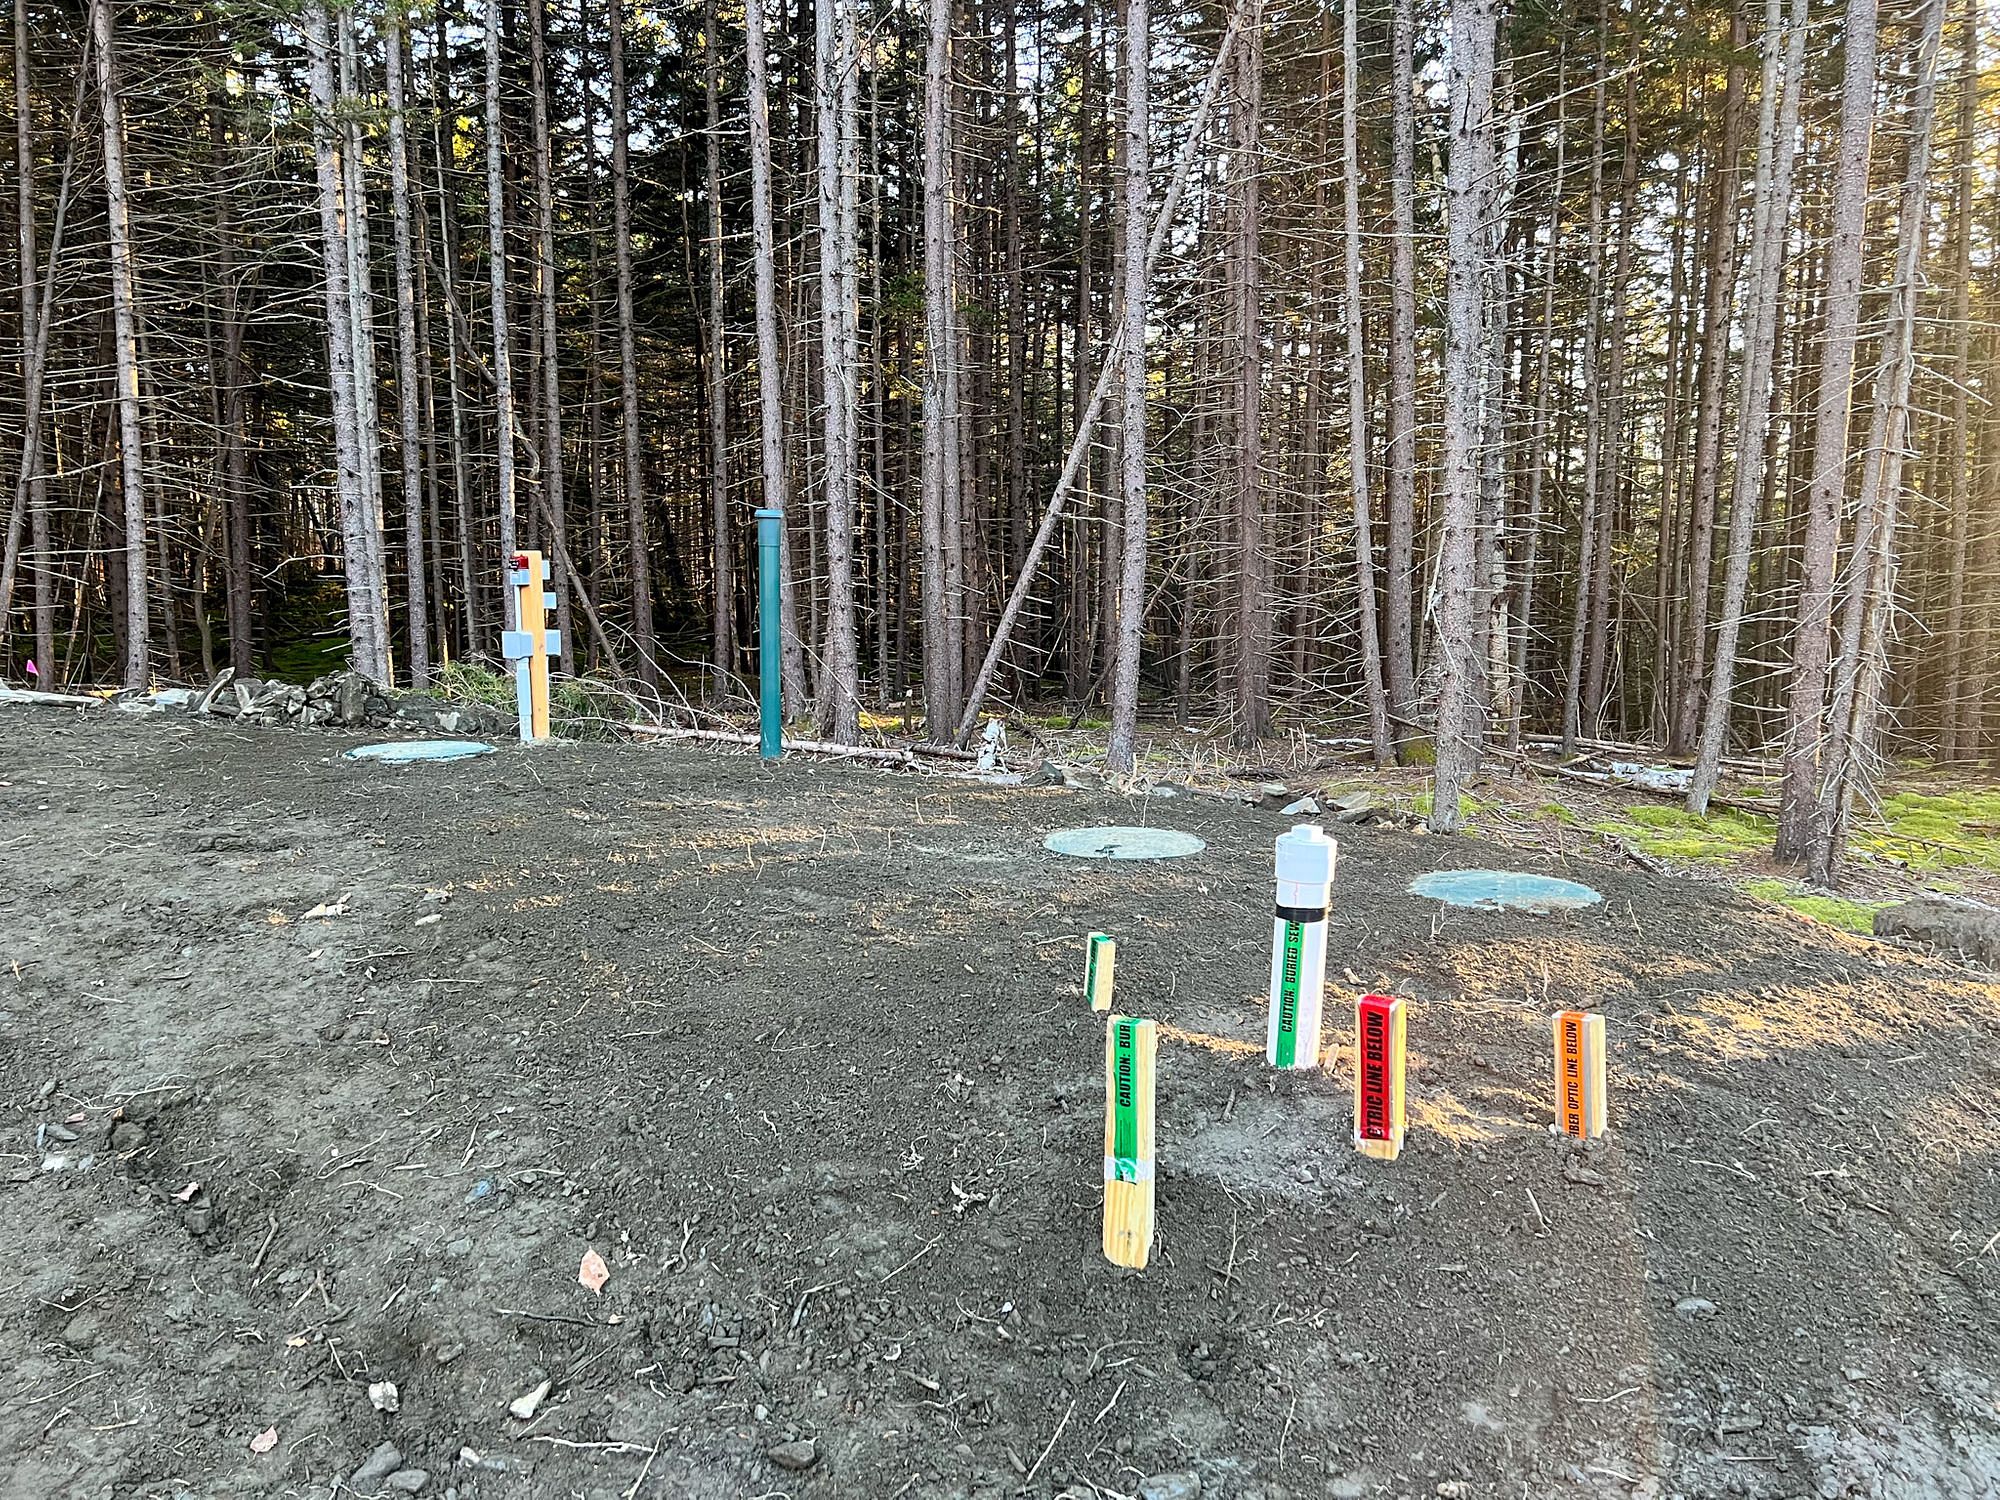
Yesterday we dumped our RV holding tanks into our own septic system for the first time since we've been back. Although we have the septic tanks installed now, we don't yet have a pipe connected to the RV pad so we have to use a portable holding tank to ferry the effluent to the RV dump. It's not a fun job, but the new flexible seal we bought makes the job much more pleasant than it otherwise might be!
Cellular internet
Although fiber internet is available at our property, they won't connect it until we have a weather-tight building in which they can install the equipment. That's some good motivation to get our utility building done this year!
Until then, we're reliant on cellular internet. Since we're going to be in one spot, we have decided to invest in a directional antenna that we're going to permanently mount on a secure post next to the RV. That should arrive later this week.
Starting our garden
One of the reasons we were keen to get back as soon as possible is to start planting our garden. This might sound strange given there's 2ft of snow on the ground, but the growing season is short here in Vermont so by the time our last frost date rolls around in mid-May, we need to have some plants ready to transplant outside.
Last year's garden projects were a mixed bag. While generally things worked out OK, things didn't do as well as we'd have liked and yields were low. I think the main reason was that they needed more watering, and that was a real challenge last year - again, we either had to haul water from a neighbor or bring water one watering can at a time from our pond.
But this year we're expanding our garden in a big way. In addition to the raised bed we built last year (which should now get more sunlight after we cleared some more trees), we're going to build two more raised beds that we're going to use exclusively for several varieties of tomatoes and peppers.
Since we now have power, we can start the seeds inside with grow lights. Rather than buying new grow lights, we've repurposed the AeroGardens we had in storage - all four of them!
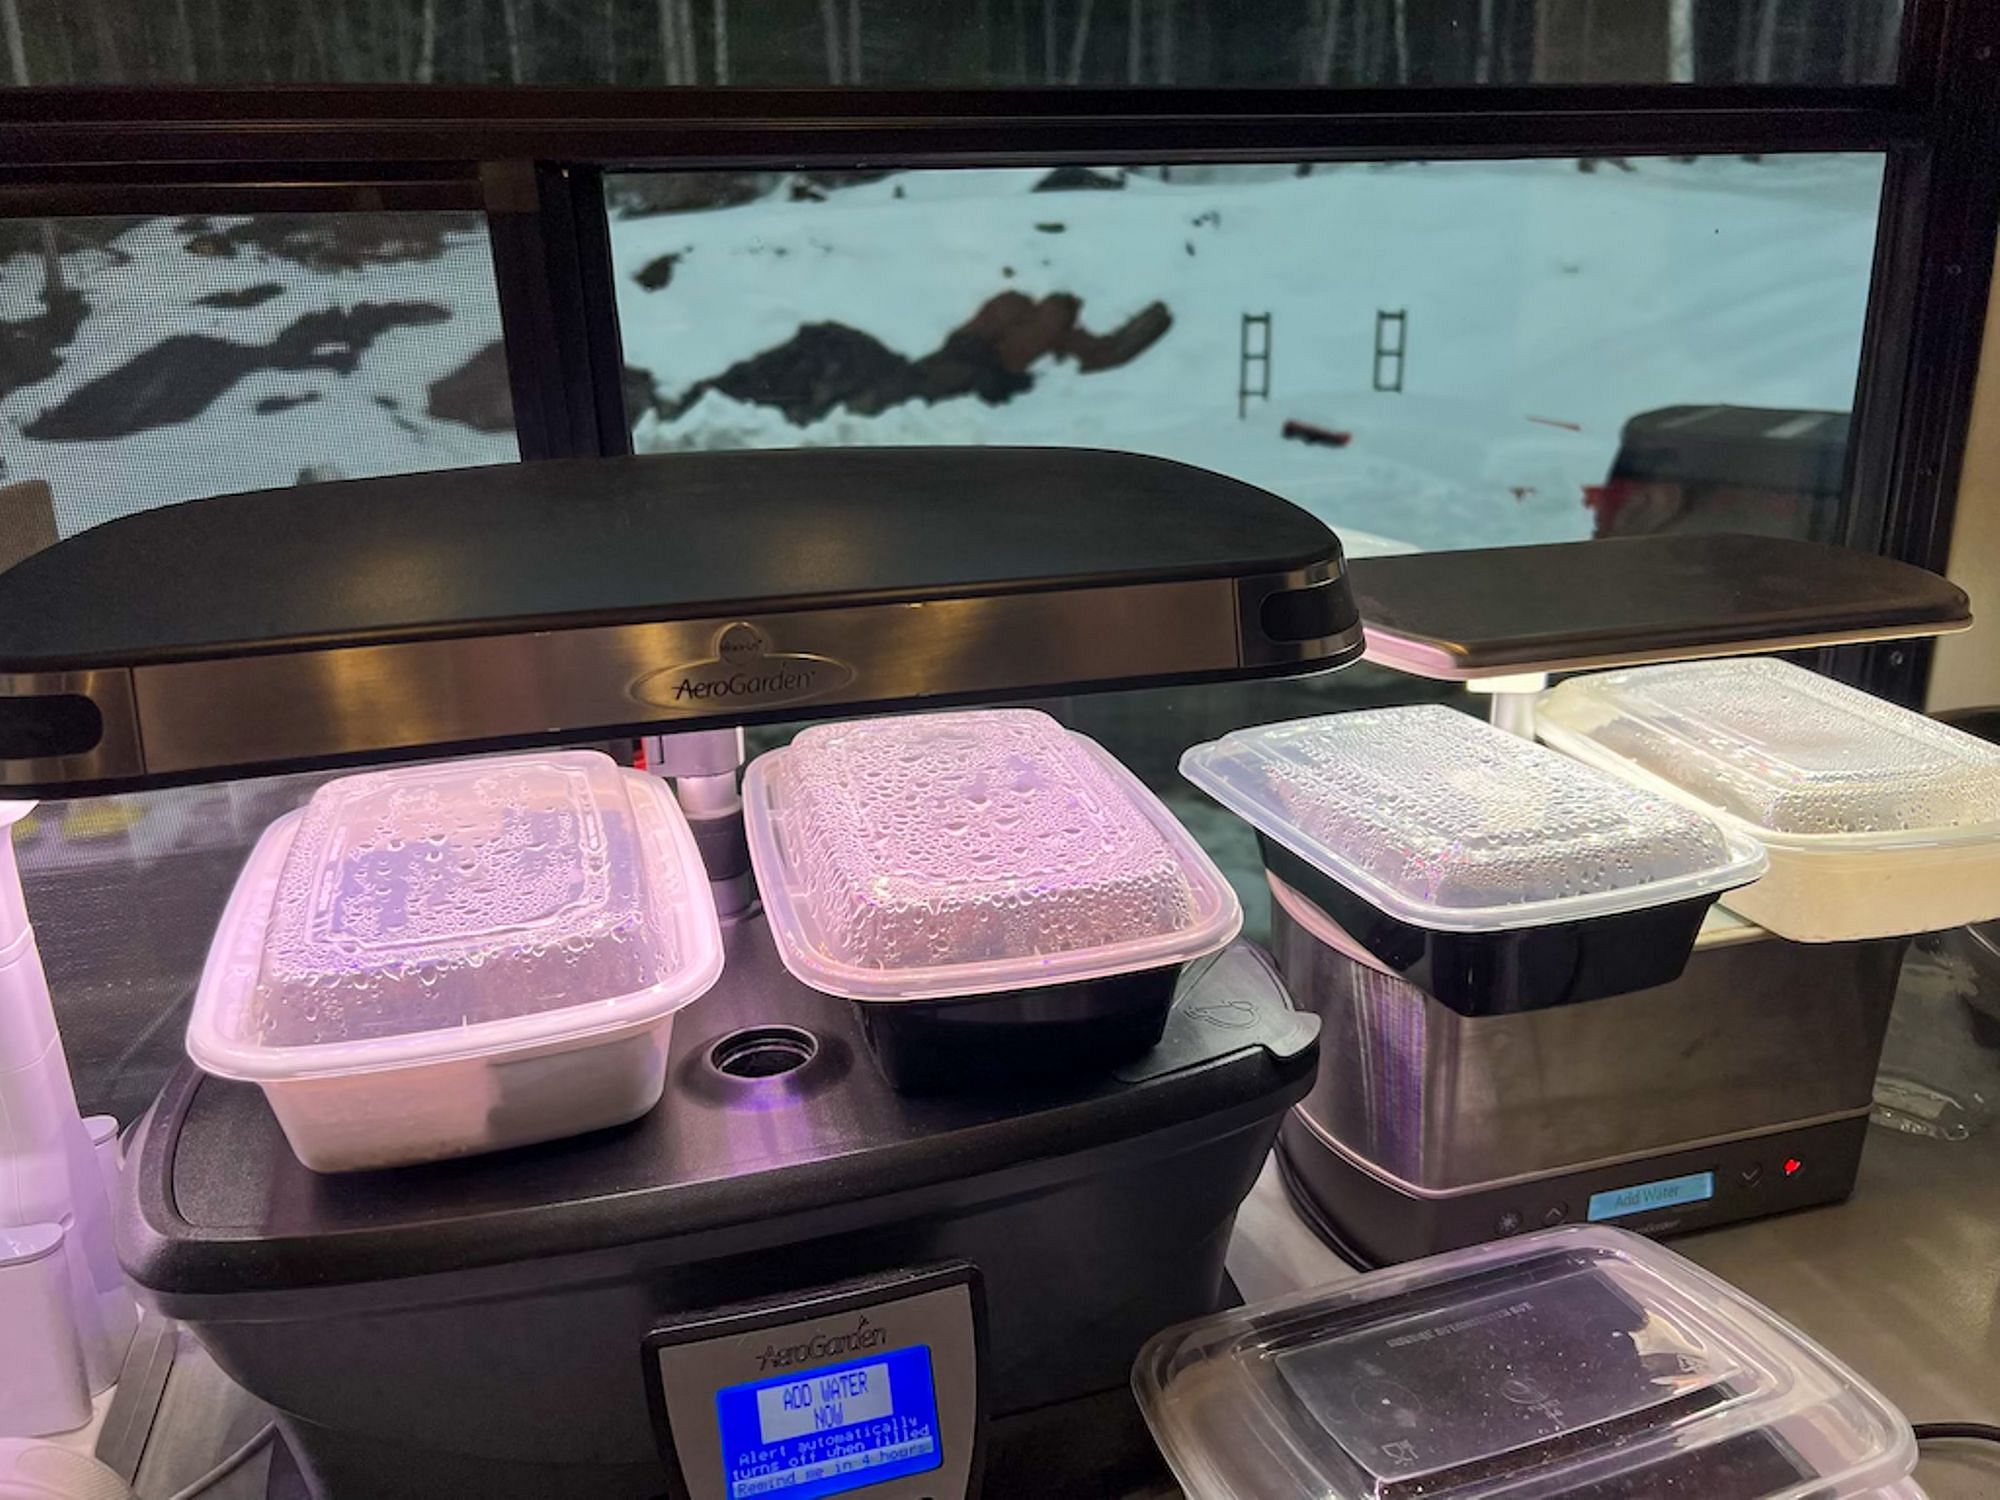
While you can buy seed starter trays for the AeroGarden, we opted for a more DIY approach - using a soil block maker to create 2" soil cubes into which we placed the seeds. We can fit 6 soil cubes in a plastic takeout container, and the lids resting loosely on top work as humidity domes.
In our two AeroGarden Sprout LEDs we're growing a selection of different herbs, including two types of parsley, cilantro, rosemary, chives and dill. Once we've finished seed starting in the other two AeroGardens, we're planning a bumper crop of basil and lettuce using the AeroGarden Grow Anything Seed Pod Kit.
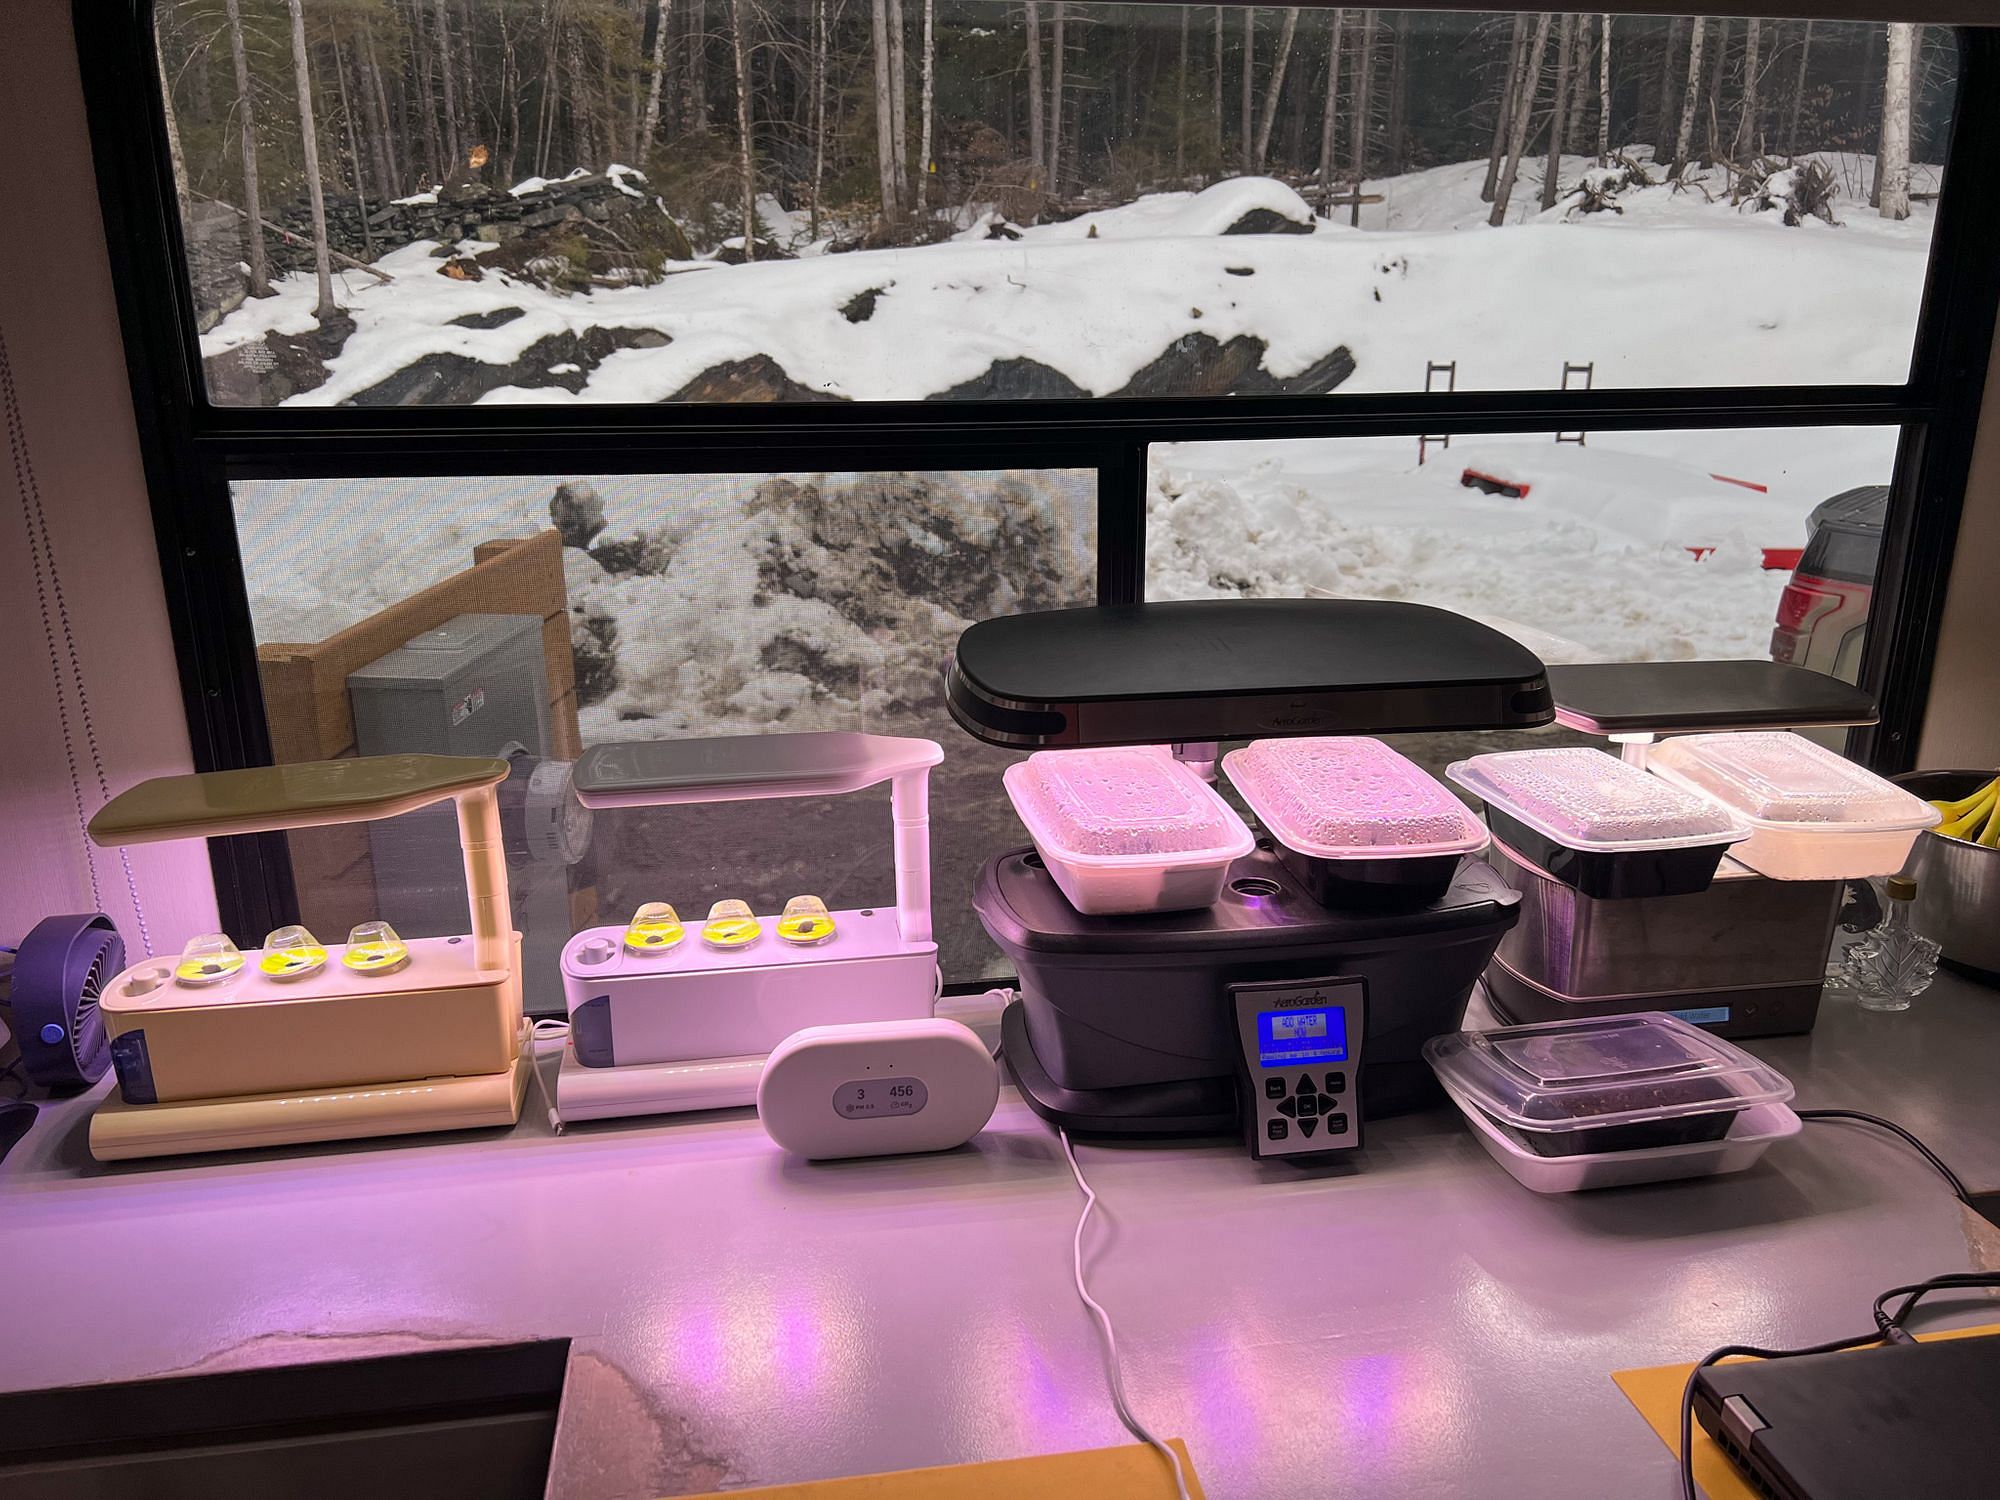
It's quite the little operation here in our RV!
Making maple syrup
Here in Vermont, this time of year is maple tapping season. We experimented with making it last year and successfully made about a pint of our own maple syrup.
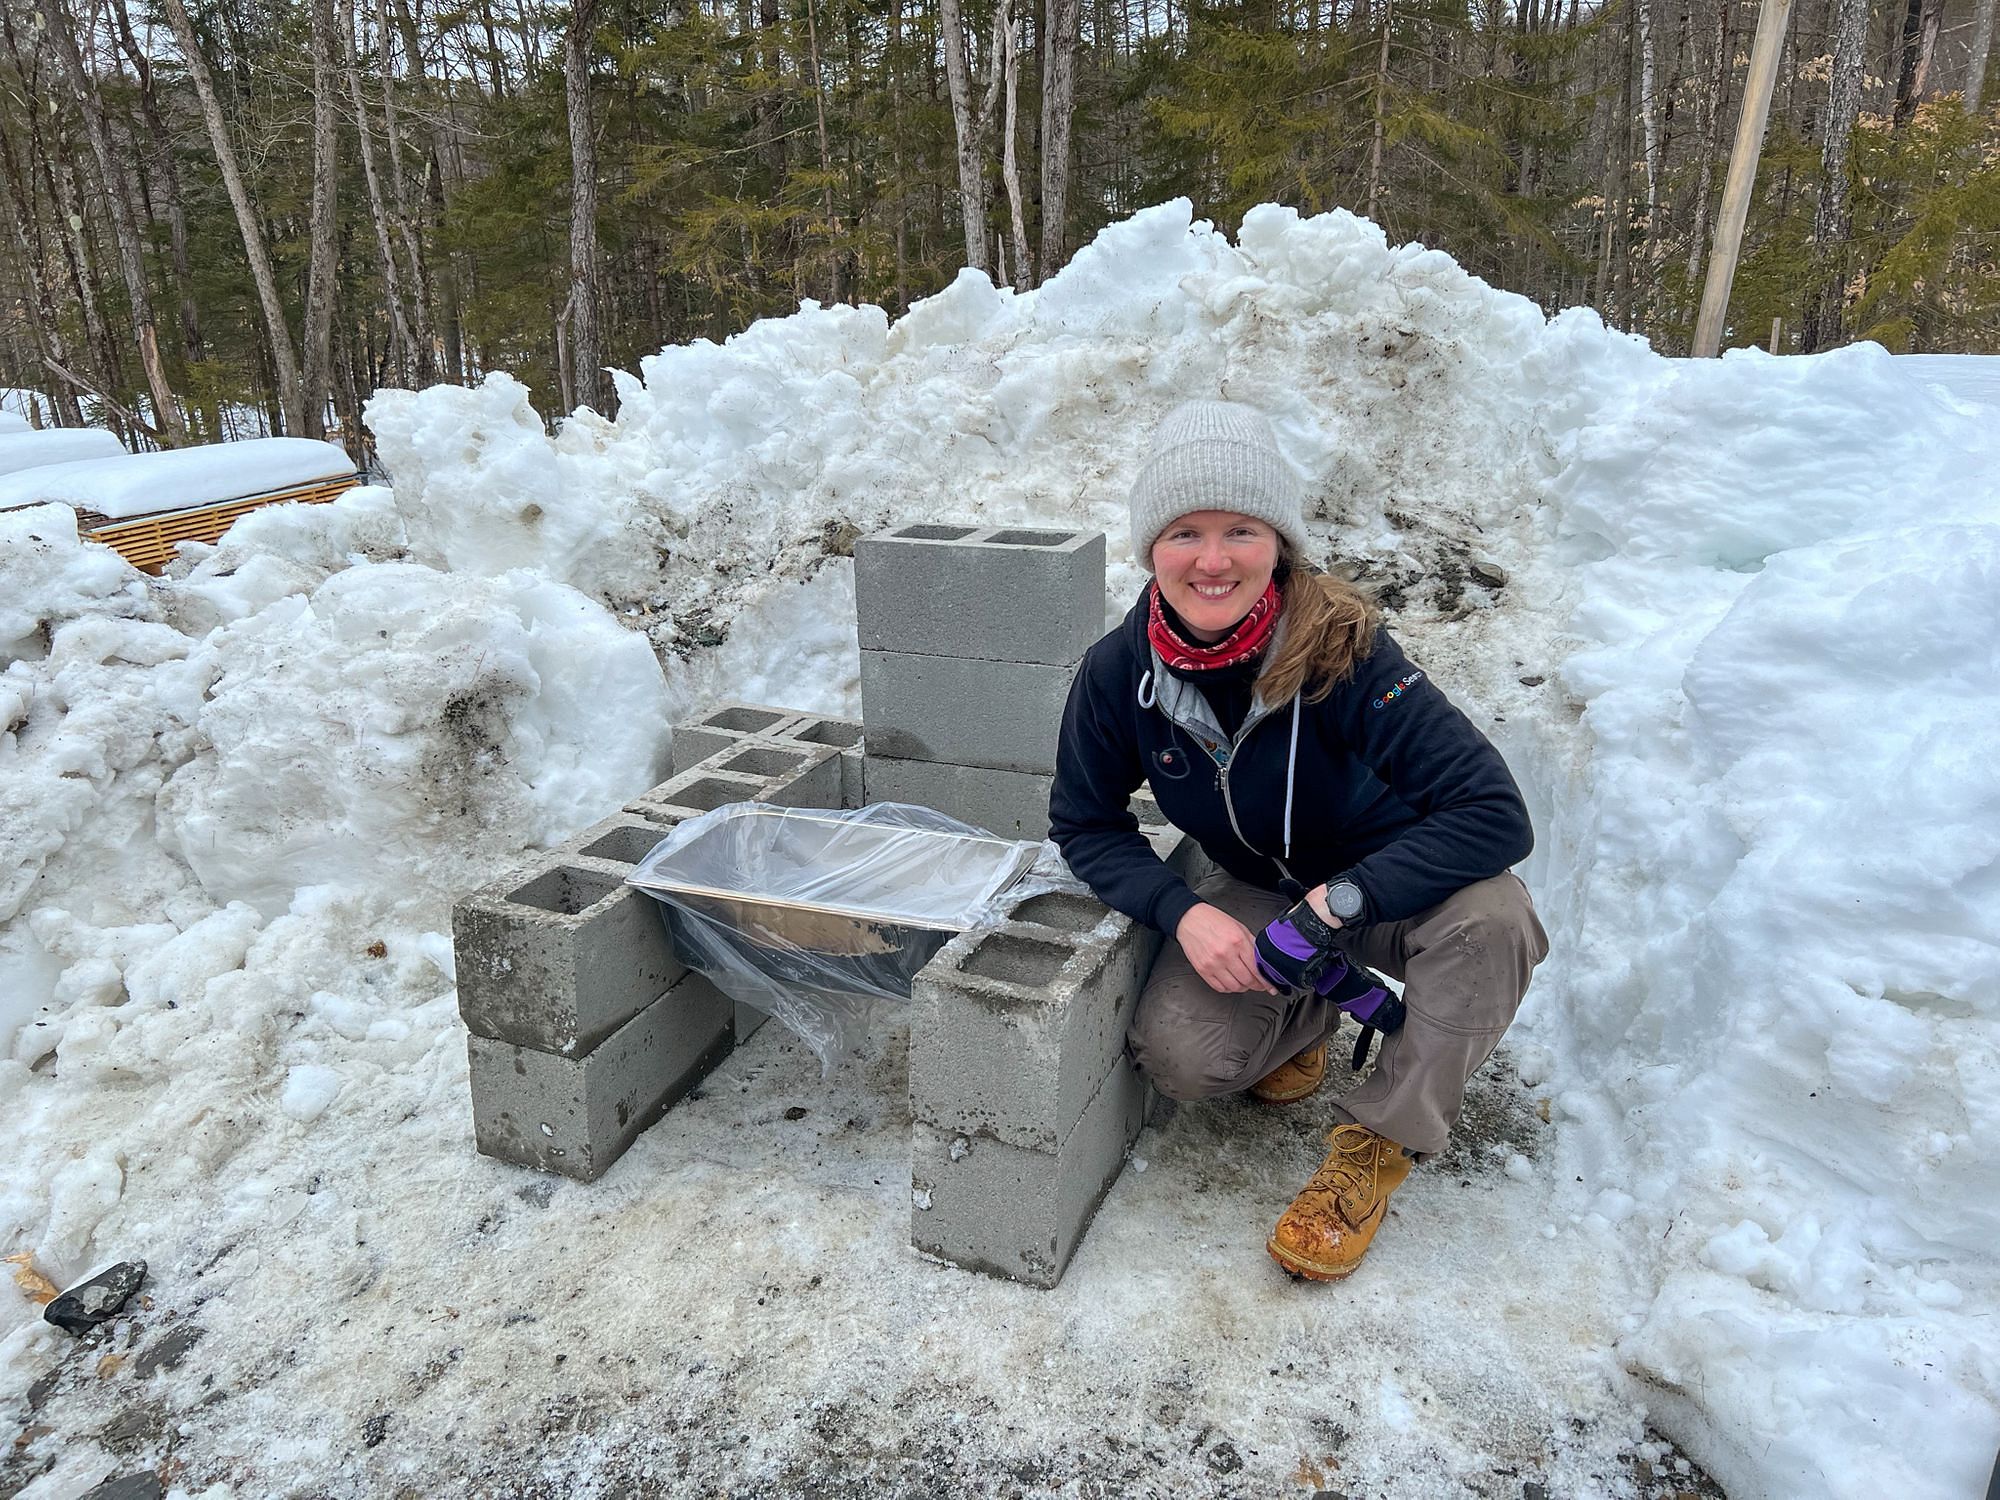
This year we're scaling things up slightly. We've tapped 8 trees (up from 2 trees last year) and are hoping to collect 40 gallons of sap, enough to make about 1 gallon of finished maple syrup.
We installed the taps on Saturday, and we've already collected about 5 gallons of sap. A big storm is threatening to bring as much as 10" of snow tomorrow, but the forecast for the rest of the week is cold nights and daytime highs over 40°F - perfect weather for sap collecting!
We've ordered some new filters and are hoping to do our first boiling later this week on the evaporator we've built, using the same design that worked very successfully for us last year.
Shipping container shelves
During the winter, we packed as much as we could into our shipping container, keeping things safe and secure, as well as protected from the elements.
Once we had settled into the RV it was time to start unpacking the shipping container. This was no easy job - the container was stuffed full!
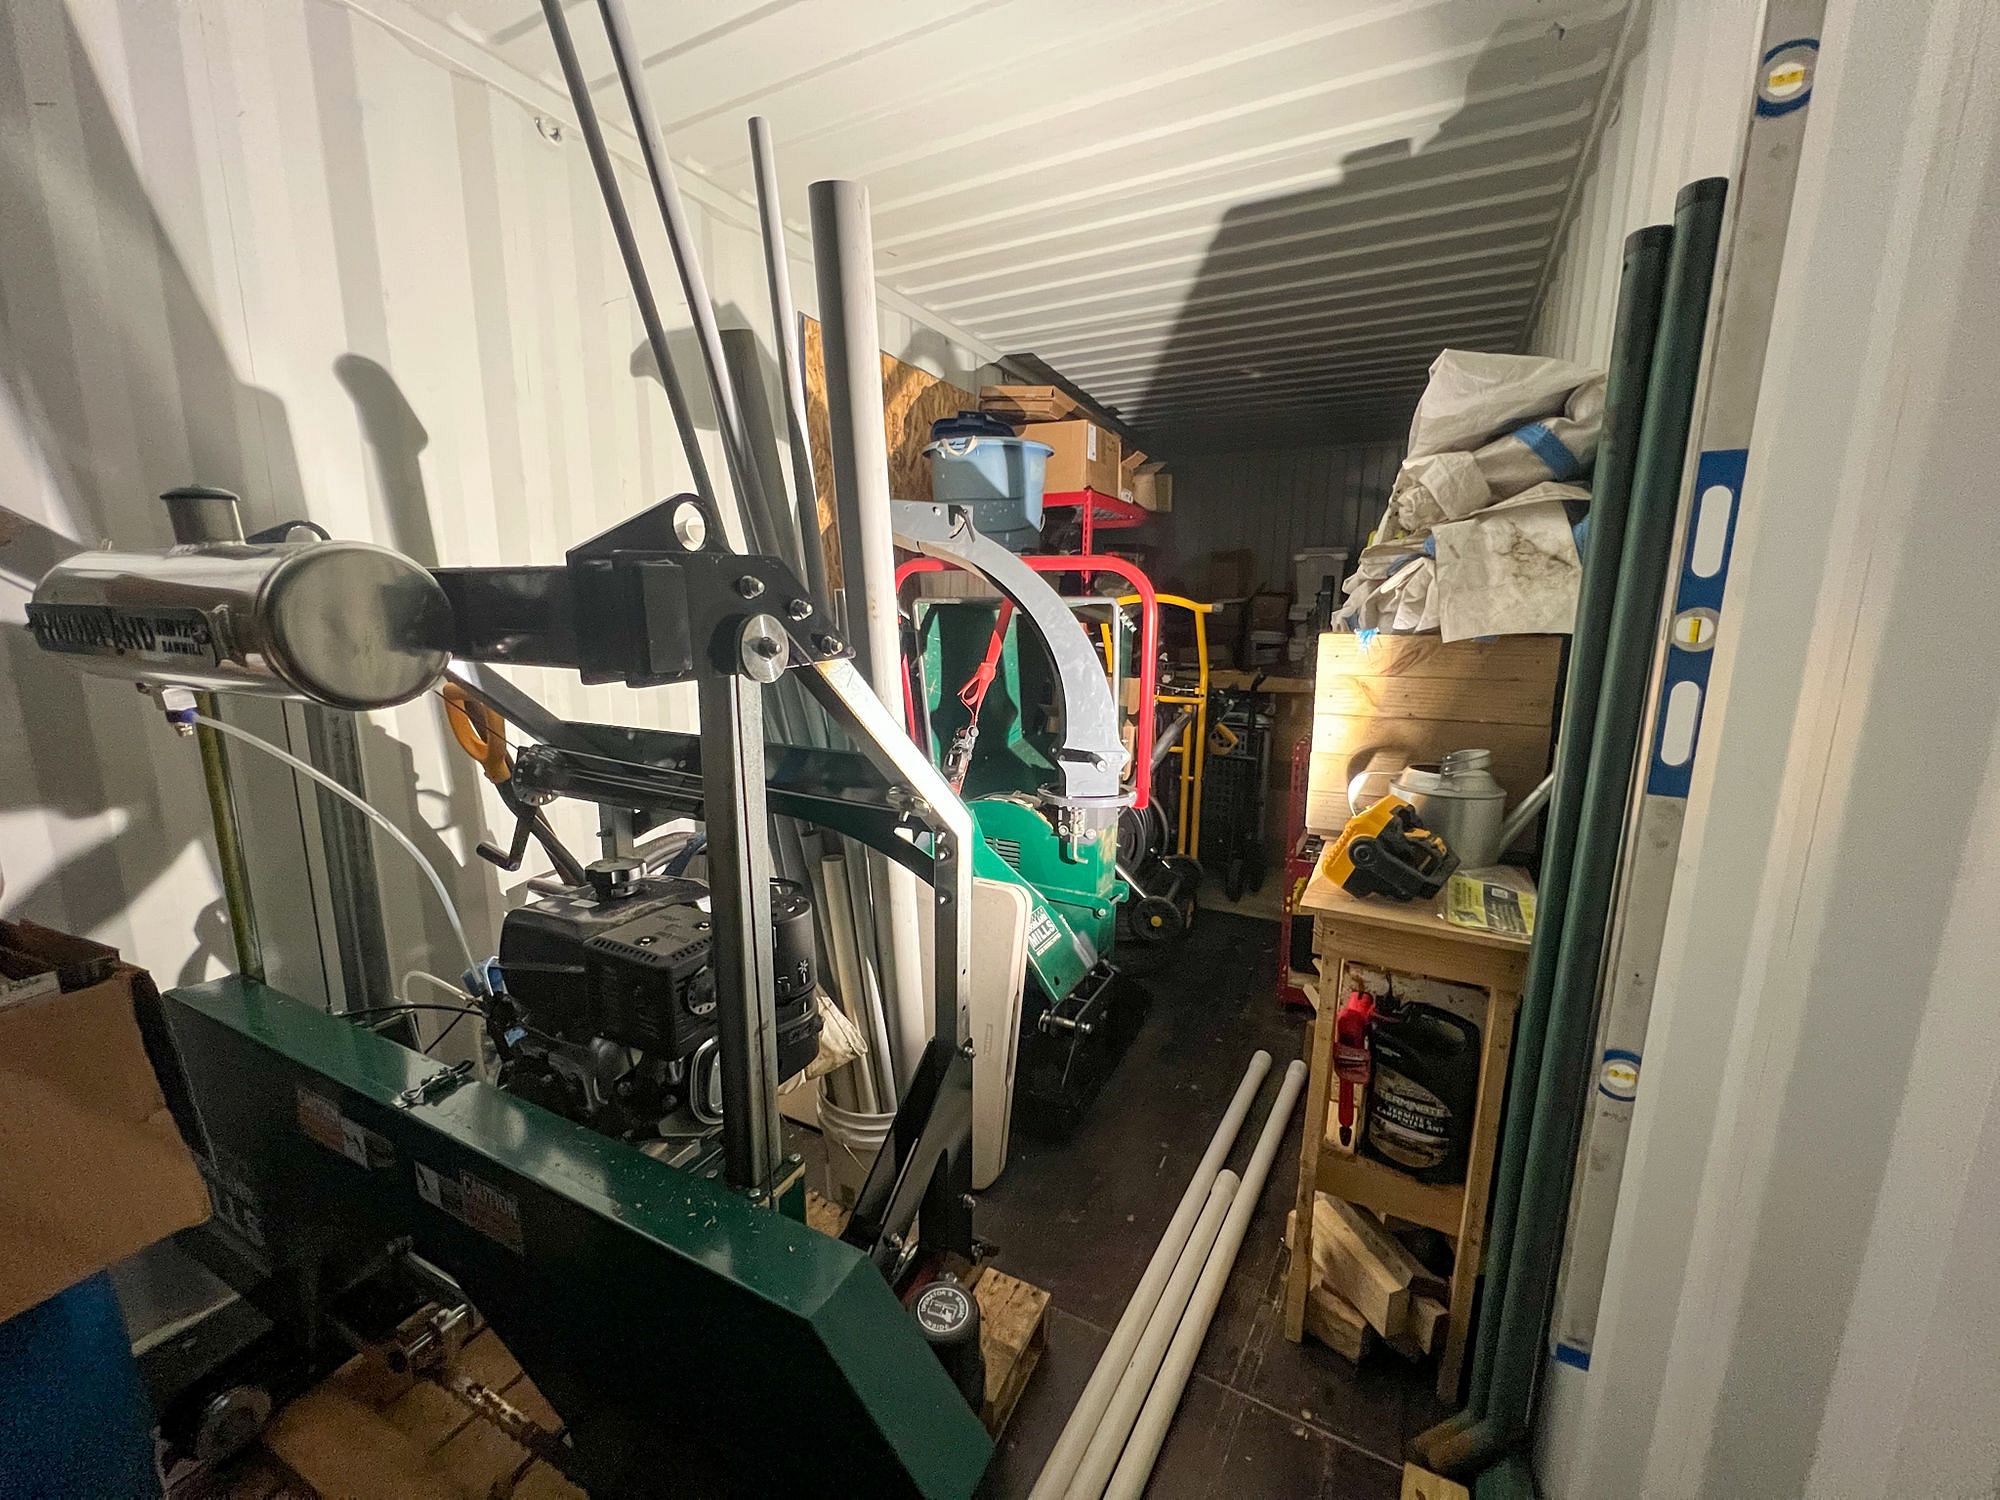
The first thing to come out was the tractor - partly because it was blocking everything else, and partly so we could install the tire chains and use it to clear some more snow.
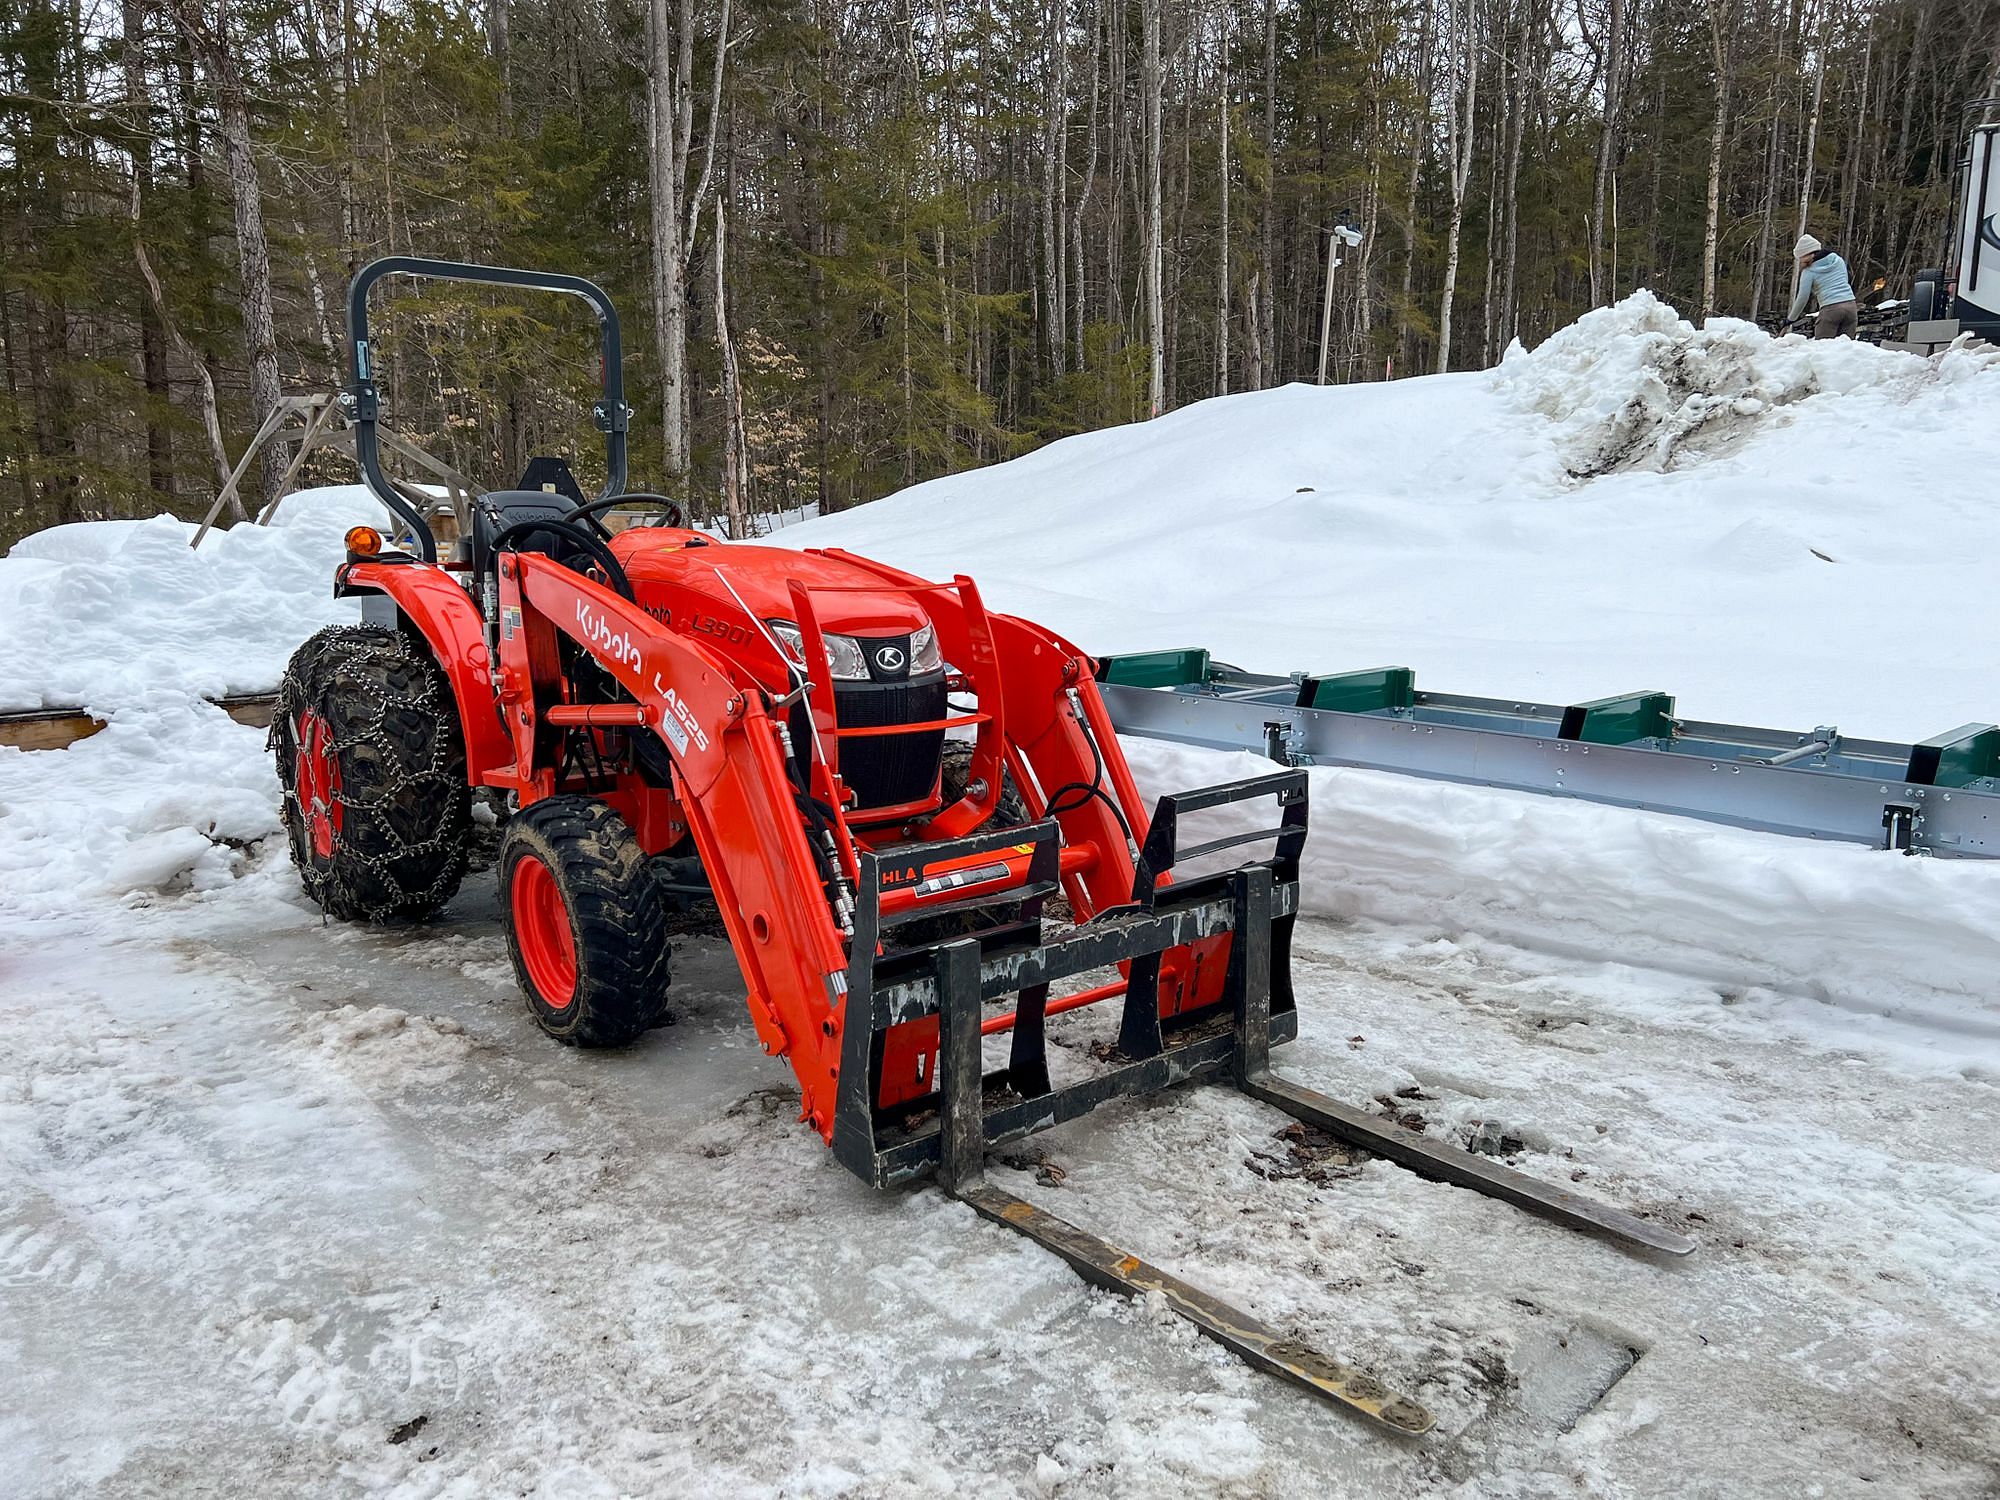
With the tractor back in service we were able to remove the sawmill head and wood chipper, although we won't start milling lumber or felling trees until some of the snow has cleared - our sawmill, solar kiln base and lumber piles are totally buried at the moment!
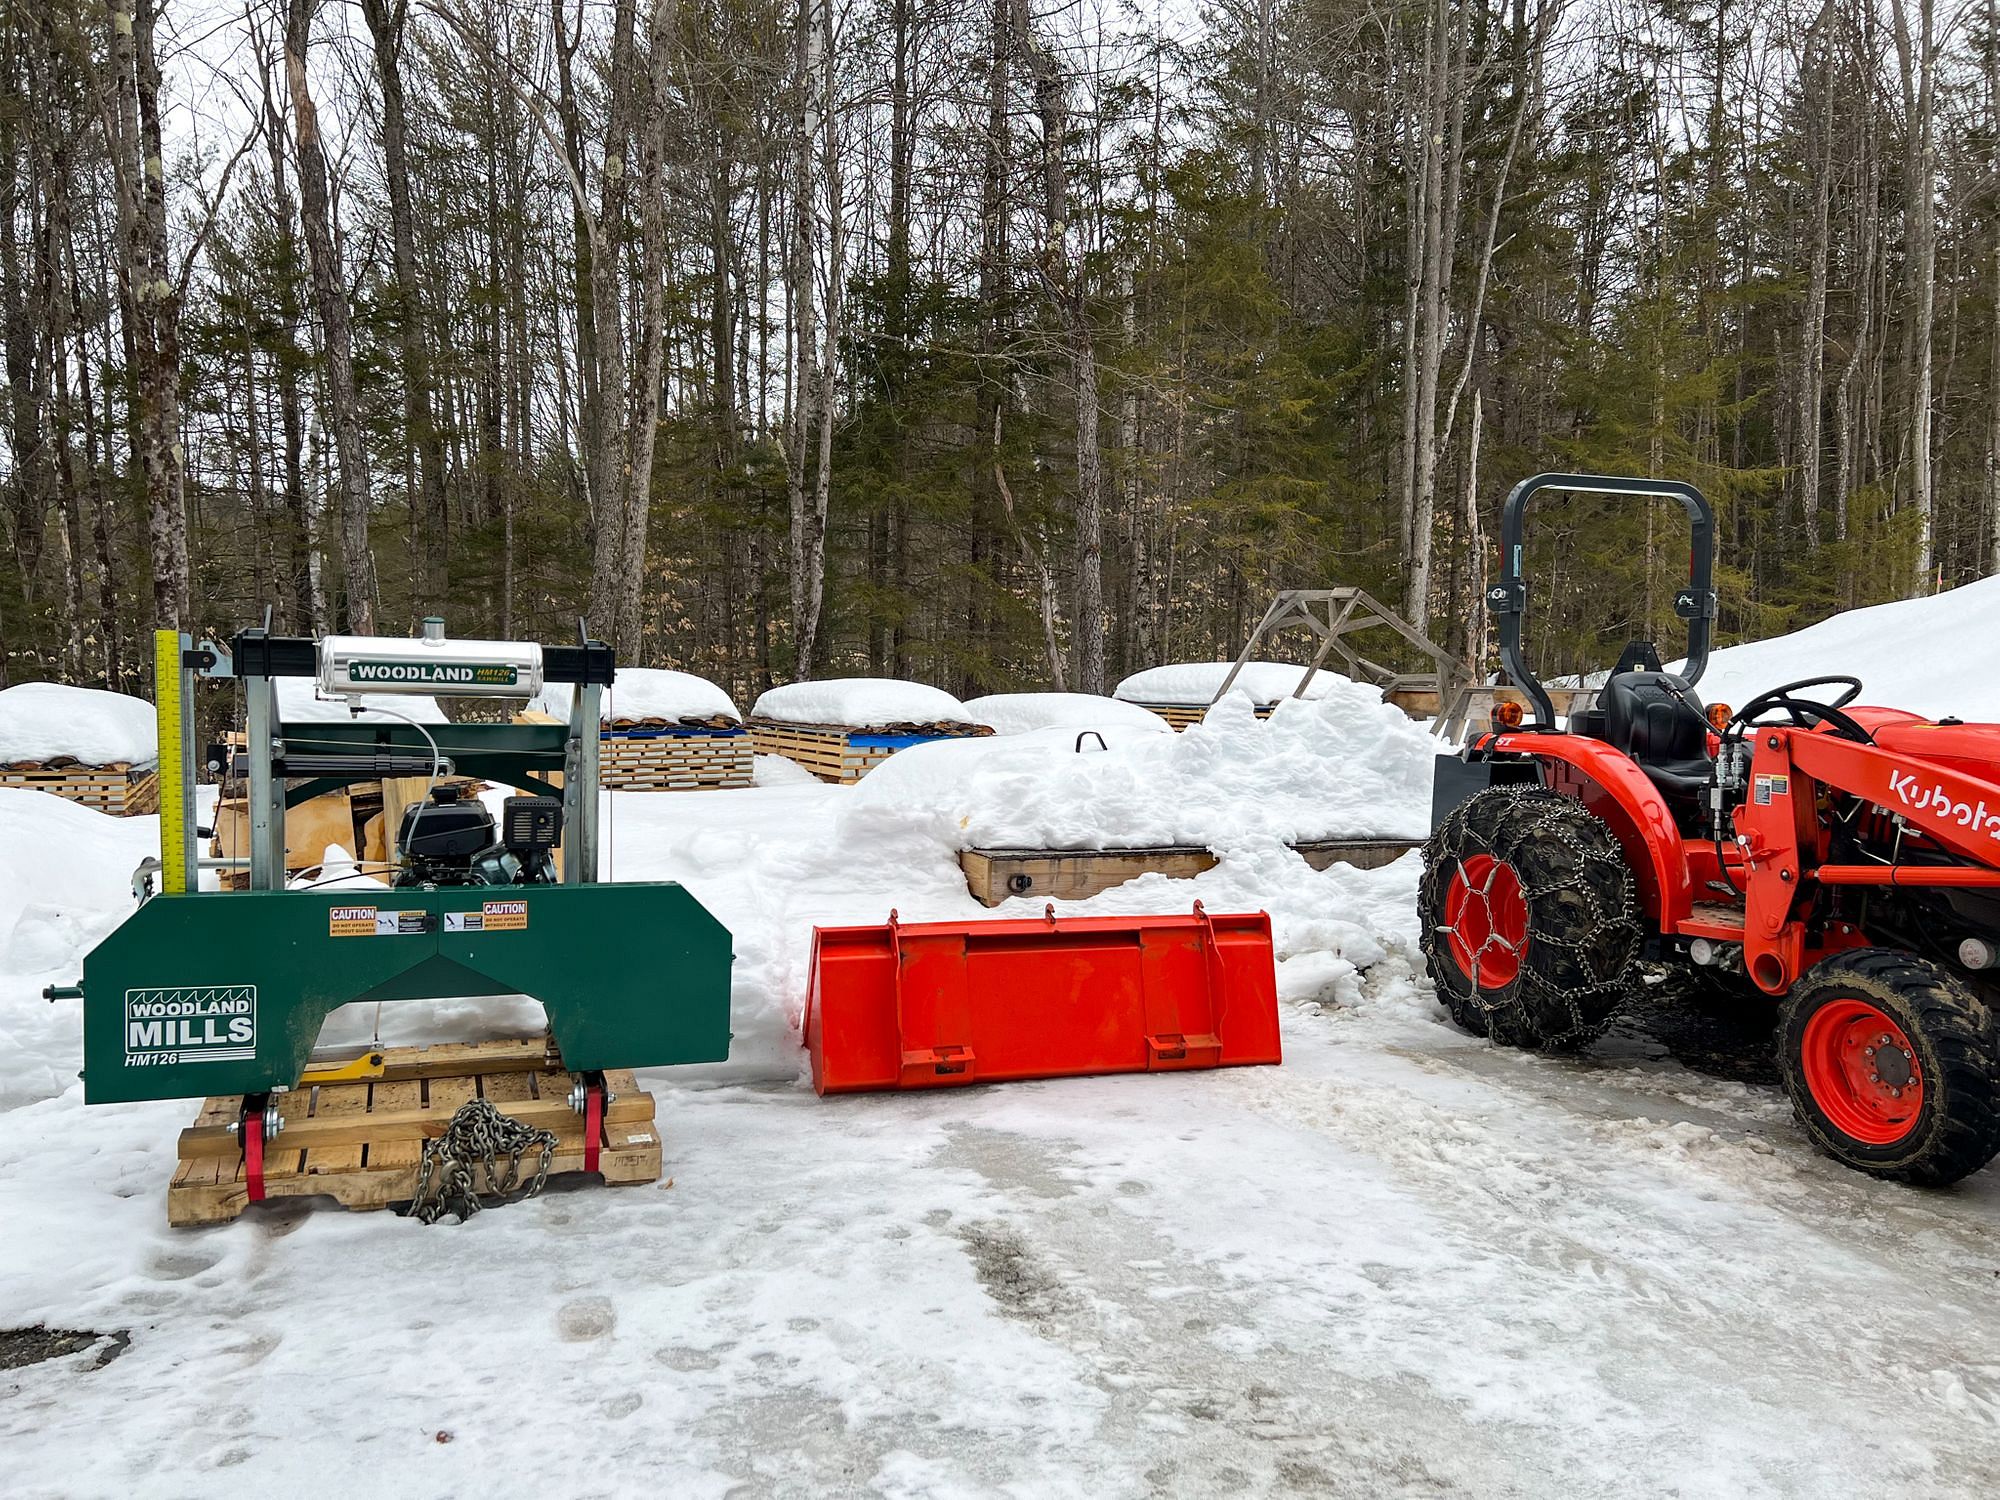
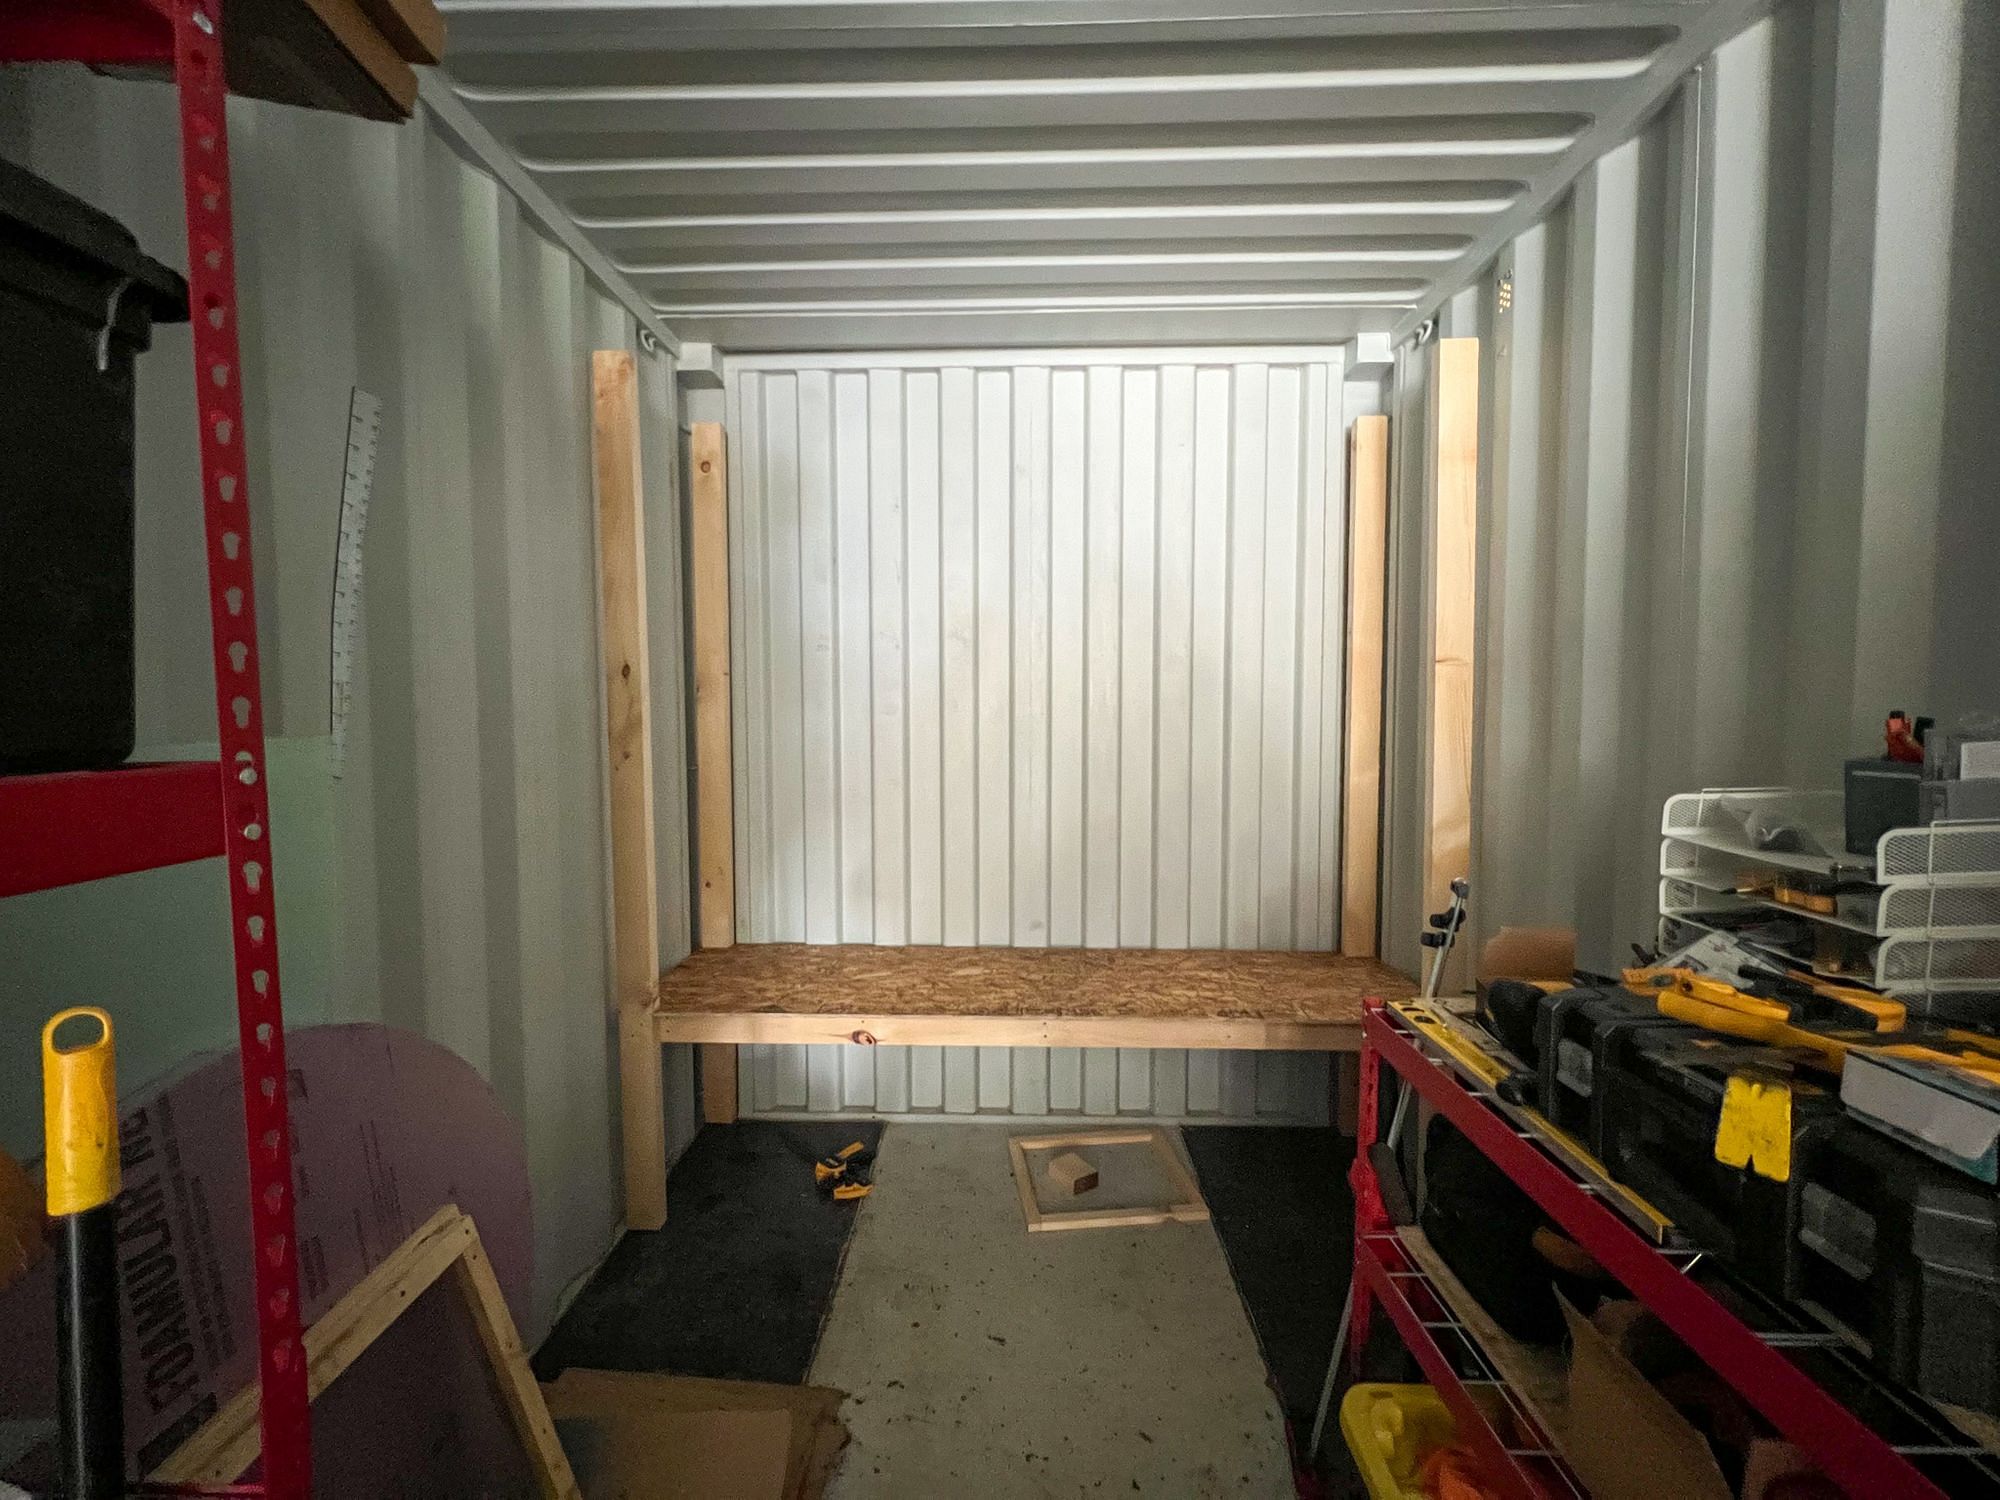
This is a great time of year to work on indoor projects, and one of the first on our list is to build some sturdy shelves for the shipping container. Last year we bought some steel shelves from Home Depot, and while functional, they're expensive. We need a lot more shelving, so building our own was the obvious solution.
Maybe even more excitingly, it's the first project where we can use our own lumber for most of it! Diana and I picked out eighteen 2x4s from the stack we had milled over a year ago, and set about planing them to a consistent dimension - 1-7/8" x 3-3/4".
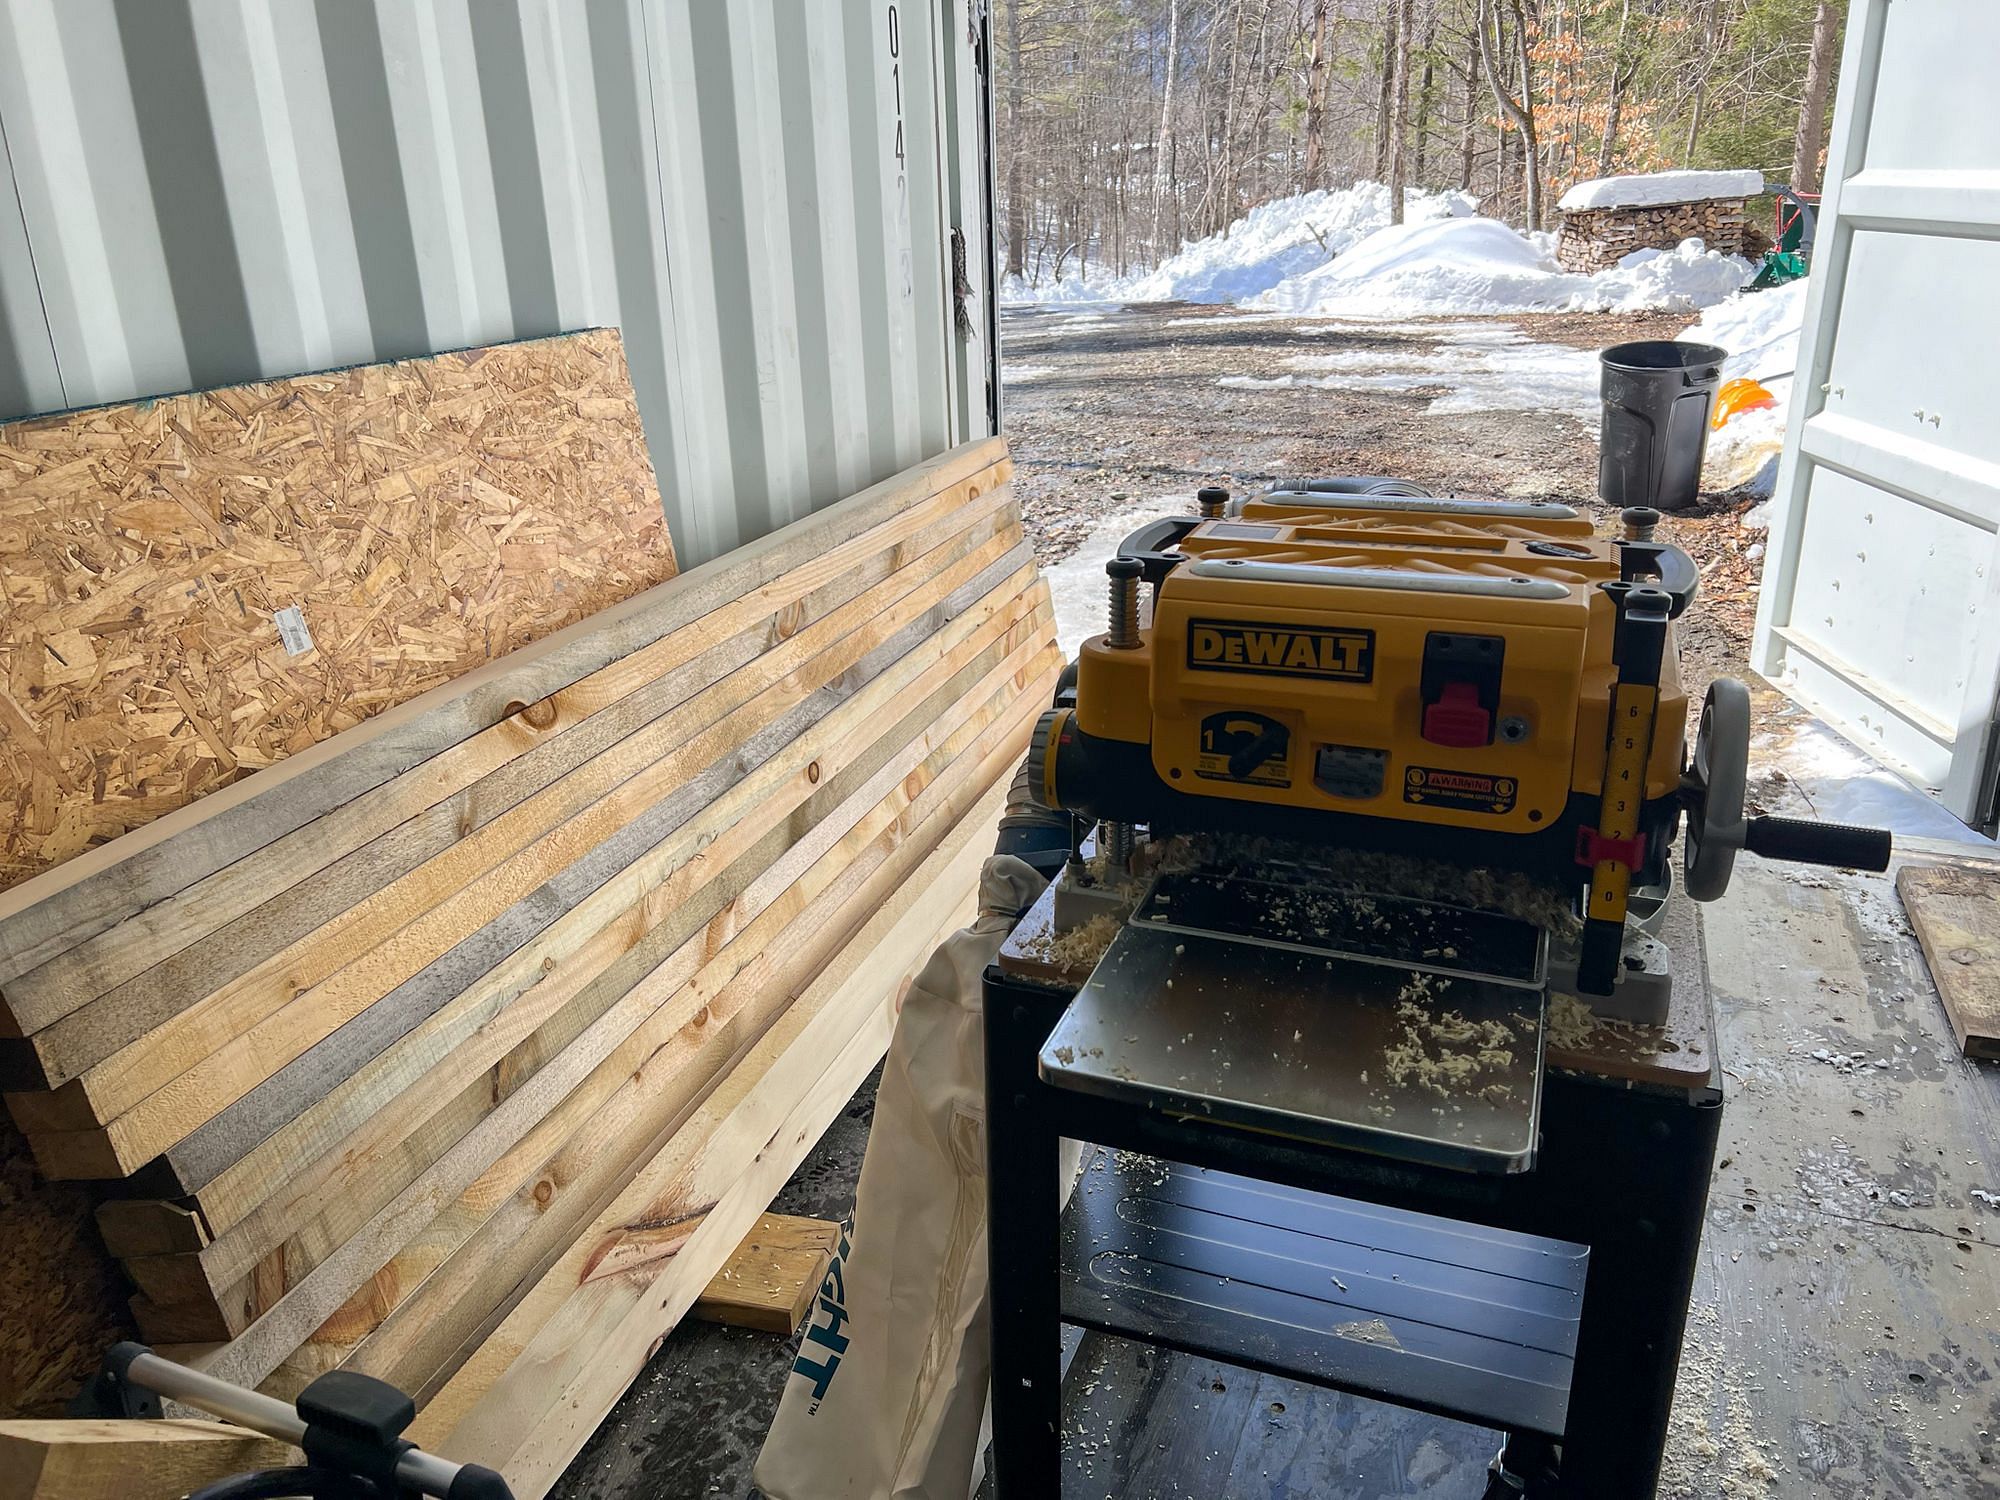
To begin with we're starting with a set of shelves along the back wall, but the plan is to extend them down the walls too. We're building them sturdy so we can use the full height of the shipping container to store and organize things. One of this week's project will be to finish off this first set of shelves.
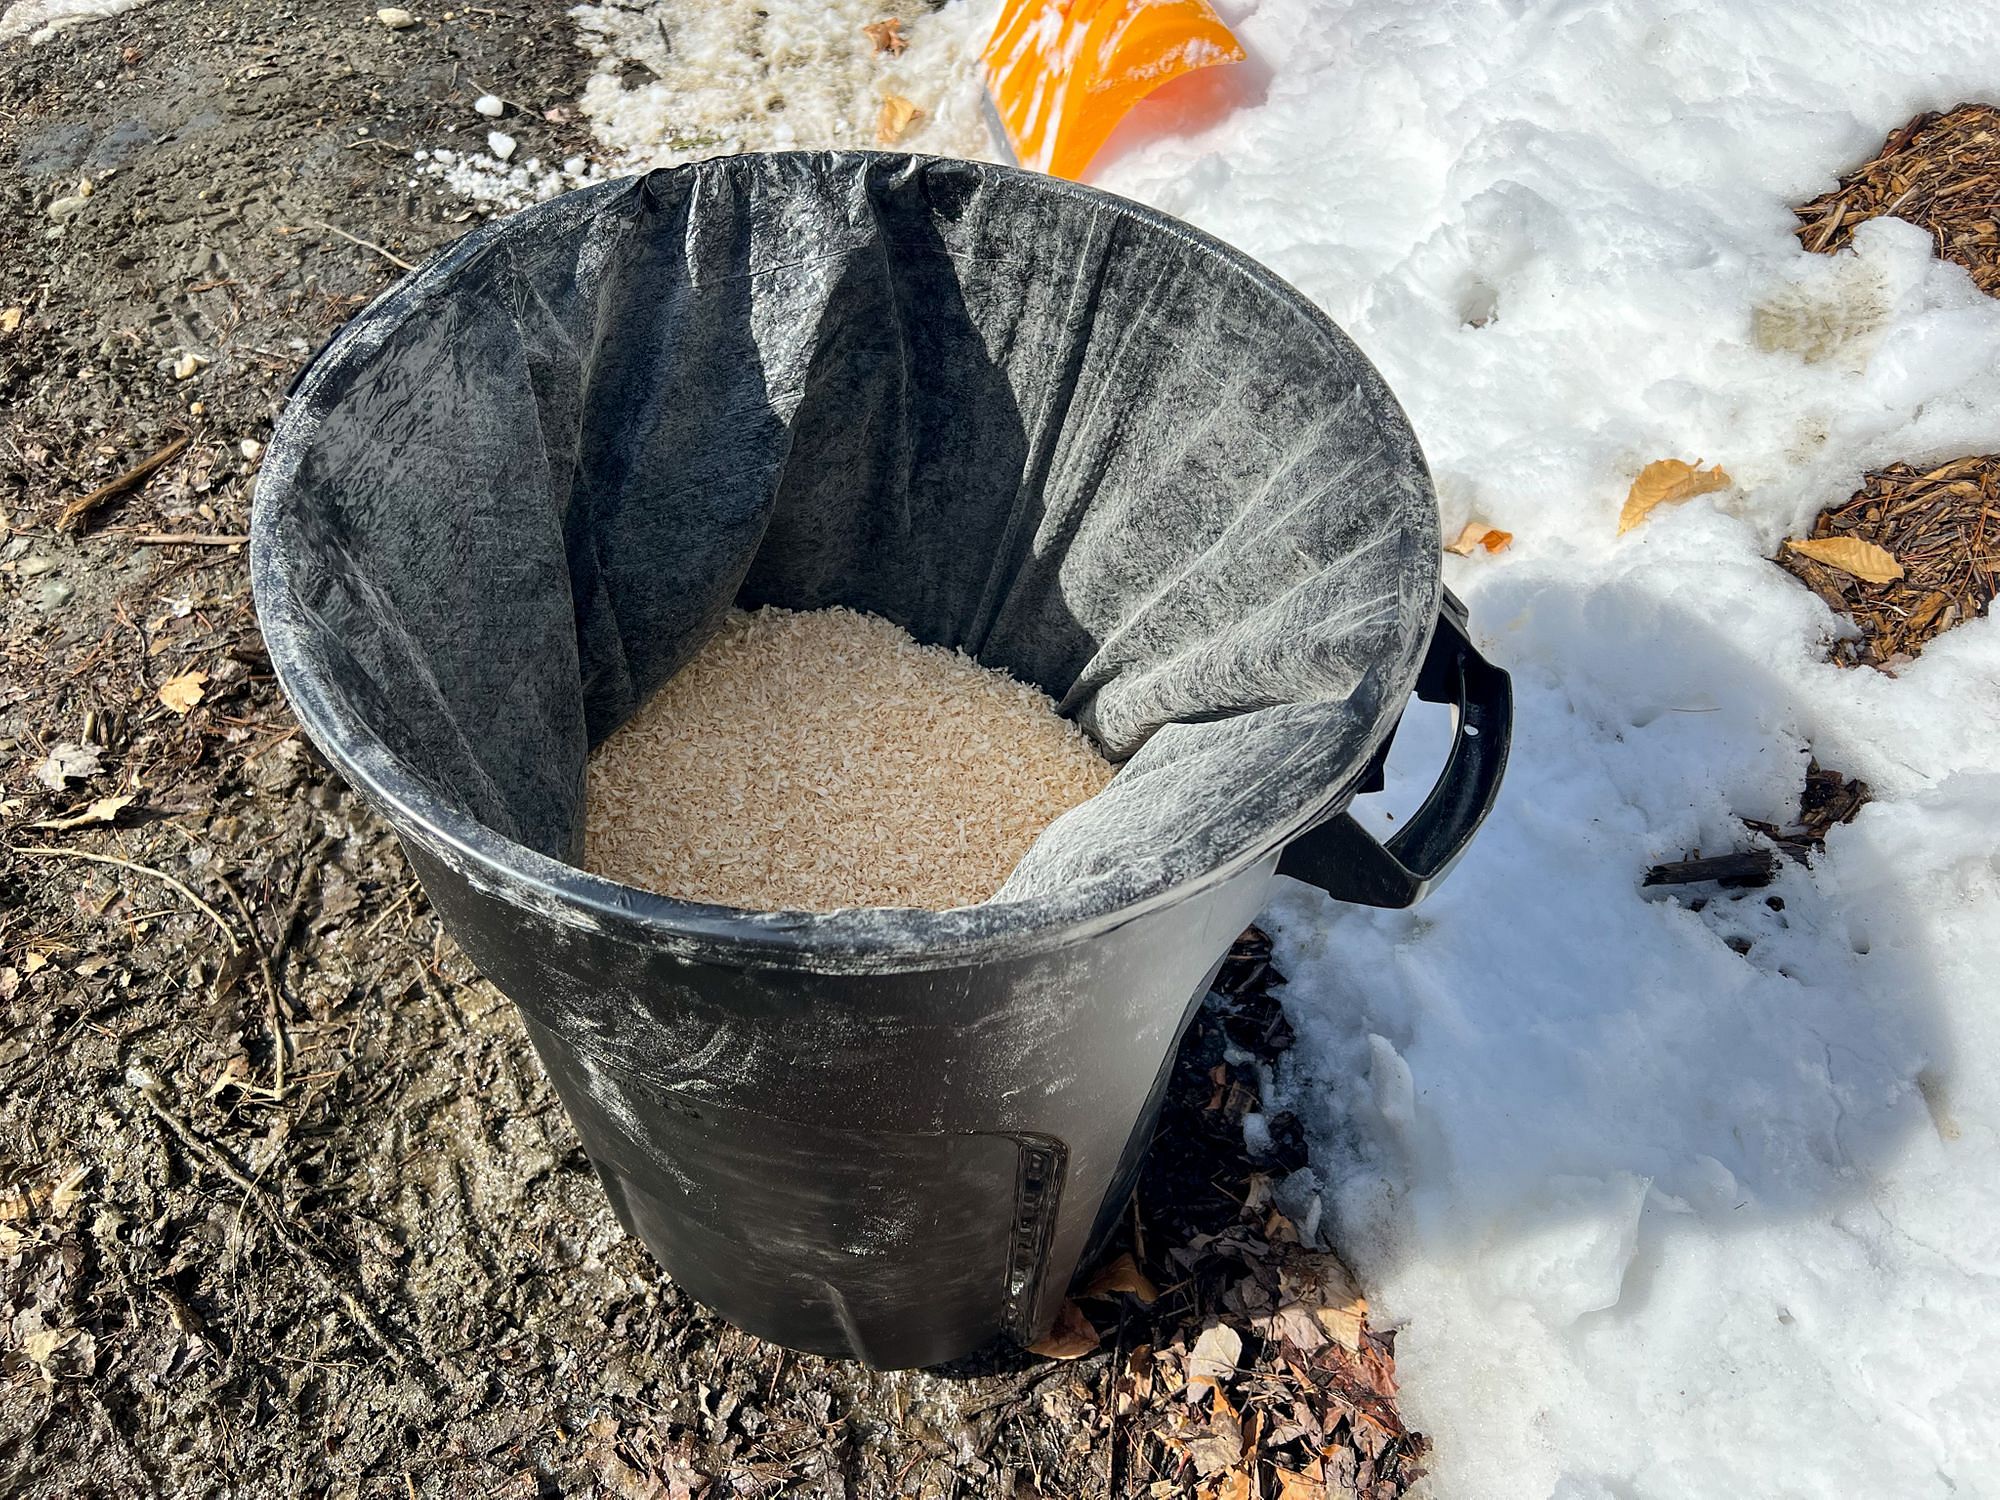
One outstanding question is what to do with all the pine shavings from planing the wood. We have several friends with chickens that can make use of them, but even they can only take so much. We've already filled 2 giant trash bags with wood shavings!
Wrapping up
We had a great time traveling in Europe and seeing family, but it's great to be back in Vermont. It'll be a couple of months until we can start construction on the utility building, but we've hit the ground running and have a long list of things we want to get done before then.
We've only been back a week, but it already feels like we've accomplished a lot - de-winterizing the RV, unpacking, seed starting, maple tapping and working on our first DIY project.
There's lots more to come - 2023 is going to be an exciting year!
Hey! Did you enjoy this blog post?
I write all the content on this site myself, and then make it available for free, for you. If you found it useful or interesting, would you consider a sending us a little something to say thank you?
Using Buy Me A Coffee, you can send us as little as $5 or as much as you want - either way, it means a lot to us! Click the big button below if you want to help support our work.